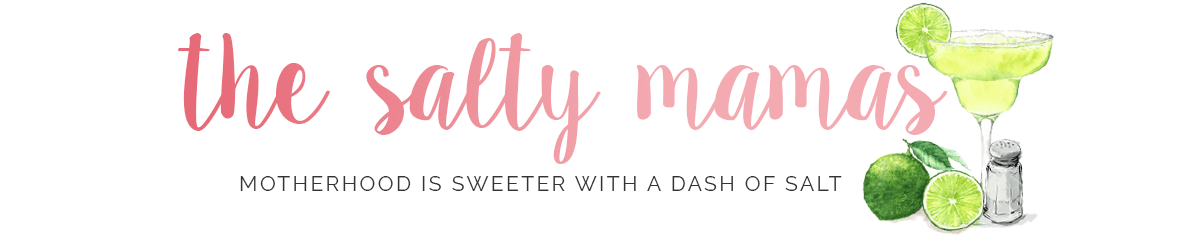
About a year ago, my daughter asked me why my hair was turning white. I proudly told her that my hair had sparkles, and that I was proud of my silver. But increasingly, I began to feel that my hair was just looking dull. The ratio of brown-to-grey was just not working for me, and I decided that I needed to color my hair.
I consider myself to be a frugal mama, so I was not about to start dropping hundreds in a salon on a regular basis (let alone find child care while I went). So I partnered with eSalon, and received the full diva treatment in their studio. They have the best semi-permanent hair dye, and I was thrilled to receive in-studio advice about which color to choose. While I was initially a little shocked by the transformation, I soon grew to love it. I WAS thrilled with how the hair color held up, and the self-confidence boost the change brought.
And then the time came- I was gonna need to color it myself. My eSalon shipment came right one time, but me? I stalled.
I’ve heard so many horror stories about at-home hair dye– tales of women spending hundreds to fix their color, and unintentional light or dark streaks, and poor coverage. I’ve heard of girls who have had their hair turn orange and girls who have had their scalps stained black. So do you really blame me for being nervous to do it on my own?
Well I am proud to say that I freaking NAILED it in the at home hair dye department. It was nowhere near as scary as I’d thought, and the in-studio lesson at eSalon really did teach me everything I needed to know to get the job done. So if you find yourself as scared as I am, I’m here to tell you- I know you can do this. And here’s how.
A big thank you to eSalon for sponsoring this post (you can read more at our legal page). We reached out to eSalon hair color, and they provided an at-home hair coloring kit for Jaymi so that she could share her findings with you. As always, the thoughts, experiences, and opinions expressed here are our own. This is an honest eSalon review- scout’s honor!
Choose a High-Quality Hair Dye (Like eSalon)
I’m not gonna beat around the bush- this step is important. If you want to avoid brassy colors, or that straight-from-the-box look, you need to go with a company that is all about customer satisfaction. The colorists at eSalon are happy to work with you to get the color and results you want.
And should something go wrong, you’re not on your own. eSalon will work with you until you get the vibrant look you’ve been hoping for. And, it’s the best semi-permanent hair dye, so you don’t have to worry as much about the permanence and future interactions with other hair colors.
Add to that color that lasts and simple, easy to follow instructions, and you’ll find that this brand is head and shoulders above the rest.
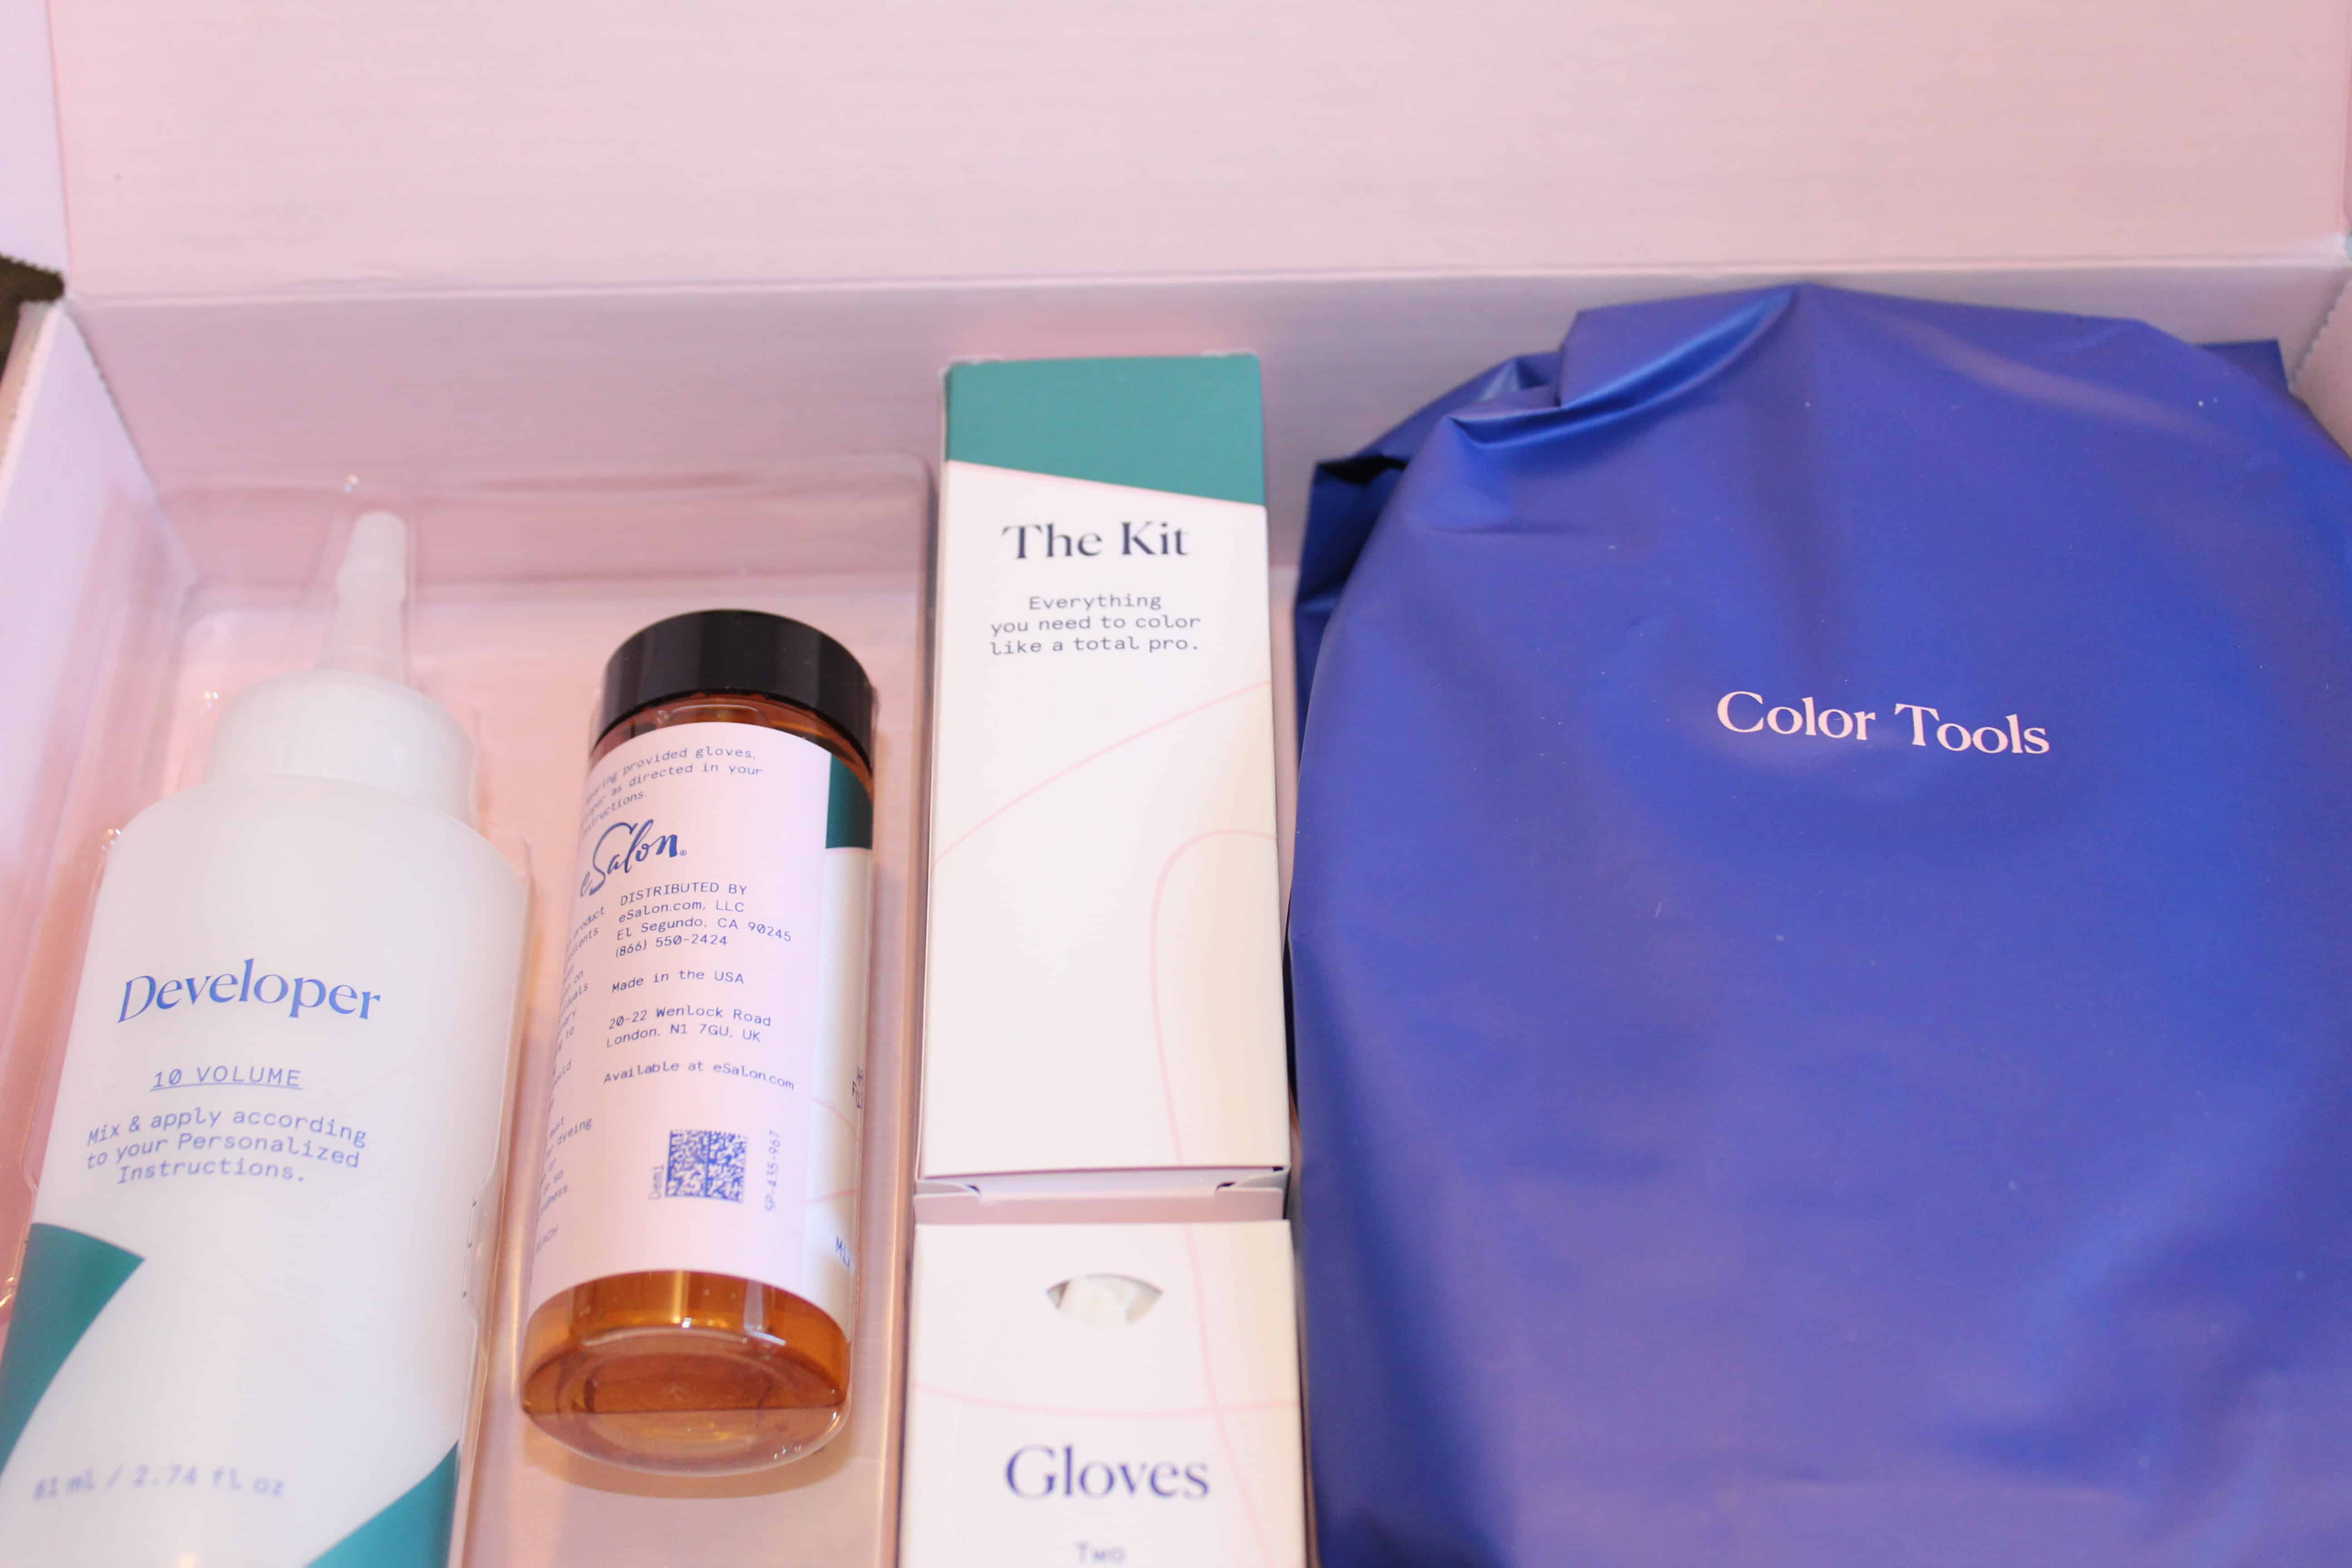
Have a Designated Hair Dye Shirt
Hair dye can get messy sometimes, and you don’t want to ruin your favorite pair of jammies over it. Find an old t-shirt (preferably dark in color) or grab something from your Goodwill pile that you don’t mind getting dye on.
You can also buy a black cape on Amazon. It’s cheap, easy, and help to keep the dye contained to the cape, and off of you!
When you’re done applying your hair color, stash it with your other dye supplies so you can use it again next time.
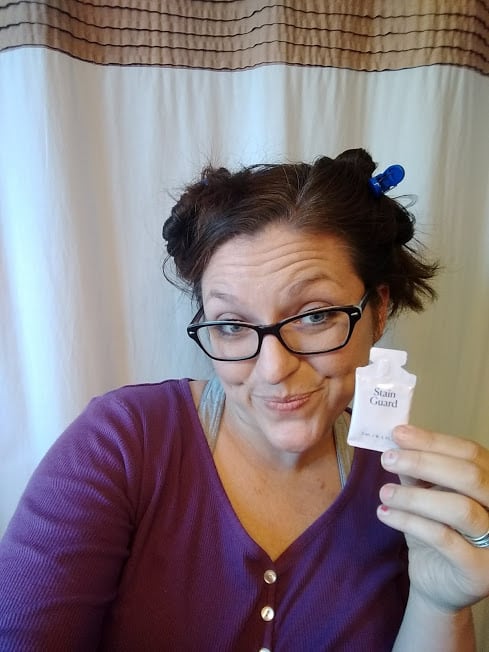
Protect Your Hairline from Hair Dye
eSalon sends a handy packet of color guard with every order. You apply it to the skin around your hairline (avoiding the hair itself, obviously) to avoid staining your skin with the hair dye.
If you’ve chosen to go with another brand, you may want to try to replicate the technique with Vaseline or a similar product.
Separate Your Hair Into Four (Or More!) Equal Sections
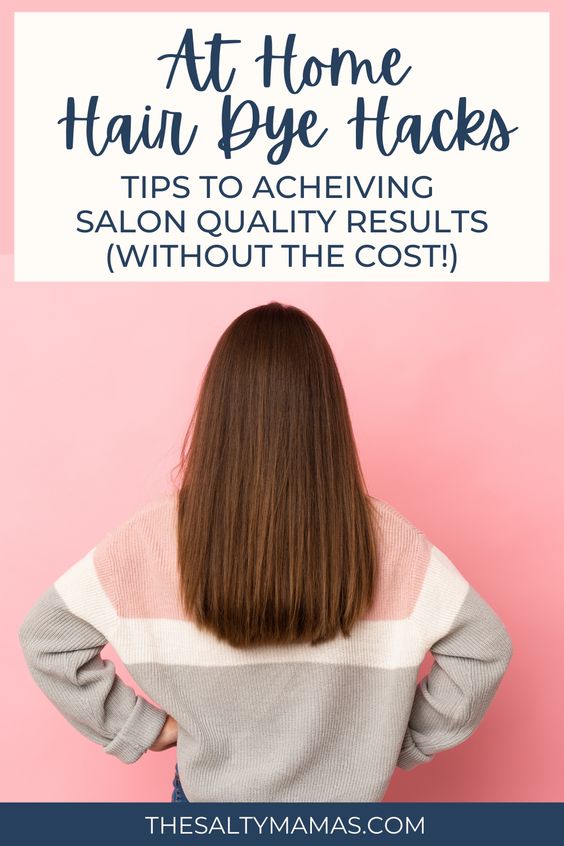
I tried to rush this step, and had to go back and fix it. Do yourself a favor, and spend the time to properly section off your hair before you begin. You can pick up some a hair dying kit here, which contains gloves, brushes and those alligator clips you need!
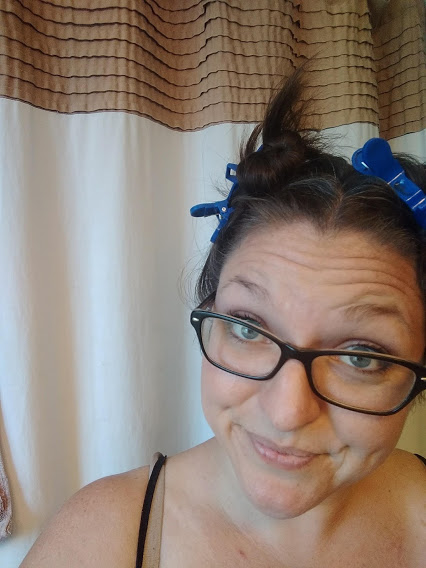
Separate your hair down the part, and then into top and bottoms sections using a comb. Twist the hair up and out of the way so you can focus on one section at a time.
Use the Right Tools
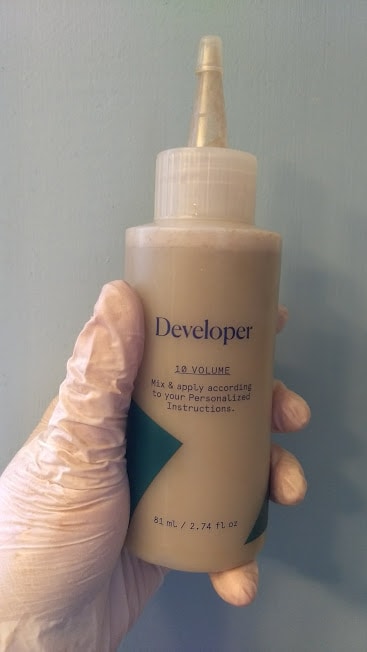
Most at-home hair dye kits come with a bottle to pour solution onto your hair. If you are looking for all-over color, this may work for you. If you are looking for a root touch-up, you are better off with a brush and bowl set up.
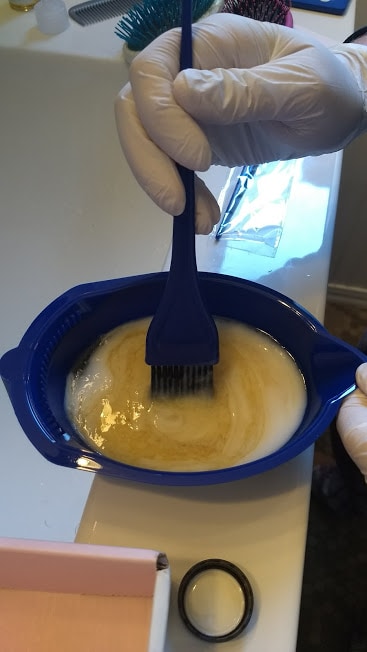
Get yourselves some gloves to avoid dyed fingers, and place a kitchen timer where you can get it (you can use your phone timer, but with hair-dye-gloves on, we’re pretty sure you’re not going to want to.)
Grab a hair dying kit here– it includes brushes, bowls, gloves- basically everything you need to dye your hair at home at a ridiculously low price.
Attack Small Sections at a Time
Split your hair into even smaller sections, and brush the roots with the color. Your sections should be pretty darn tiny to ensure full coverage. Work through one quarter (or less) of your hair at a time, before clipping it to the side and moving on to the next area.
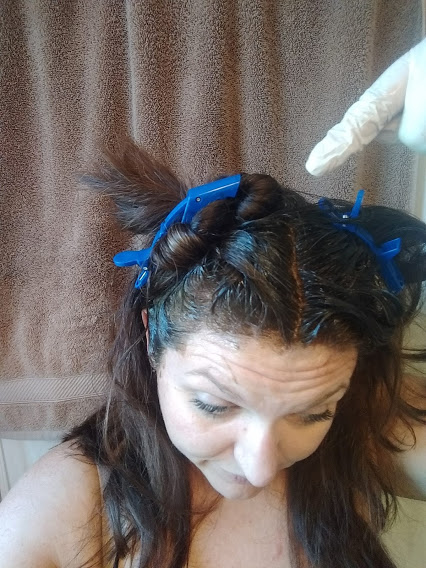
When it comes to the back of your head, you have a couple of options. You can attempt it yourself with the brush. You can ask for help (shout out to my mama!). Or, you can switch to the bottle. This option is probably the best if you are doing this on your own, as it’ll get the most even coverage without demanding a high level of accuracy.

According to my personalized eSalon directions, I needed to let the color set on the roots for a full fifteen minutes before moving on to the ends of my hair. Check your hair color for directions to see if they distinguish between roots and ends (and if they don’t, consider switching to eSalon. For realsies.)
Color the Rest of Your Hair
Check the instructions on your eSalon hair color or box hair dye. eSalon has the best semi-permanent hair dye, which means that I wasn’t as committed, but also means that the rest of my hair color could also use a refresh. eSalon recommended that I simply do a touch up on the ends of my hair by diluting the color with water and applying all over.
And I’ve got to say, I was seriously impressed with my results. I didn’t apply the color to the roots perfectly by any means, and was super worried that they would end up much darker or lighter than the rest of my hair.
But the combination of root touch up and all over color-rinsing led to results that I liked even better than I did at the physical eSalon studio. It looks pretty darn natural, if I do say so myself, and has an all-over color that I am crazy pleased with.
Rinse and Condition Your Newly Dyed Hair
Depending on your hair color, you may be asked to rinse, shampoo, or condition your hair with either included packets or your everyday products. The dye eSalon uses has a thicker consistency than some box mixes, which means that you need to wash it a little more vigorously to remove the color.

Using the provided shampoo (or your own color safe shampoo) work your hair into a very rich lather for 2-3 minutes, until thick foamy bubbles form. Work the shampoo into your scalp and really scrub. You need an emulsification process to break up the dye, and these bubbles are the only way. Apply the included conditioner, rinse it out, and you’re set- your color is ready to go for the next 6-8 weeks.

*******
I know it can seem like a scary thing, but trust me- if I can do this, YOU can do this. And if you go with an amazing company like eSalon, you’ll have the support you need just a phone call away. What at-home hair dye tips would YOU add to the list? Tell us in the comments below!
Looking for more low-key beauty and style tips? Head here next-