
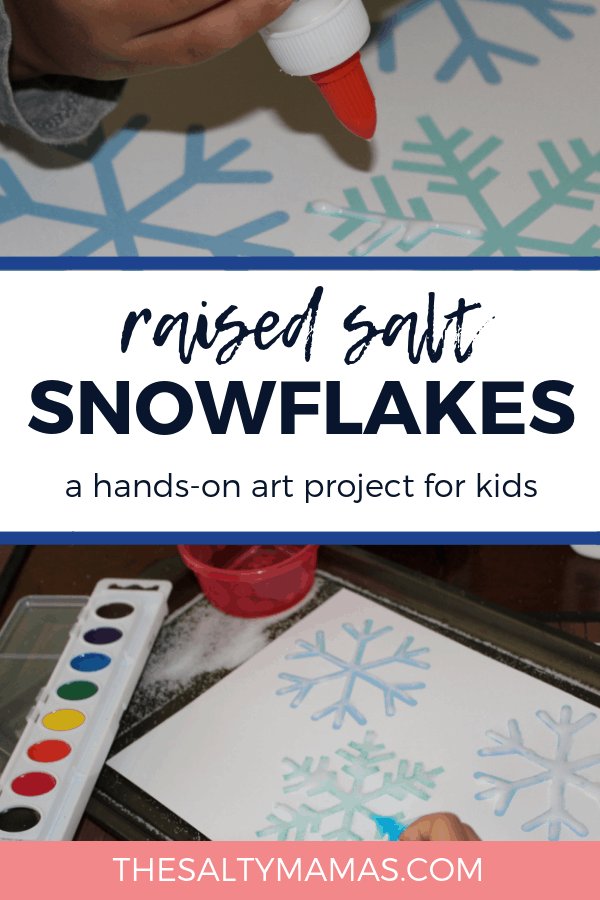
My daughter is OBSESSED with Raised Salt Painting. With a little glue, salt, and watercolor paint, kids can turn an ordinary piece of paper into a three-dimensional work of art. So when she asked to create a winter raised salt painting, I knew just what to do.
We decided to create snowflake salt paintings in a size that’s just-right to become an ornament on our Christmas tree. It’s simple, fun, and- once laminated- takes on a snowglobe-like quality that your kids are going to love.
My daughter is a bit of a perfectionist. She is super hesitant to attempt art projects she thinks won’t work “right.” It’s a delicate balance between teaching her to take risks and allowing her to create something she’ll be happy with. So sometimes I ask her to wing it, but other times (like this time!) I created a printable snowflake template for her to use.
If your child is less fearful of art activities, feel free to give them less structure. Ask them to create their own snowflake designs, or even to just experiment with different shapes and colors. Either way, your kids are going to get the incredible art, fine motor, and sensory experience that this winter themed raised salt painting provides.
This post contains affiliate links. You can read more at our legal page. Thanks for supporting The Salty Mamas!
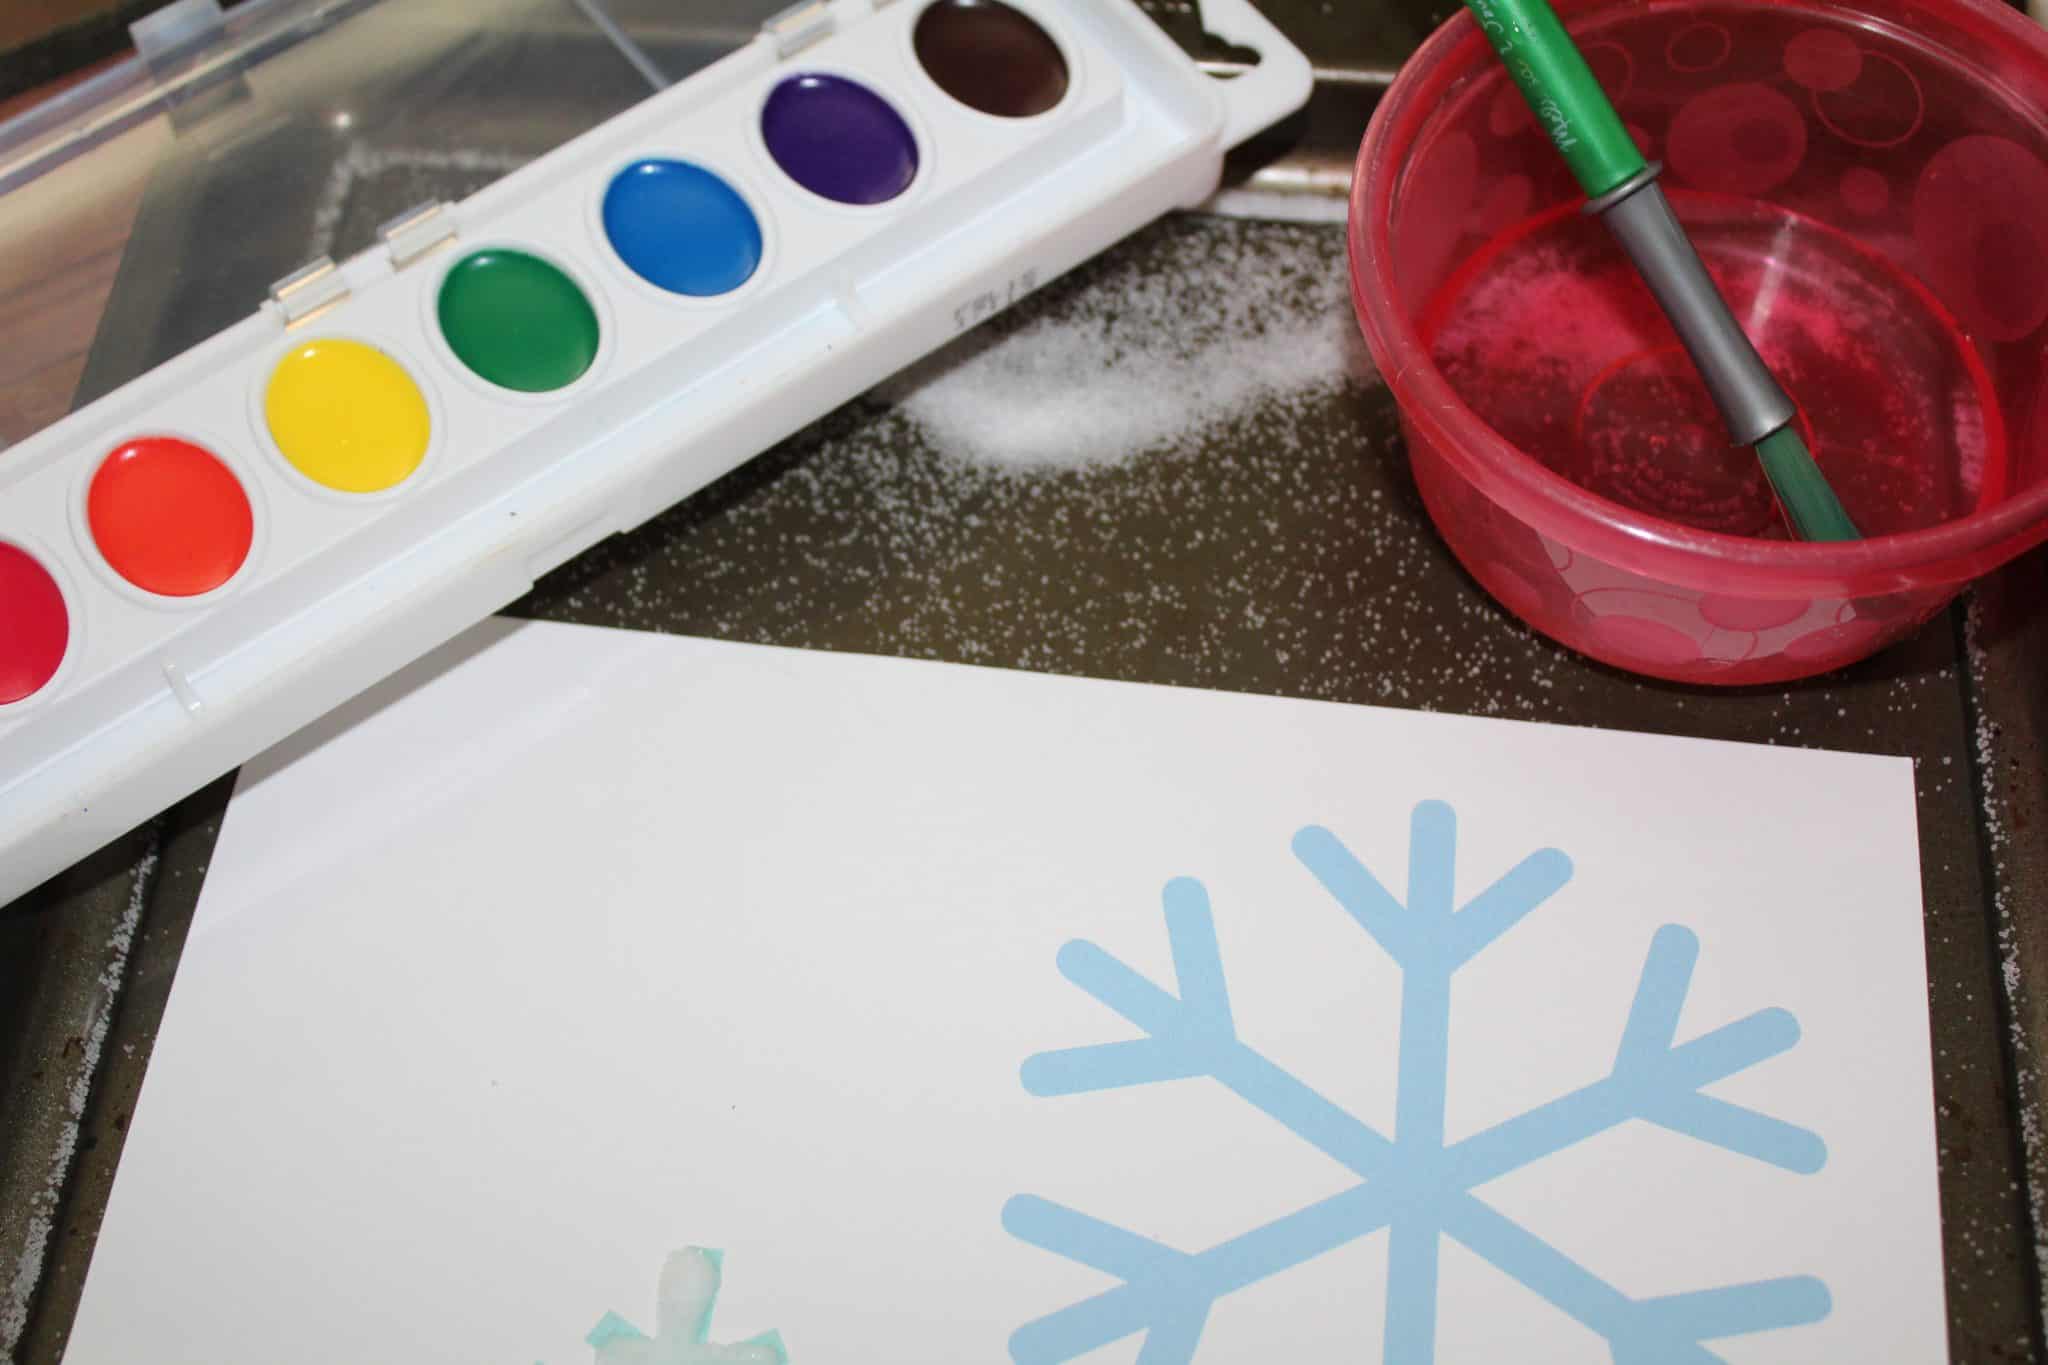
Gather the Winter Raised Salt Painting Materials
For this project, you’ll need…
- Paper (cardstock preferred)
- Jelly Roll or Baking Pan
- Elmer’s Glue Bottle
- Shaker Filled with Salt
- Watercolors
- Water
- Paintbrush
- Thermal Laminator (Optional)
- Ribbon (if creating a homemade Christmas ornament)
Get Your Snowflake Salt Painting Template
Before you being, you’ll want to decide if you’re going to have kids create their own snowflakes or use a printable template. There are benefits to both- creating their own allows creativity and problem solving, while using the printable helps more with fine motor skills.
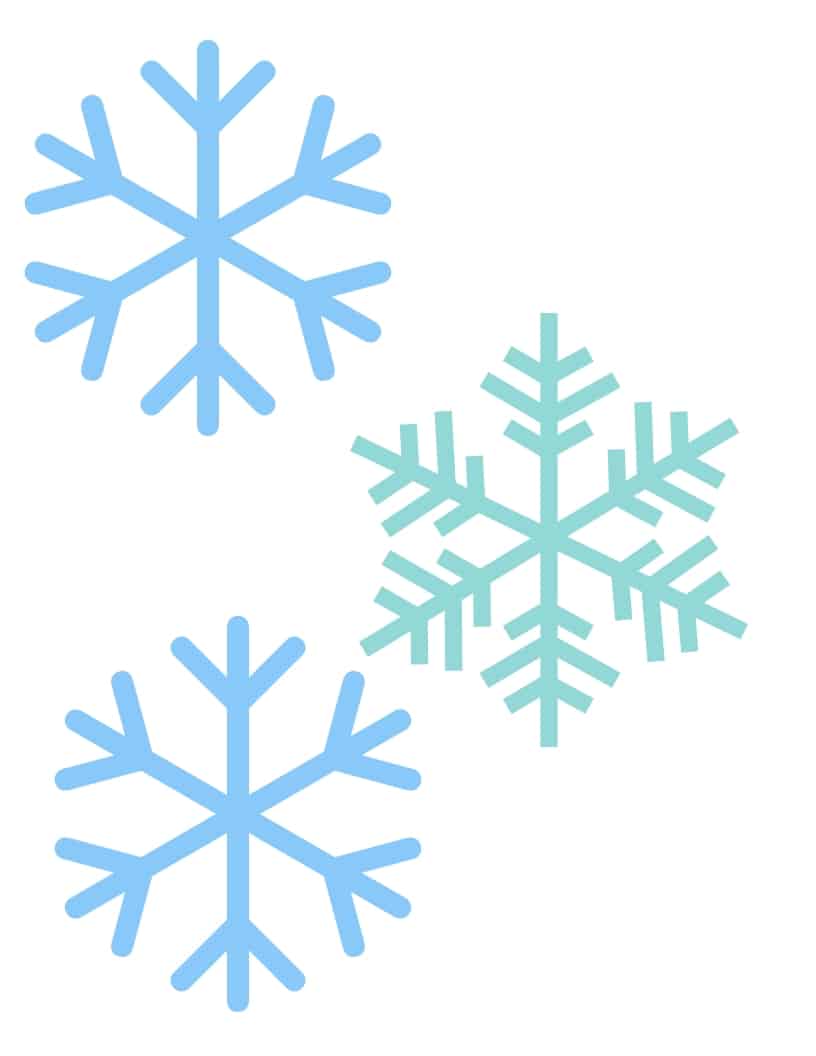
You can snag a copy of our printable template here if you choose to go that route. (It’s what we did, and what gave us such adorable results!)
Related Post: Toddler Printable Activities
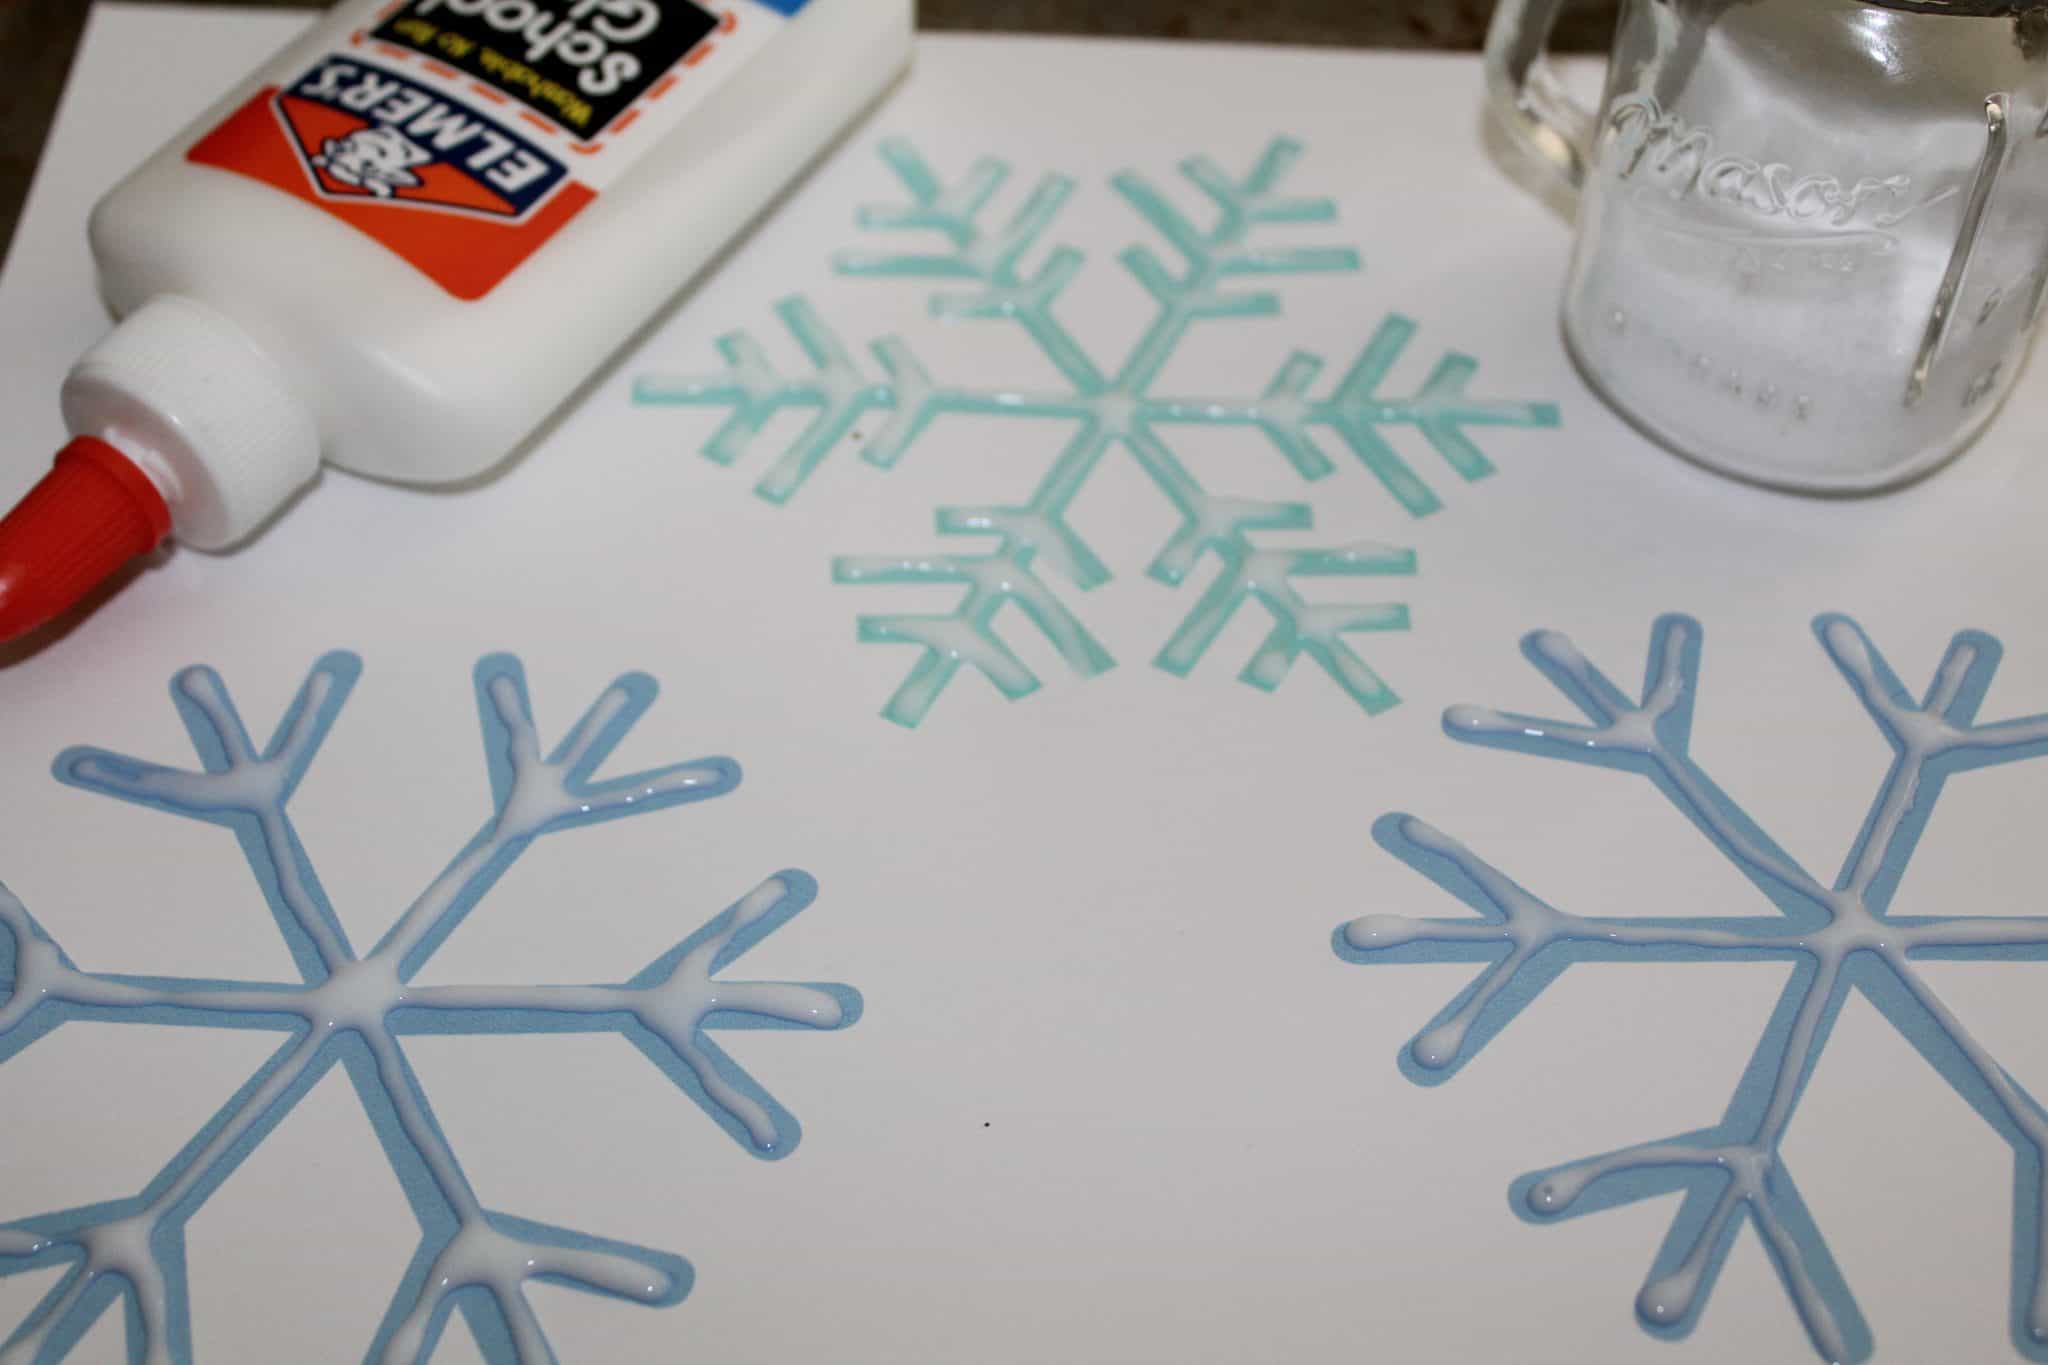
Create Your Snowflake Base with Glue
If you’ve decided to forgo the template, it’s time to give your child the bottle of glue and see what they can do. If you’ve opted for the template, have your kids trace the snowflakes with glue. You want a nice even coverage over the top of each snowflake.
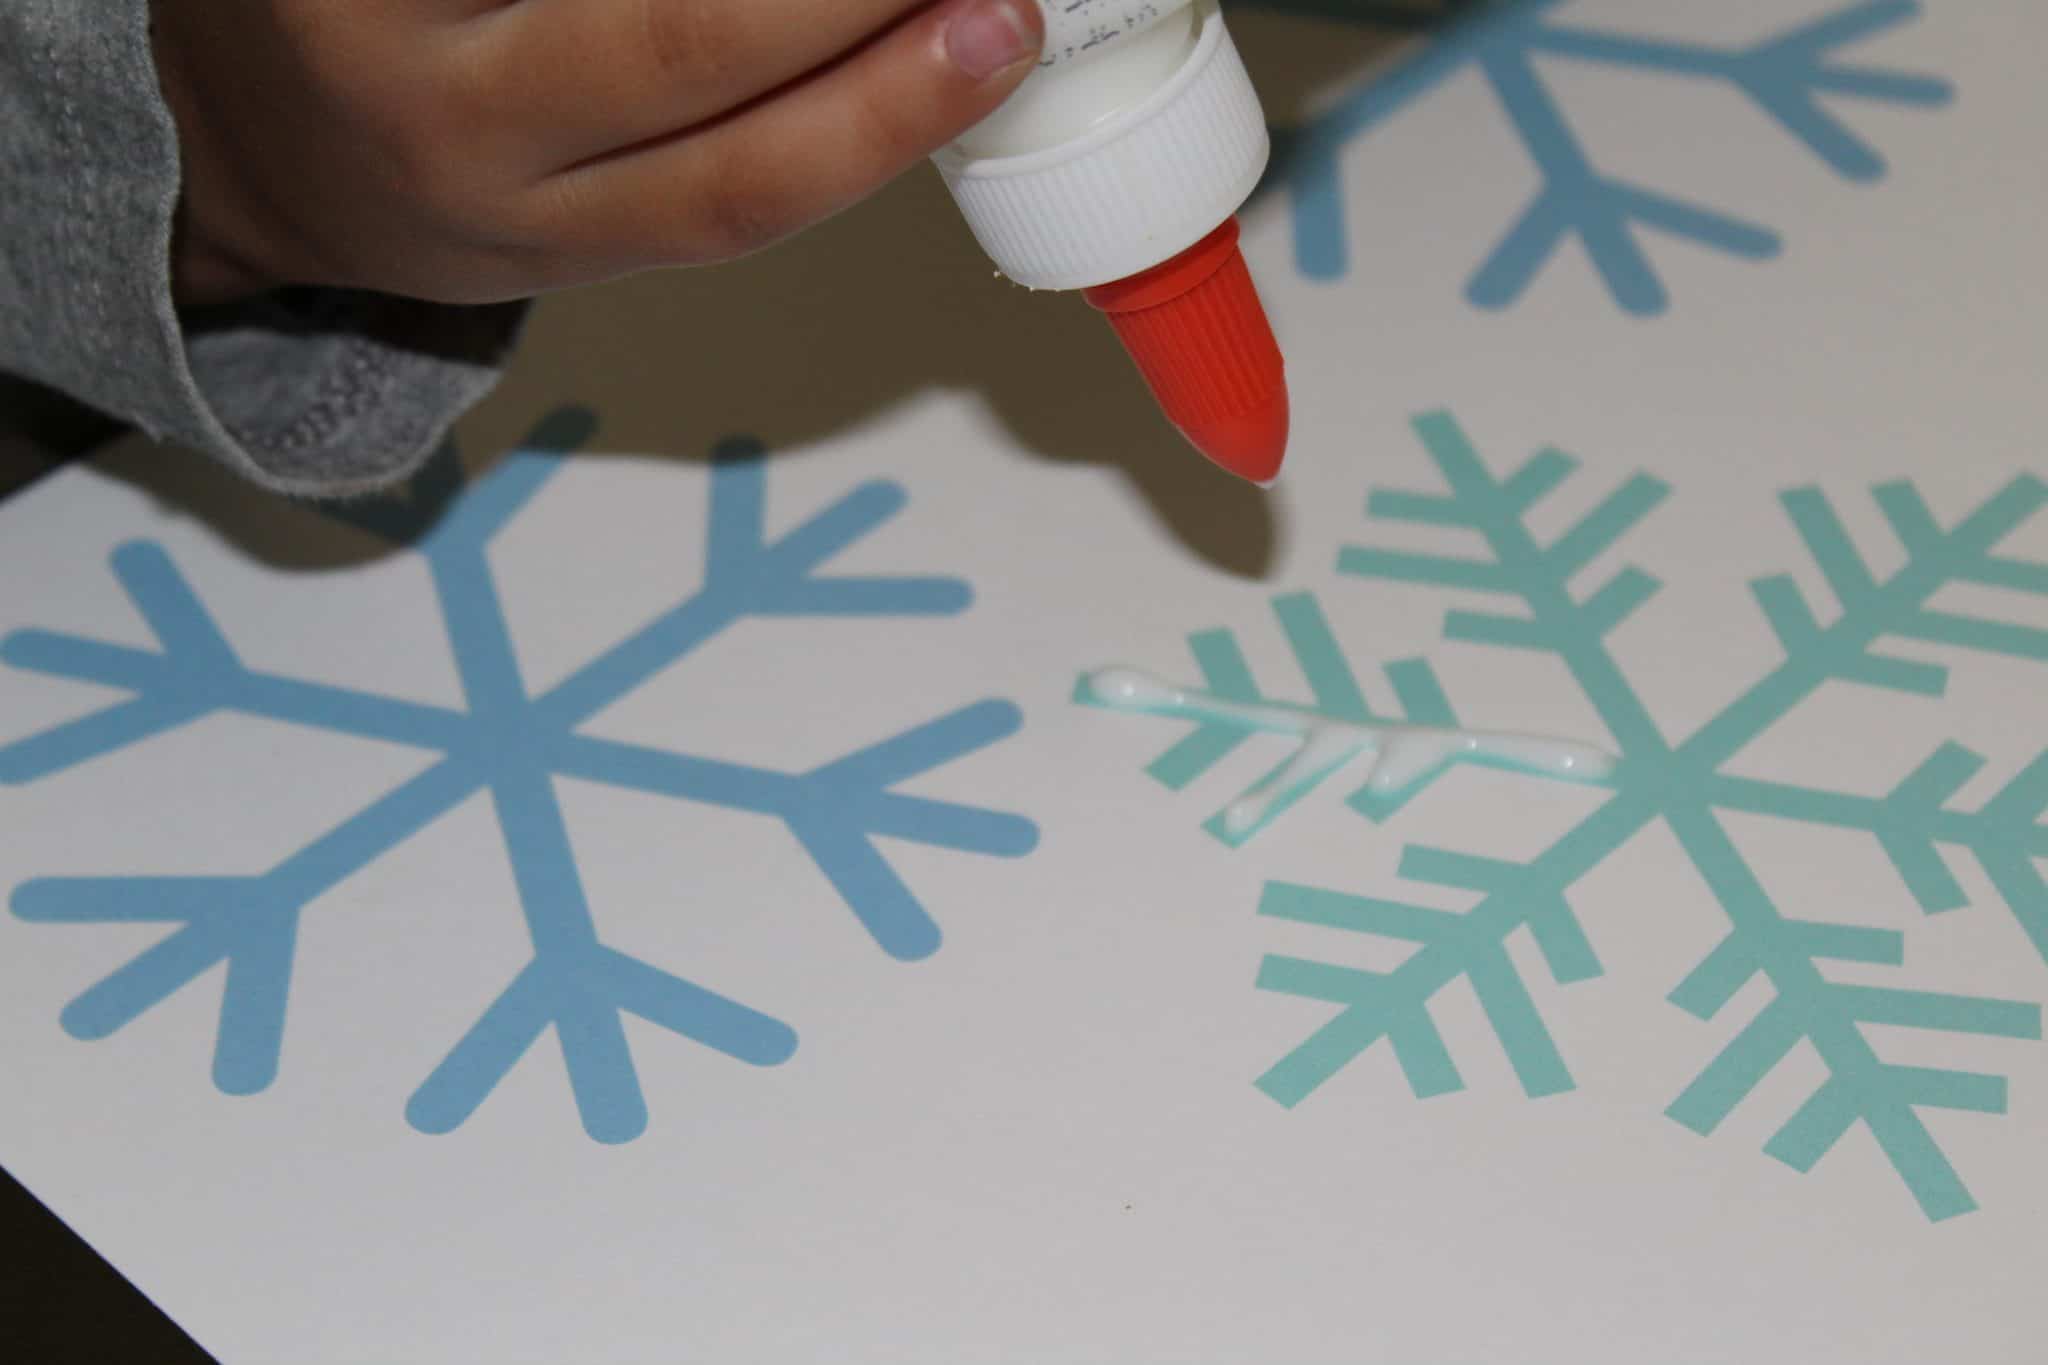
If you’re doing this snowflake art project with a toddler, I’m going to be honest- you might want to complete this step for them. I presented Abram, age 2, with the glue already applied to the snowflakes. The fine motor skills it would require are beyond him at the moment, but he was just as happy to shake salt and paint.
The Fun Part- Shake That Salt!
Clearly, we’re a fan of all things salty- and we’re pretty sure your kids will be too. (Side note: do you love my mason jar salt shakers as much as I do?? Get your own here!)
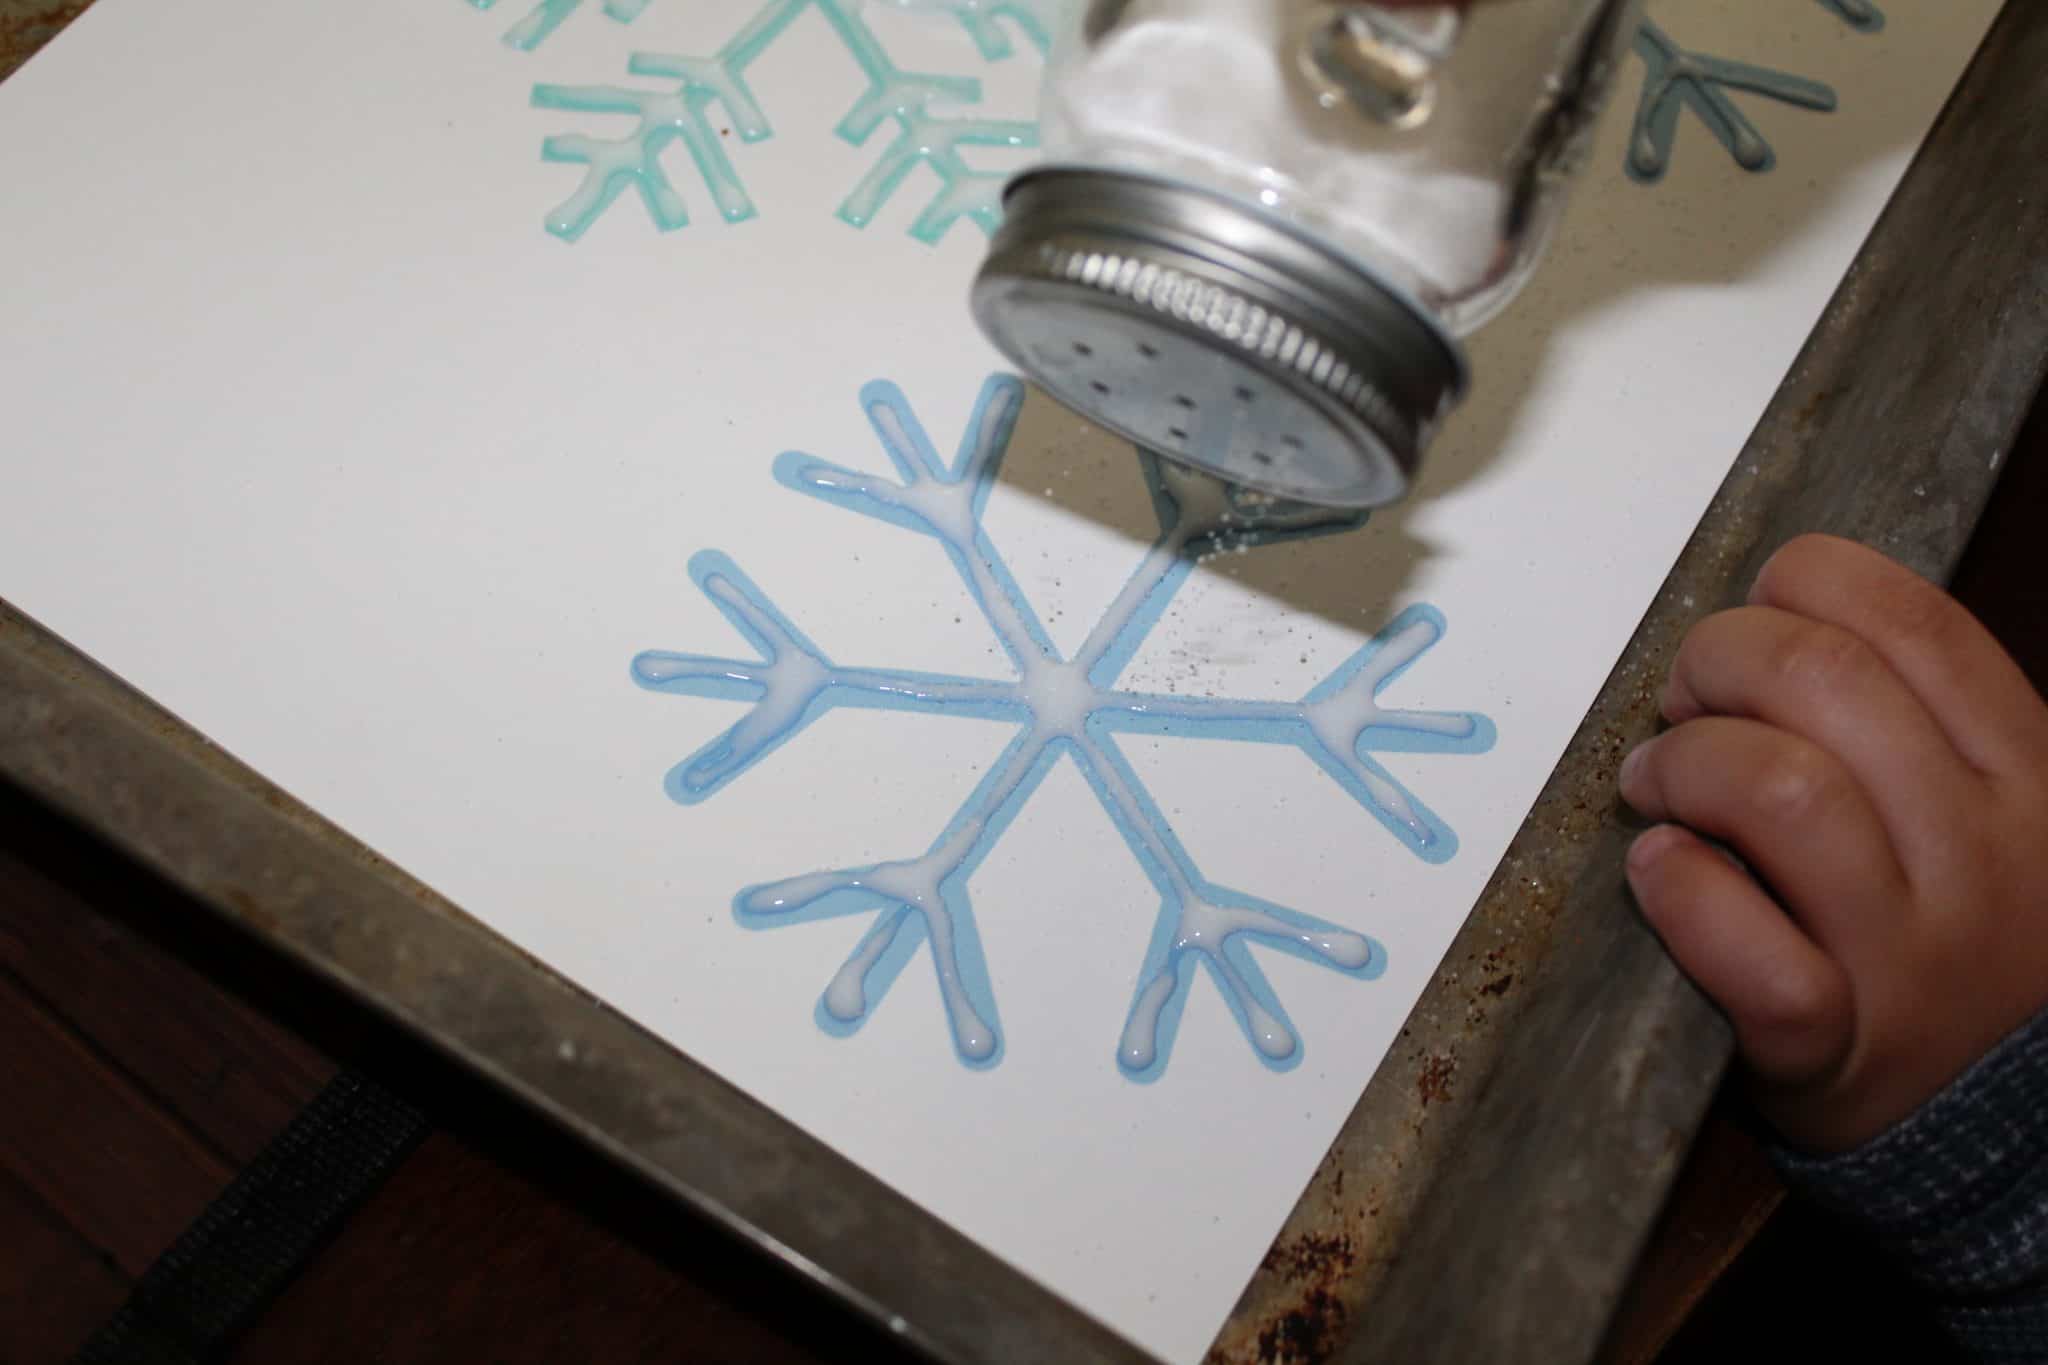
Place their paper in a shallow baking dish (we use a jelly roll pan like this one). We like something with a bit of height to it, since it helps to keep the salt where it’s supposed to be (and not on your floor).

Using the shaker of salt, kids will sprinkle their entire picture with salt. You want to make sure all of the glue is covered before moving on to the next step.
Shake It Off (The Salt, That Is)
You’ll find that salt has traveled all over your paper. To remove excess, simply pick up your paper and give it a light shake (over your baking sheet!). Any salt that landed on the glue will stay there, and any that didn’t will drop into the pan.
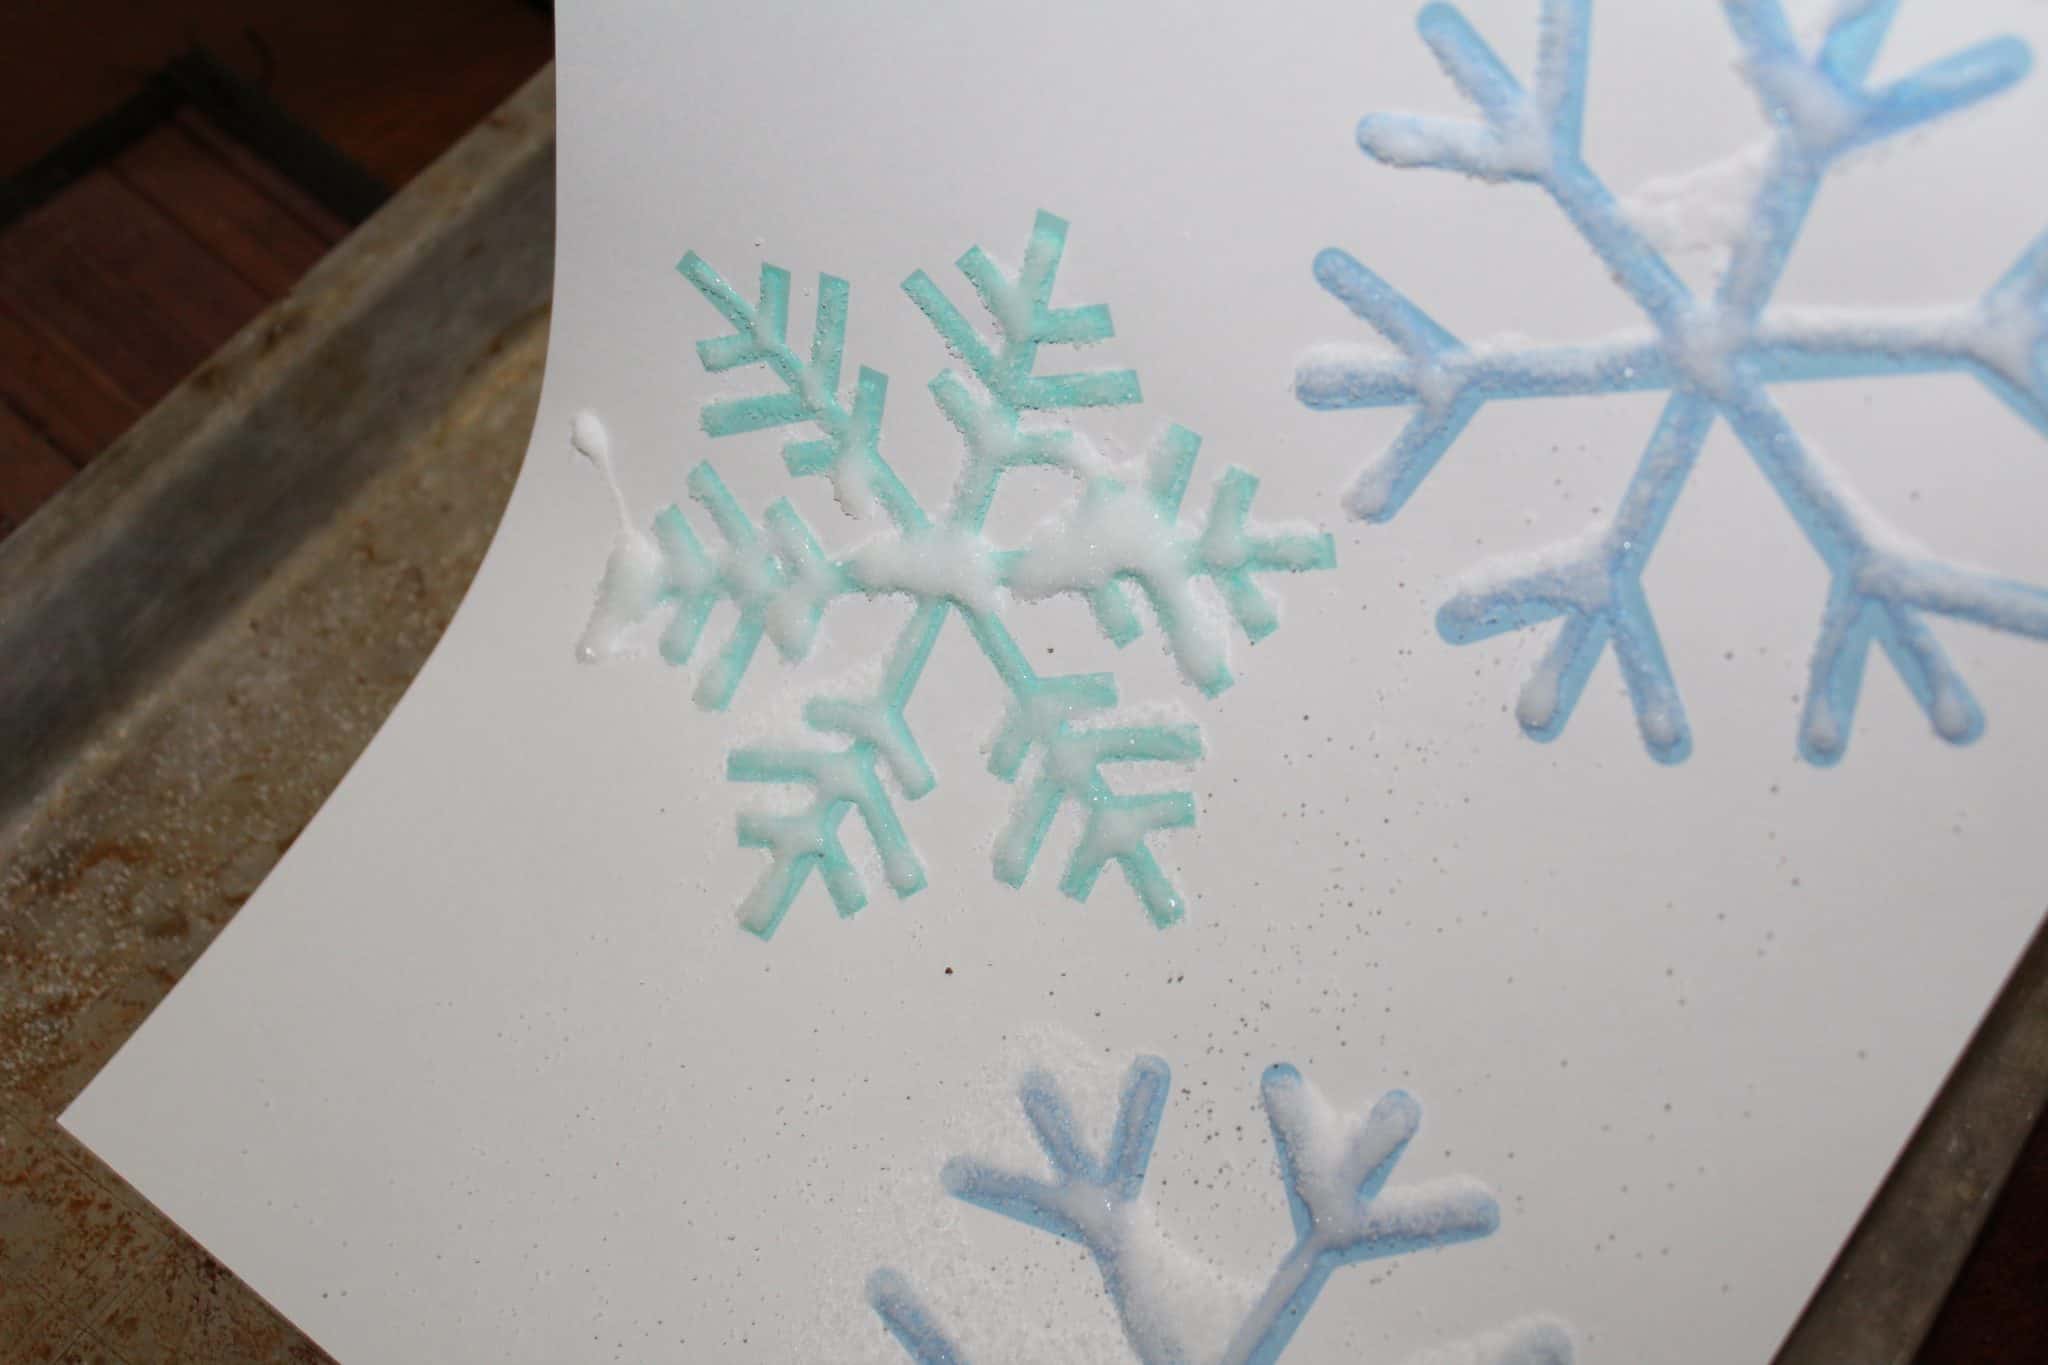
Now’s a great time to check if there are any areas where salt didn’t stick to the glue! If that happens, give another shake with your salt and make sure it gets fully coated.
Related Post: Puffy Paint Snowman Art
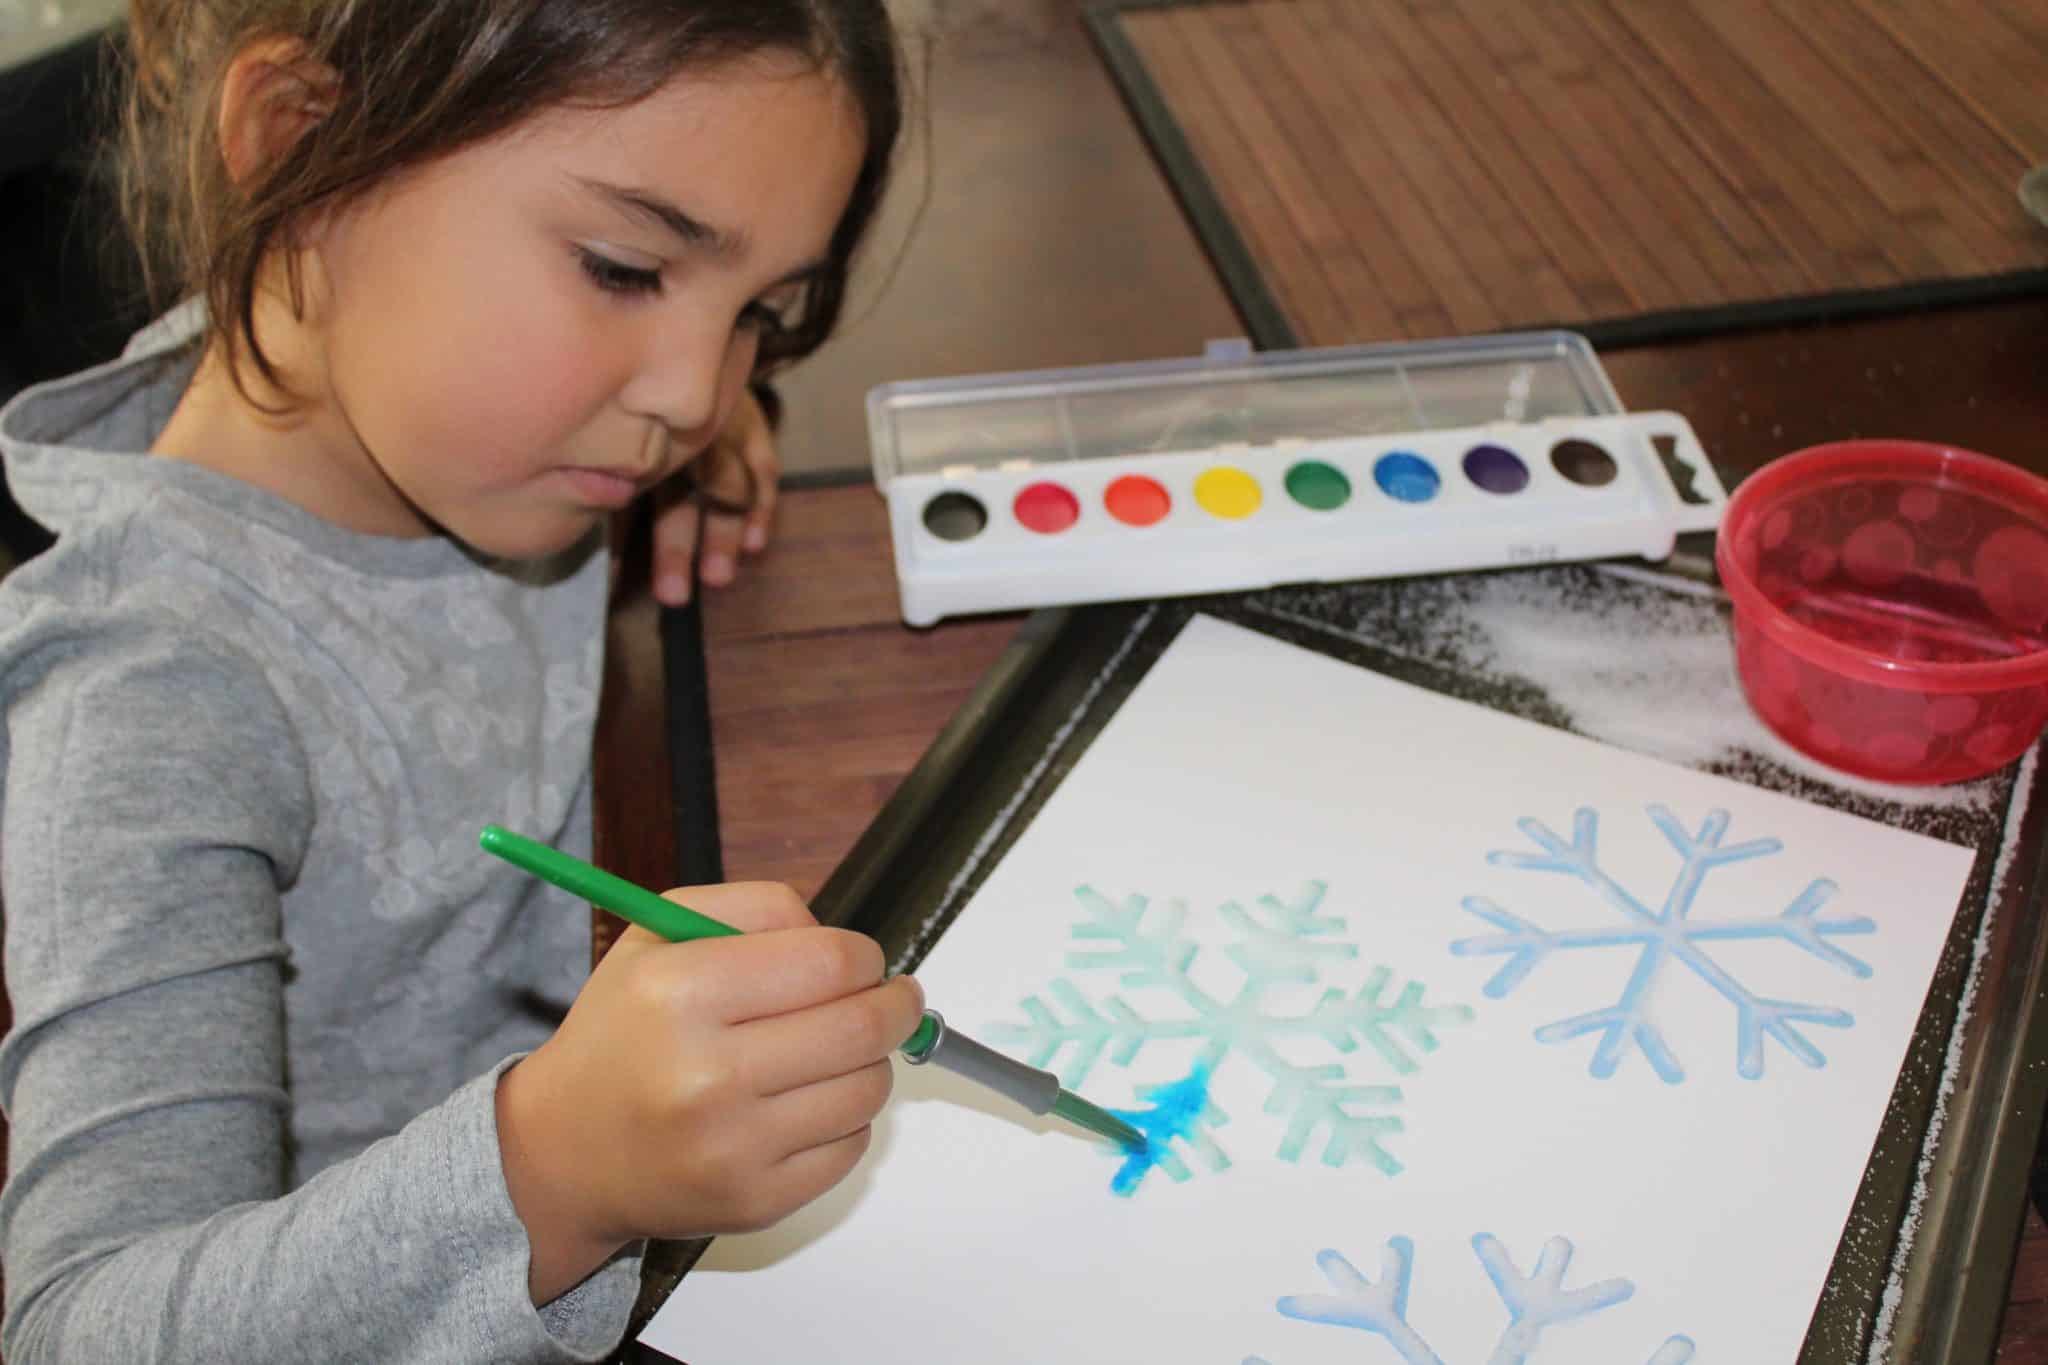
Snowflake Watercolor Salt Painting
This is important- make sure you move on to start painting while your glue is still wet. If you wait until later, it won’t be nearly as fun.
With a very wet brush and a lot of watercolor paint, touch your paintbrush to your salty glue. You should see the color spread along the salt. It’s SUPER fun to watch, and kids get a kick of watching the color move on its own.

Be careful to touch the brush very lightly to the salt. It doesn’t take much pressure (or much brushing!) to disturb the salt painting design you’ve made. Tell your kids to tap the salt with their paintbrush, and keep adding water and color often. You don’t want the whole thing to become a gluey-painty-mess!
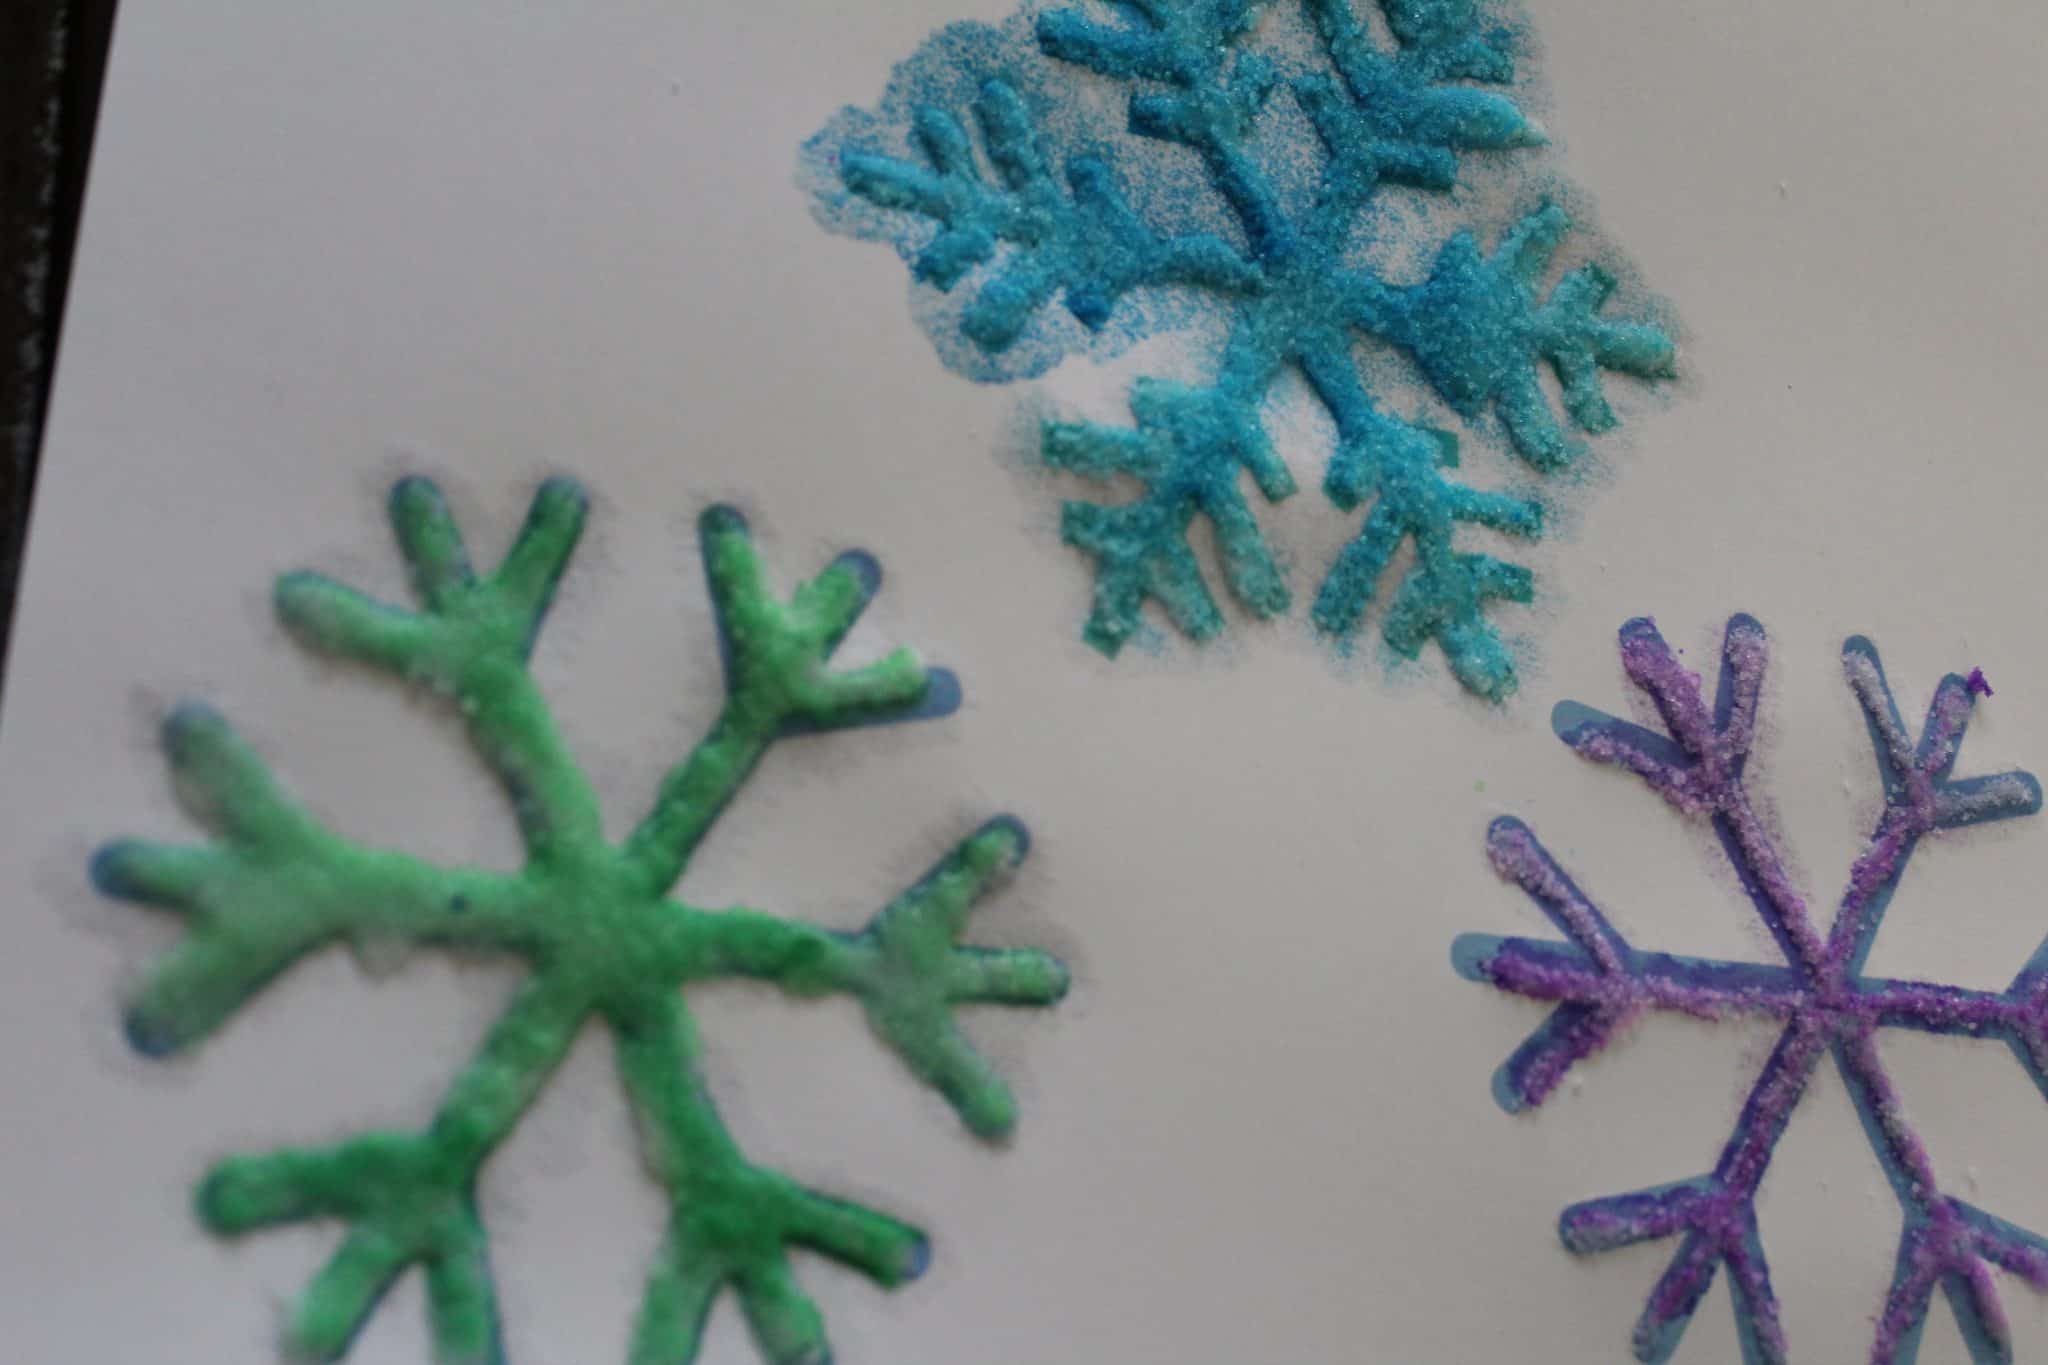
Your Finished Product
Set your snowflakes aside to dry for a while. The combination of salt, glue, and watercolor in this art project means that it may take a little longer than usual to dry completely.
Once it is dry, you can display it as is if you’d like. Beware that it may sprinkle some salt from time to time, so avoid handling it too much.
Since we did this project just before Christmas time, we decided to turn our snowflakes into homemade ornaments for a Christmas tree.
To make homemade snowflake ornaments, you can cut around each snowflake and send it through a laminator. (I felt a little silly when I bought a laminator but seriously- we use it ALL THE TIME. A total #momlife game changer.) Because of the texture, don’t be surprised if it doesn’t get as smooth as you might expect.
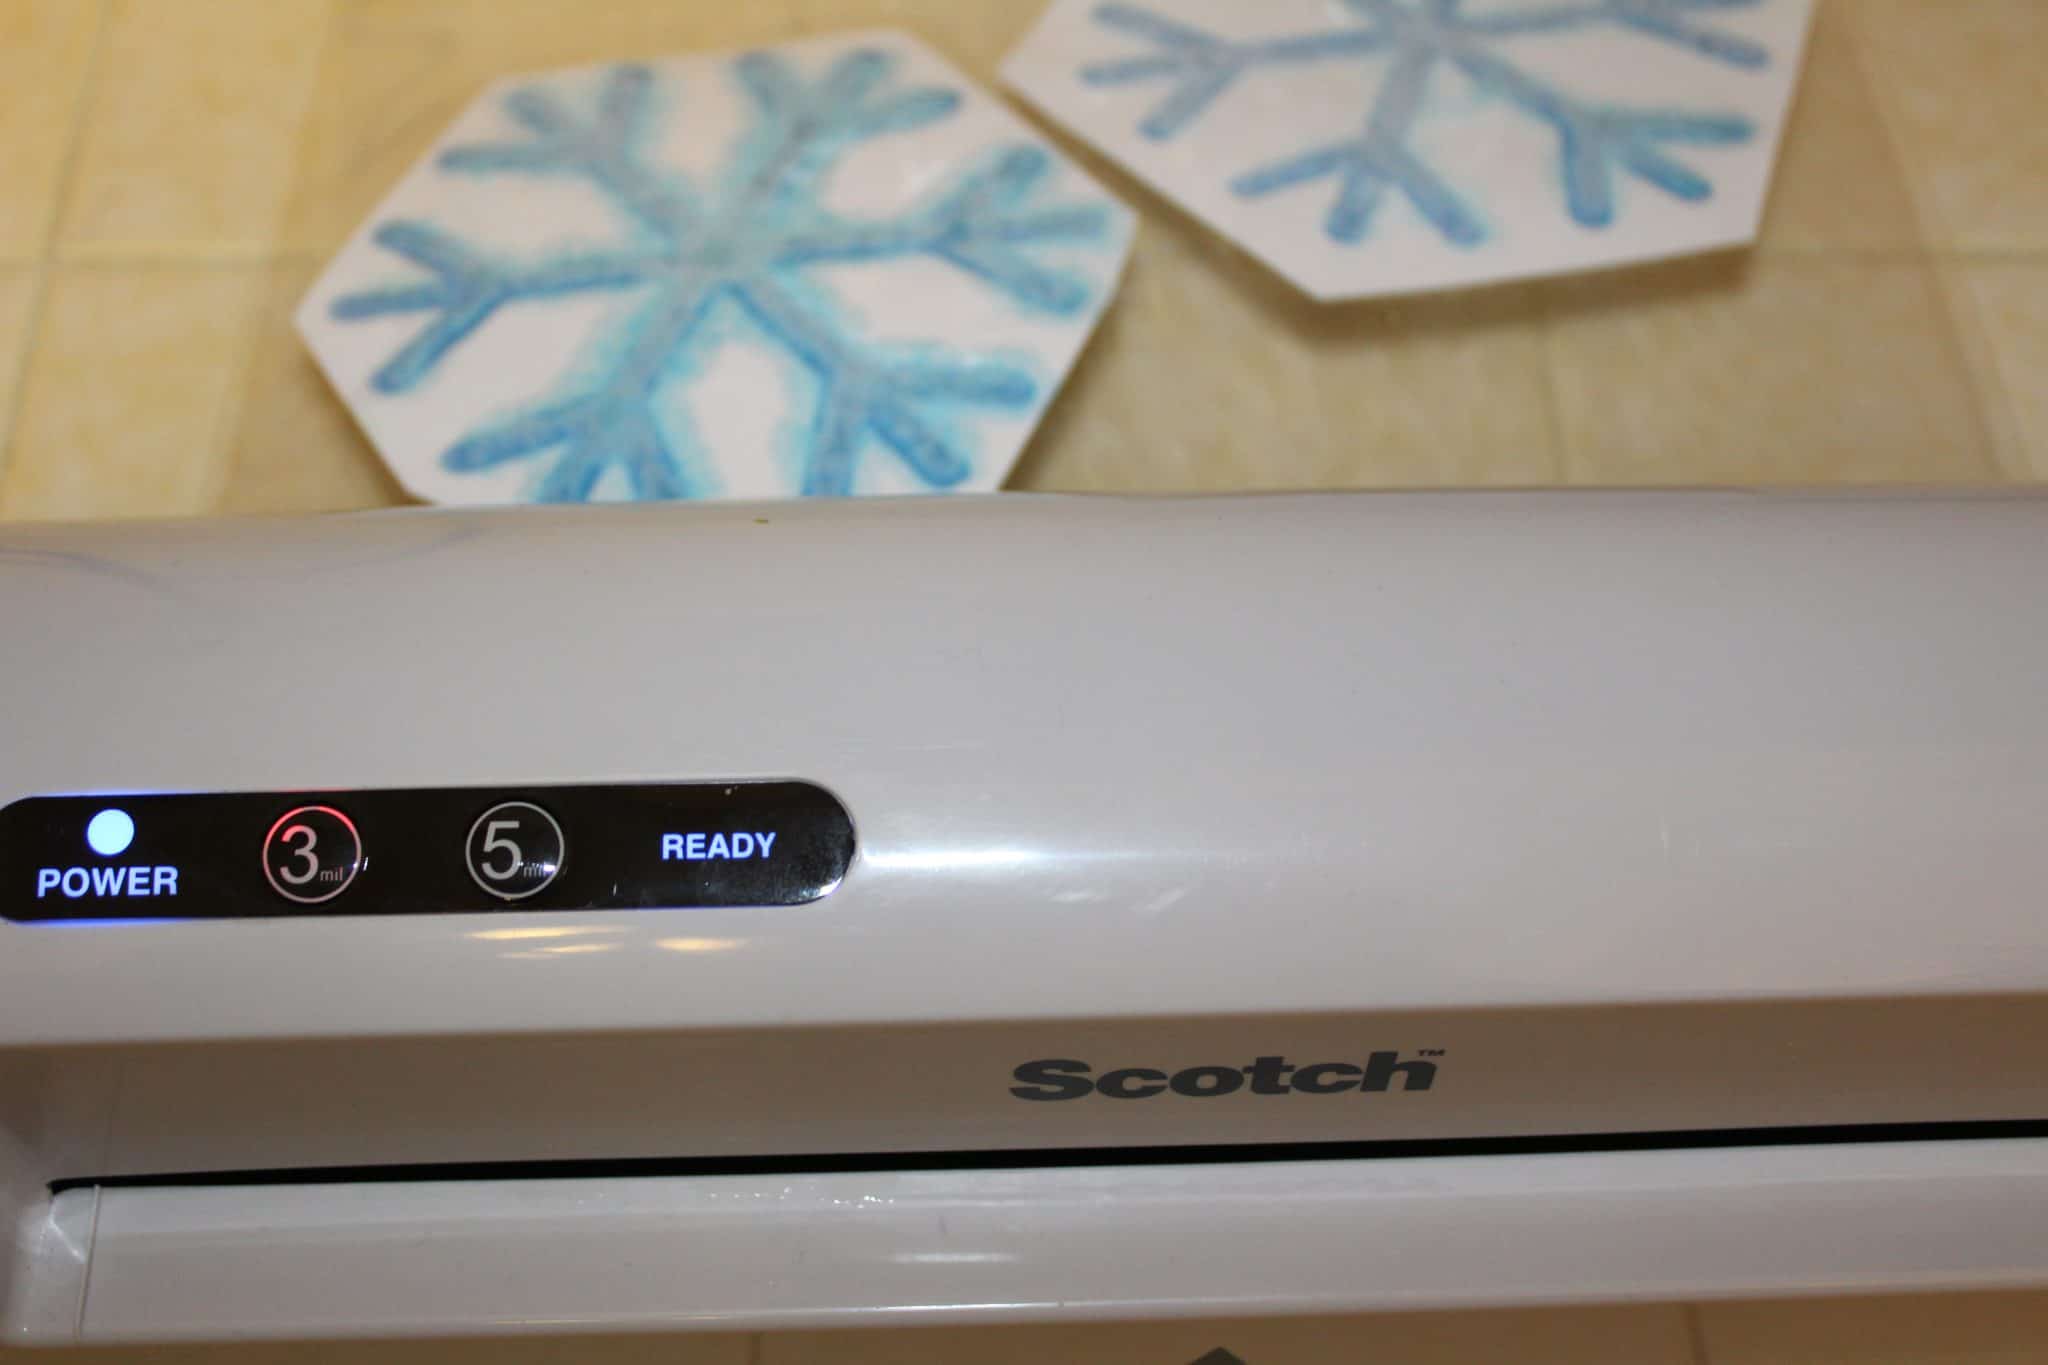
In fact, our laminator sealed only the edges of the snowflake. Which turned out to be a very happy accident- with the space in the center, some salt escaped, creating a snowglobe like effect with our homemade snowflake ornament. So fun to shake and play with before hanging on our tree.
Related Post: The Cutest Handmade Ornaments Kids Can Make
*******
We know you and your kids will have tons of fun with this sweet Snowflake Salt Painting. Don’t be surprised if they ask to repeat this fun winter art project (and don’t be afraid to let them go rogue with their designs, too).
Looking for more art inspiration? Check out these step-by-step (AND low prep!) posts.
Hello! Do you think spraying the ornament with an aerosol spray glue might also preserve the ornament?
Yes, I think so! Just make sure it’s totally dry first (the glue takes a while to set)
Such a nice activity to do with kids!!! Love it xx