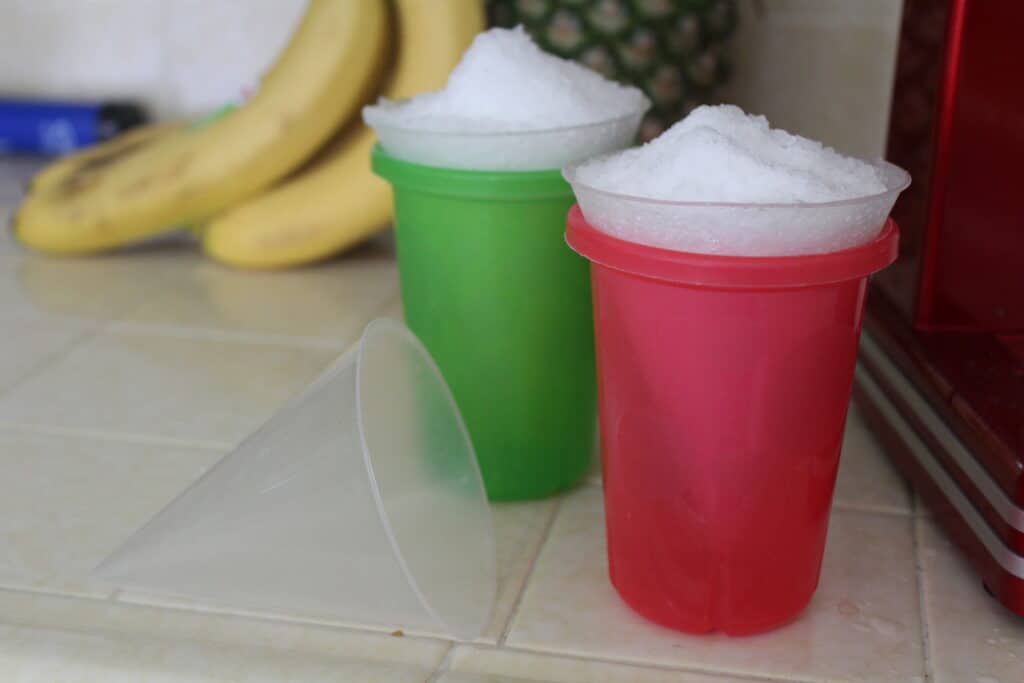
Wondering how to make a snow cone at home? We’ve got the best information on how to make snow cones without a machine (and the best snow cone maker for kids, if you want to get one!) along with a delicious snow cone syrup recipe using Kool Aid! Make summer a little cooler (and a little more delicious) with our DIY snow cones at home.
As the weather heats up, we’re excited for all of our summer favorites. Water slides and sunshine, days by the pool and long lazy days- and most of all? Cool, sweet summer treats.
Our kids love all things dessert. Increasingly though, we’re trying to keep our treats in house to avoid unnecessary trips away from home. We’ve made ice cream and popsicles, but our kids were craving the shave ice we typically get each summer.
We set out to figure out the very best way to make DIY snow cones at home. We’ve been fine tuning our shave ice recipe for a while now, and we’re finally ready to share it.
So if your kids have been wondering how to make a snow cone, look no further! From the best snow cone maker for kids to how to make snow cone syrup using Kool Aid, we’ve got everything you need for a delicious snow cone party right there at home.
This post contains affiliate links. You can read more at our disclosures page. Thanks for supporting The Salty Mamas!
The Best Snow Cone Maker for Kids
First of all, the value of a good snow cone maker for kids can’t be understated. You want a snow cone machine for home that doesn’t leave you with big, crunchy bits of ice. When it comes to snow cones, you want your shave ice to be as fine as possible.
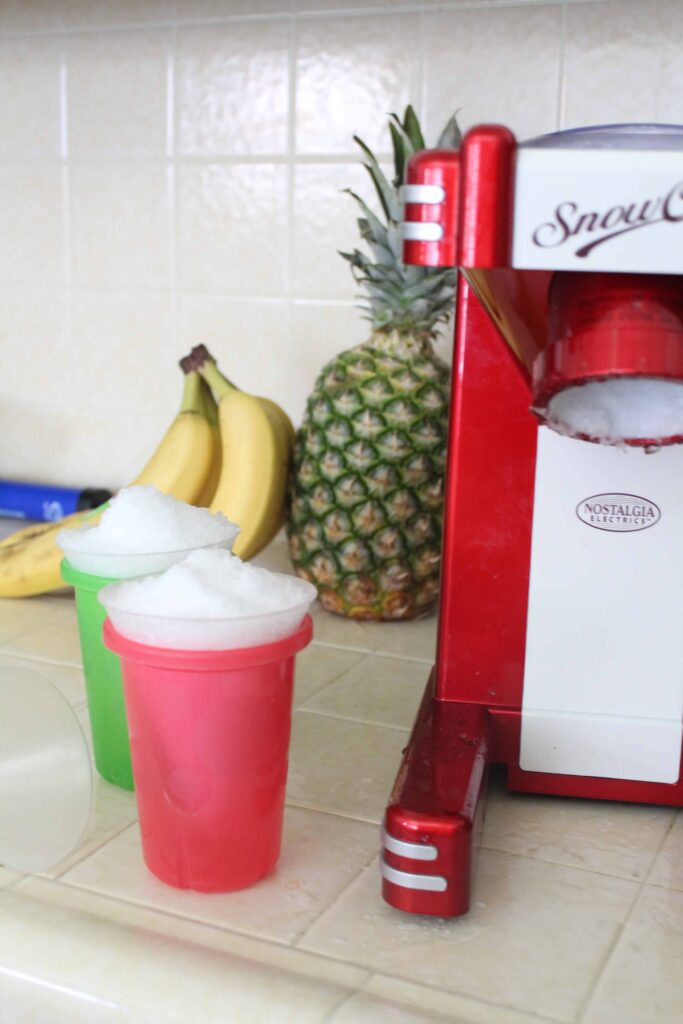
We are totally obsessed with our Nostalgia Snow Cone Machine. I love how easy this machine is to use, and how it’s doesn’t have a lot of fussy parts to clean afterwards.
Some snow cone machines require you to first freeze ice into molds. This snow cone maker for home uses regular old ice from the freezer, which helps us get snow cones into the kids’ hands (and ours!) even faster. It’s an all around winner!
How Do you Make a Snow Cone without a Machine?
Don’t have a snow cone machine? No problem! It’s not all that hard to make snow cones without a machine.
The easiest solution is to place ice in a heavy duty blender (we have used our Ninja blender with good success). Use a pulse setting, or put in on the puree setting, Keep an eye on the ice- check frequently to make sure that the ice doesn’t get pureed down too fine (as if there’s such a thing as too fine shaved ice!)
If you don’t have a blender either, you can always go old school. Place the ice in a Ziploc bag (and then put it in another Ziploc bag just to be on the safe side). Put it on a tray, like a cookie sheet with a rim, to catch any leaks.
Use a meat mallet to crush the ice, or go over it with a rolling pin. We can actually picture our kids LOVING getting in on the action of making snow cones without a machine. I mean, what kid doesn’t want to use a hammer, right?
Related Post: STEM in Action: Homemade Ice Cream in a Bag for Kids
How to Make Snow Cones without Syrup
Of course, the easiest solution here is going to be to grab some snow cone syrup. But what if you don’t have any on hand?
No syrup? No problem. You can use just about anything to top your snow cones. Consider using juice or Capri Sun pouches, or pouring some soda over the top.
If you have Kool Aid packets handy, you can also make a super affordable snow cone syrup from scratch. See the recipe below!
How to Make Snow Cone Syrup with Kool Aid
Our kids VERY favorite way to eat snow cones is with our homemade snow cone syrup recipe using Kool Aid. They love it so much that they were actually disappointed with the snow cones we bought from the snow cone truck that sometimes comes to our neighborhood!
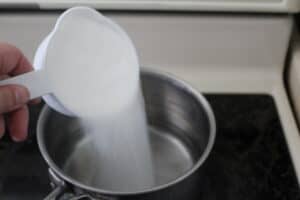
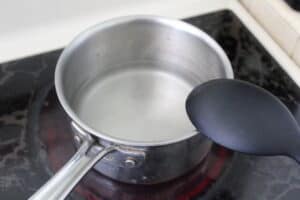
To make snow cone syrup at home, you’re basically going to make a Kool Aid flavored simple syrup. Bring one cup of water and one cup of sugar to a boil in a small sauce pan.
Stir frequently until the sugar dissolves completely into the water, leaving the water clear.
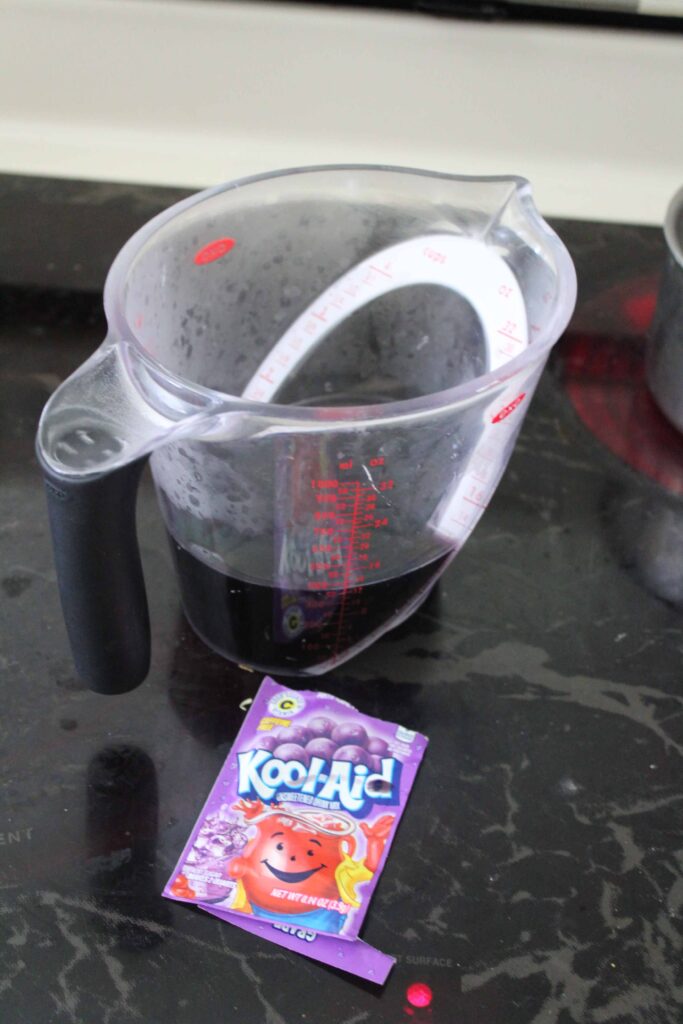
Remove your simple syrup from the heat, and stir in one packet of Kool Aid (our favorite flavors are Tropical Punch, Cherry, and Grape, but you can use any flavors you’d like.
Allow to cool to room temperature before moving to the fridge.
Homemade Kool Aid Snow Cone Syrup
Ingredients
- 1 cup water
- 1 cup sugar
- 1 packet Kool Aid (any flavor)
Instructions
Combine water and sugar in a small saucepan
Stir over medium heat until sugar dissolves completely (do not allow to boil)
Remove from heat. Stir in 1 packet of unsweetened Kool Aid mix.
Allow to cool before moving to the fridge.
How Do You Store Homemade Kool Aid Snow Cone Syrup?
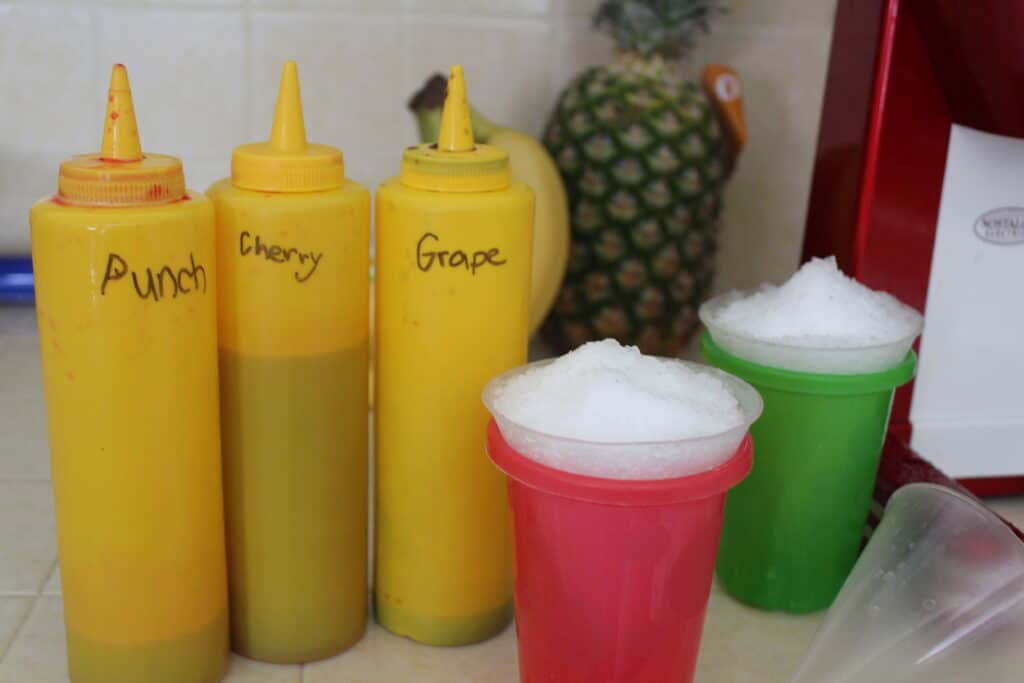
After the Kool Aid snow cone syrup is back at room temperature, we use a funnel to pour the different flavors into condiment bottles (we got ours at the dollar store, but you can also find condiment bottles online). We use a Sharpie to write the flavors on the outside, cause we’re classy like that.
Place your homemade snow cone syrup in the fridge. You want to let it get really cold before trying to make snow cones with it, so allow it to sit in the fridge for a couple of hours before using it.
Your snow cone syrups should last in the fridge for about a week, but that may vary depending on the temperature in your fridge (and how many snow cones you eat at a time).
How to Make Alcoholic Snow Cones
Okay, parents- snow cones aren’t just for kids! If you want to step it up a notch, consider making a boozy snow cone for yourself.
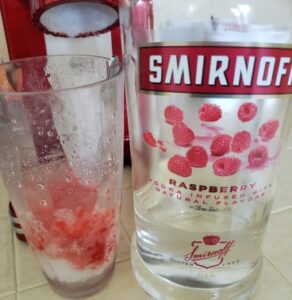
You can add some alcohol to your syrup, but honestly, I always get afraid that I’m going to accidentally give my kids the alcoholic version if I do that. Instead, I add about a half shot of raspberry vodka over the top of my snow cone after adding the syrup.
Make sure you’re really careful to keep it out of the reach of your kids, especially since it’s going to look identical to theirs! We usually gobble ours up fast, since they’re so delicious, so it’s never been a problem.
Related Post: Spiked Slushie Recipe
At Home Snow Cone Accessories
Don’t forget to grab some snow cone cups and straws to make life easier! If you’re serving a crowd or looking for an easy solution, grab these disposable cups and straws.
Also, we love to use take and toss cups to hold the snow cones while we’re making them. (And our kids keep their snow cones in the cups to keep their hands from getting cold, too.)
Trying to be more ecofriendly? Pick up some reusable snow cone cups and reusable straws. They’re a little more expensive up front, but they’ll actually save you lots of money in the long run.
*******
With a few simple tricks (and some crazy affordable ingredients!) you and your kids can enjoy the icy cool goodness of snow cones all summer, right from the comfort of your very own home. Grab your snow cone maker and get to making syrup- we promise your kids will thank you for it!
And we’ve just got to know- what’s YOUR favorite flavor of snow cones? Tell us in the comments, and we’ll test out some new recipes just for you!
Looking for more ways to have BIG fun on a HOT day? Head here next-

