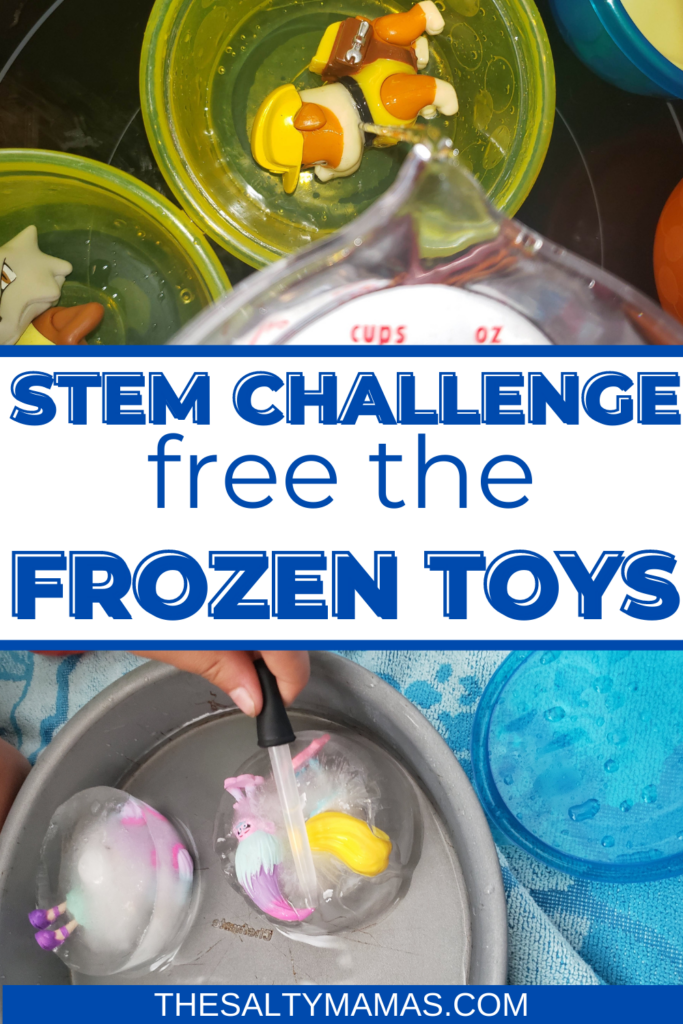
Got antsy kids, and need an activity that will take up some time? Check out this Frozen Toys Ice Challenge for kids! It’s low prep, high fun, and encourages kids to test out the scientific process. It’s an easy STEM preschool activity your kids (and YOU!) will love.
Do you ever find yourself with a block of time with your kids that you’ve just GOT to fill somehow? Maybe you need to prep dinner, or you’ve used up all your screen time for the day, or they’re just driving you nuts and need a little more structure. Whatever, the scenario, you need an activity to fill some time, and you’re willing to try ANYTHING.
And so it was that this Frozen Toys Ice Challenge was born.
Around 2 p.m., it became abundantly clear that A.) my two year old was not going to take a nap, so B.) he would go to bed early, and thus C.) our family walk that takes up the last hour of the day was clearly NOT going to happen. So what in the world would I do with Lila?
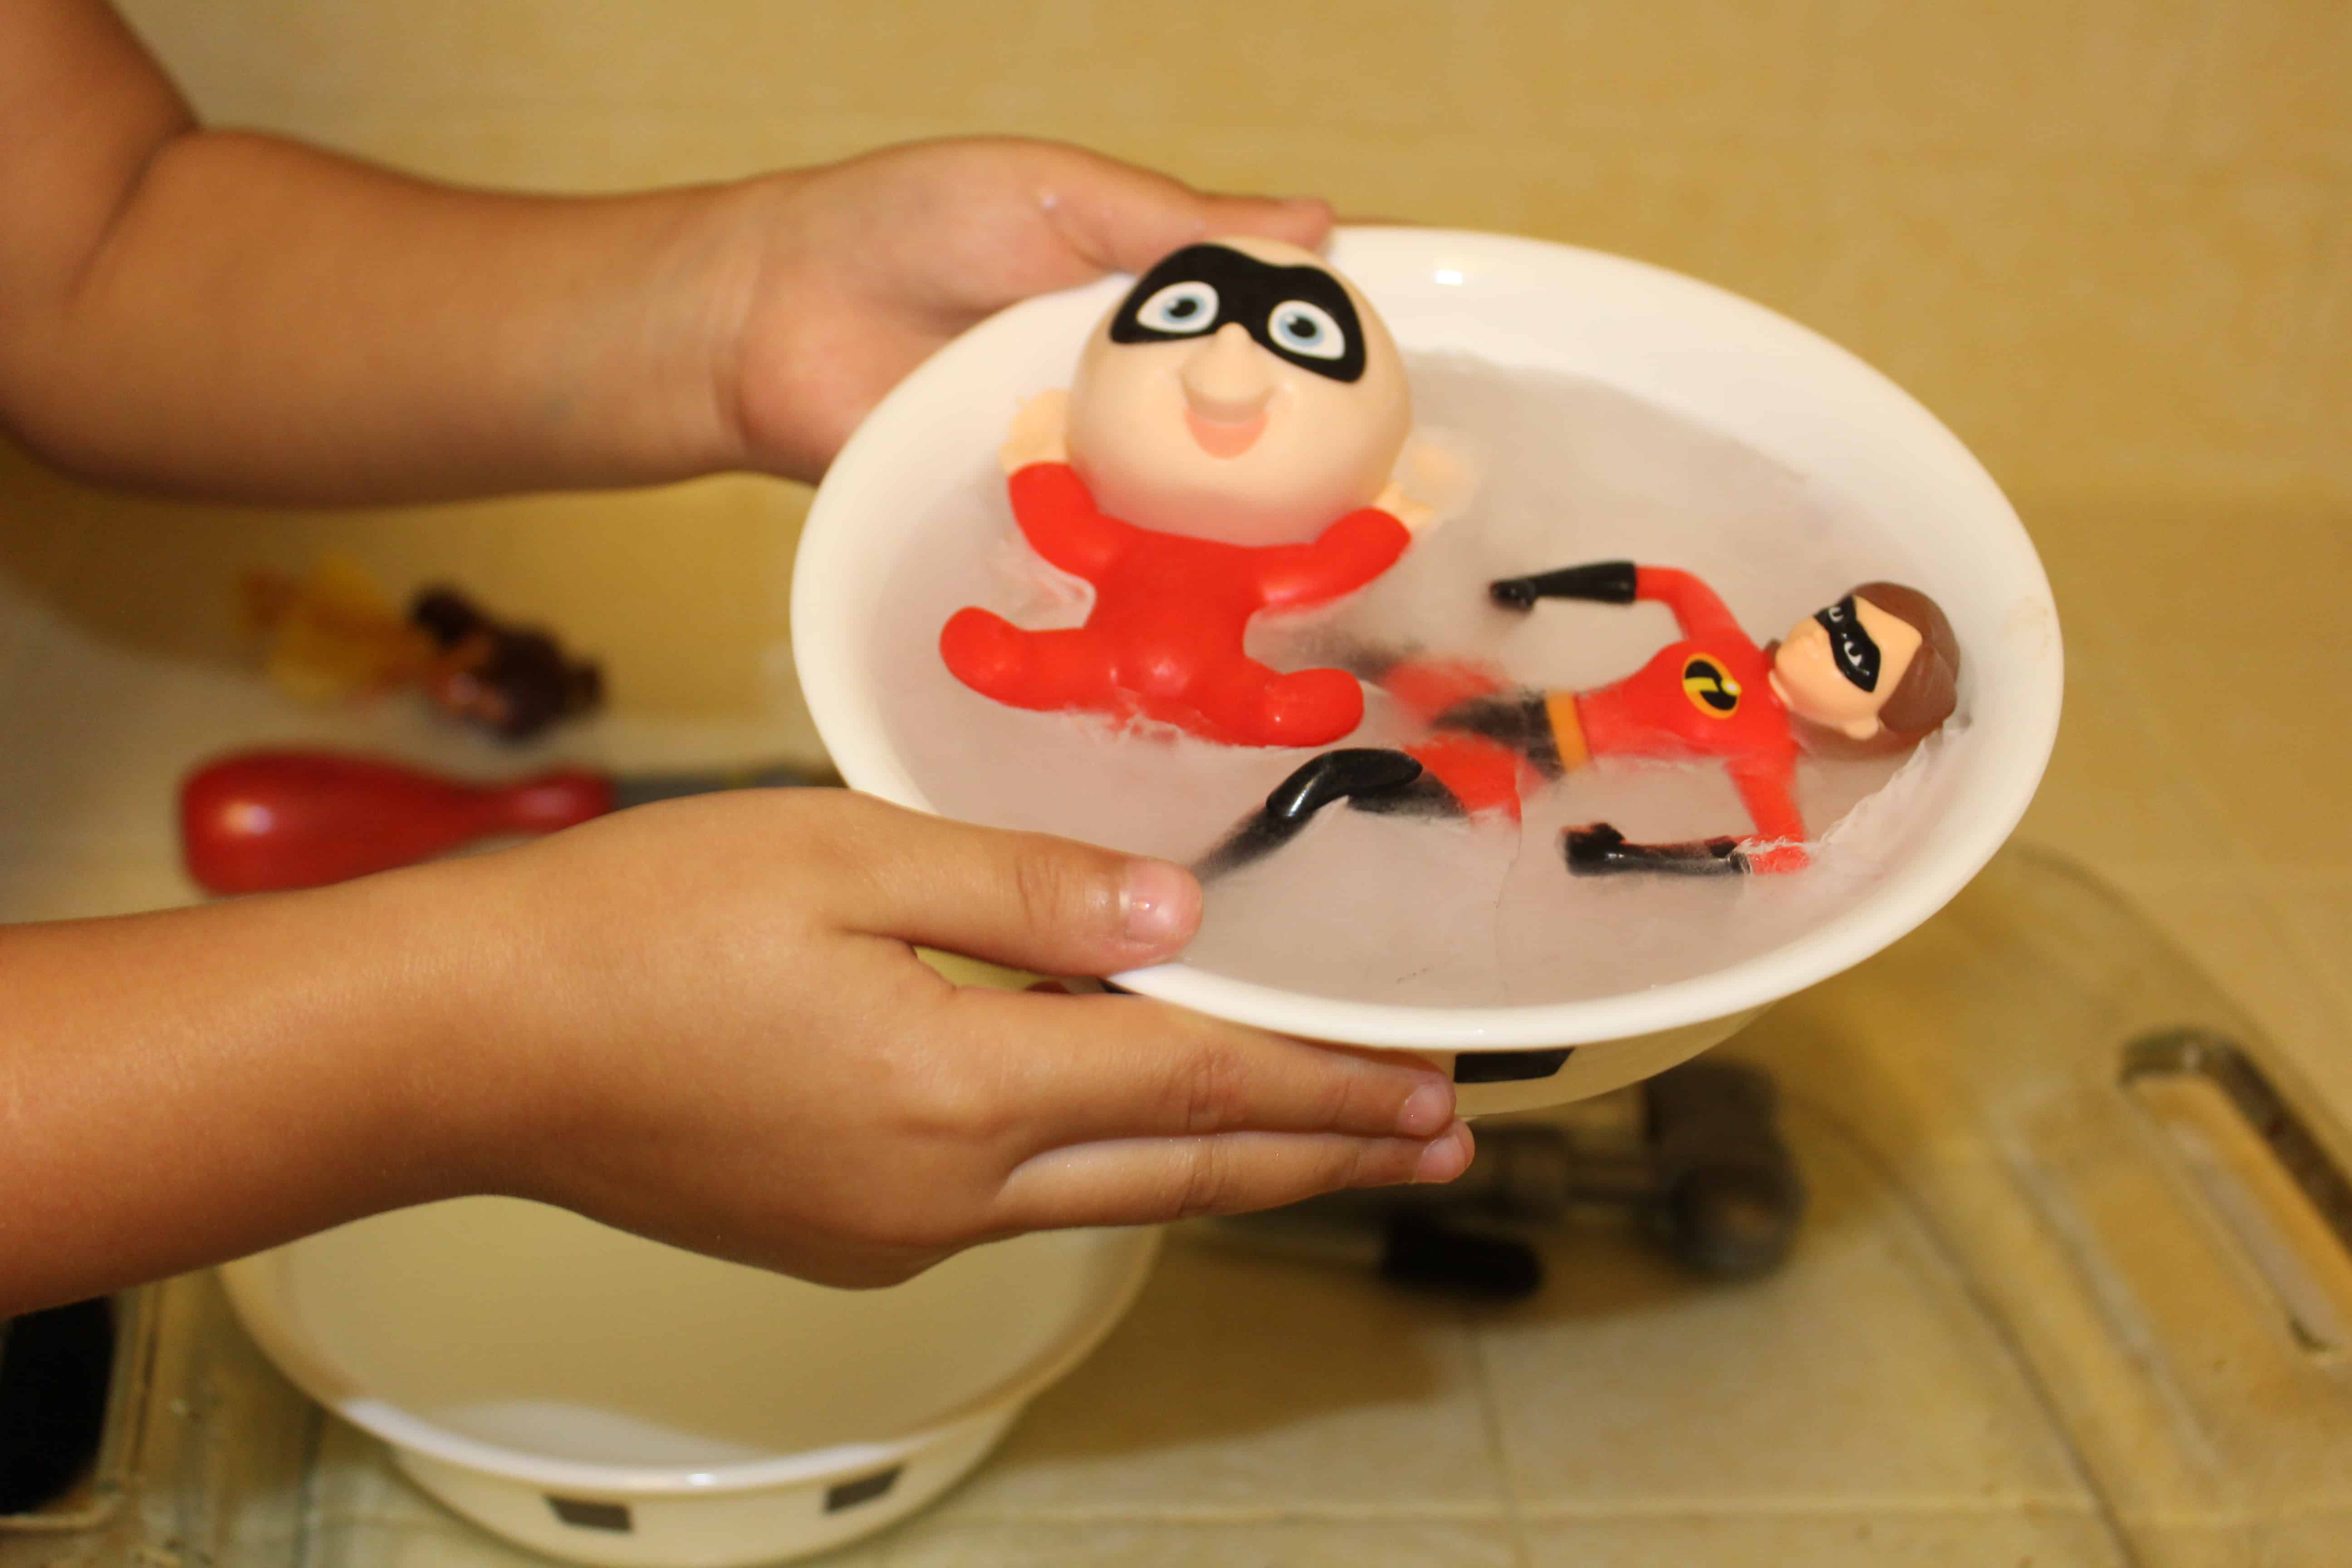
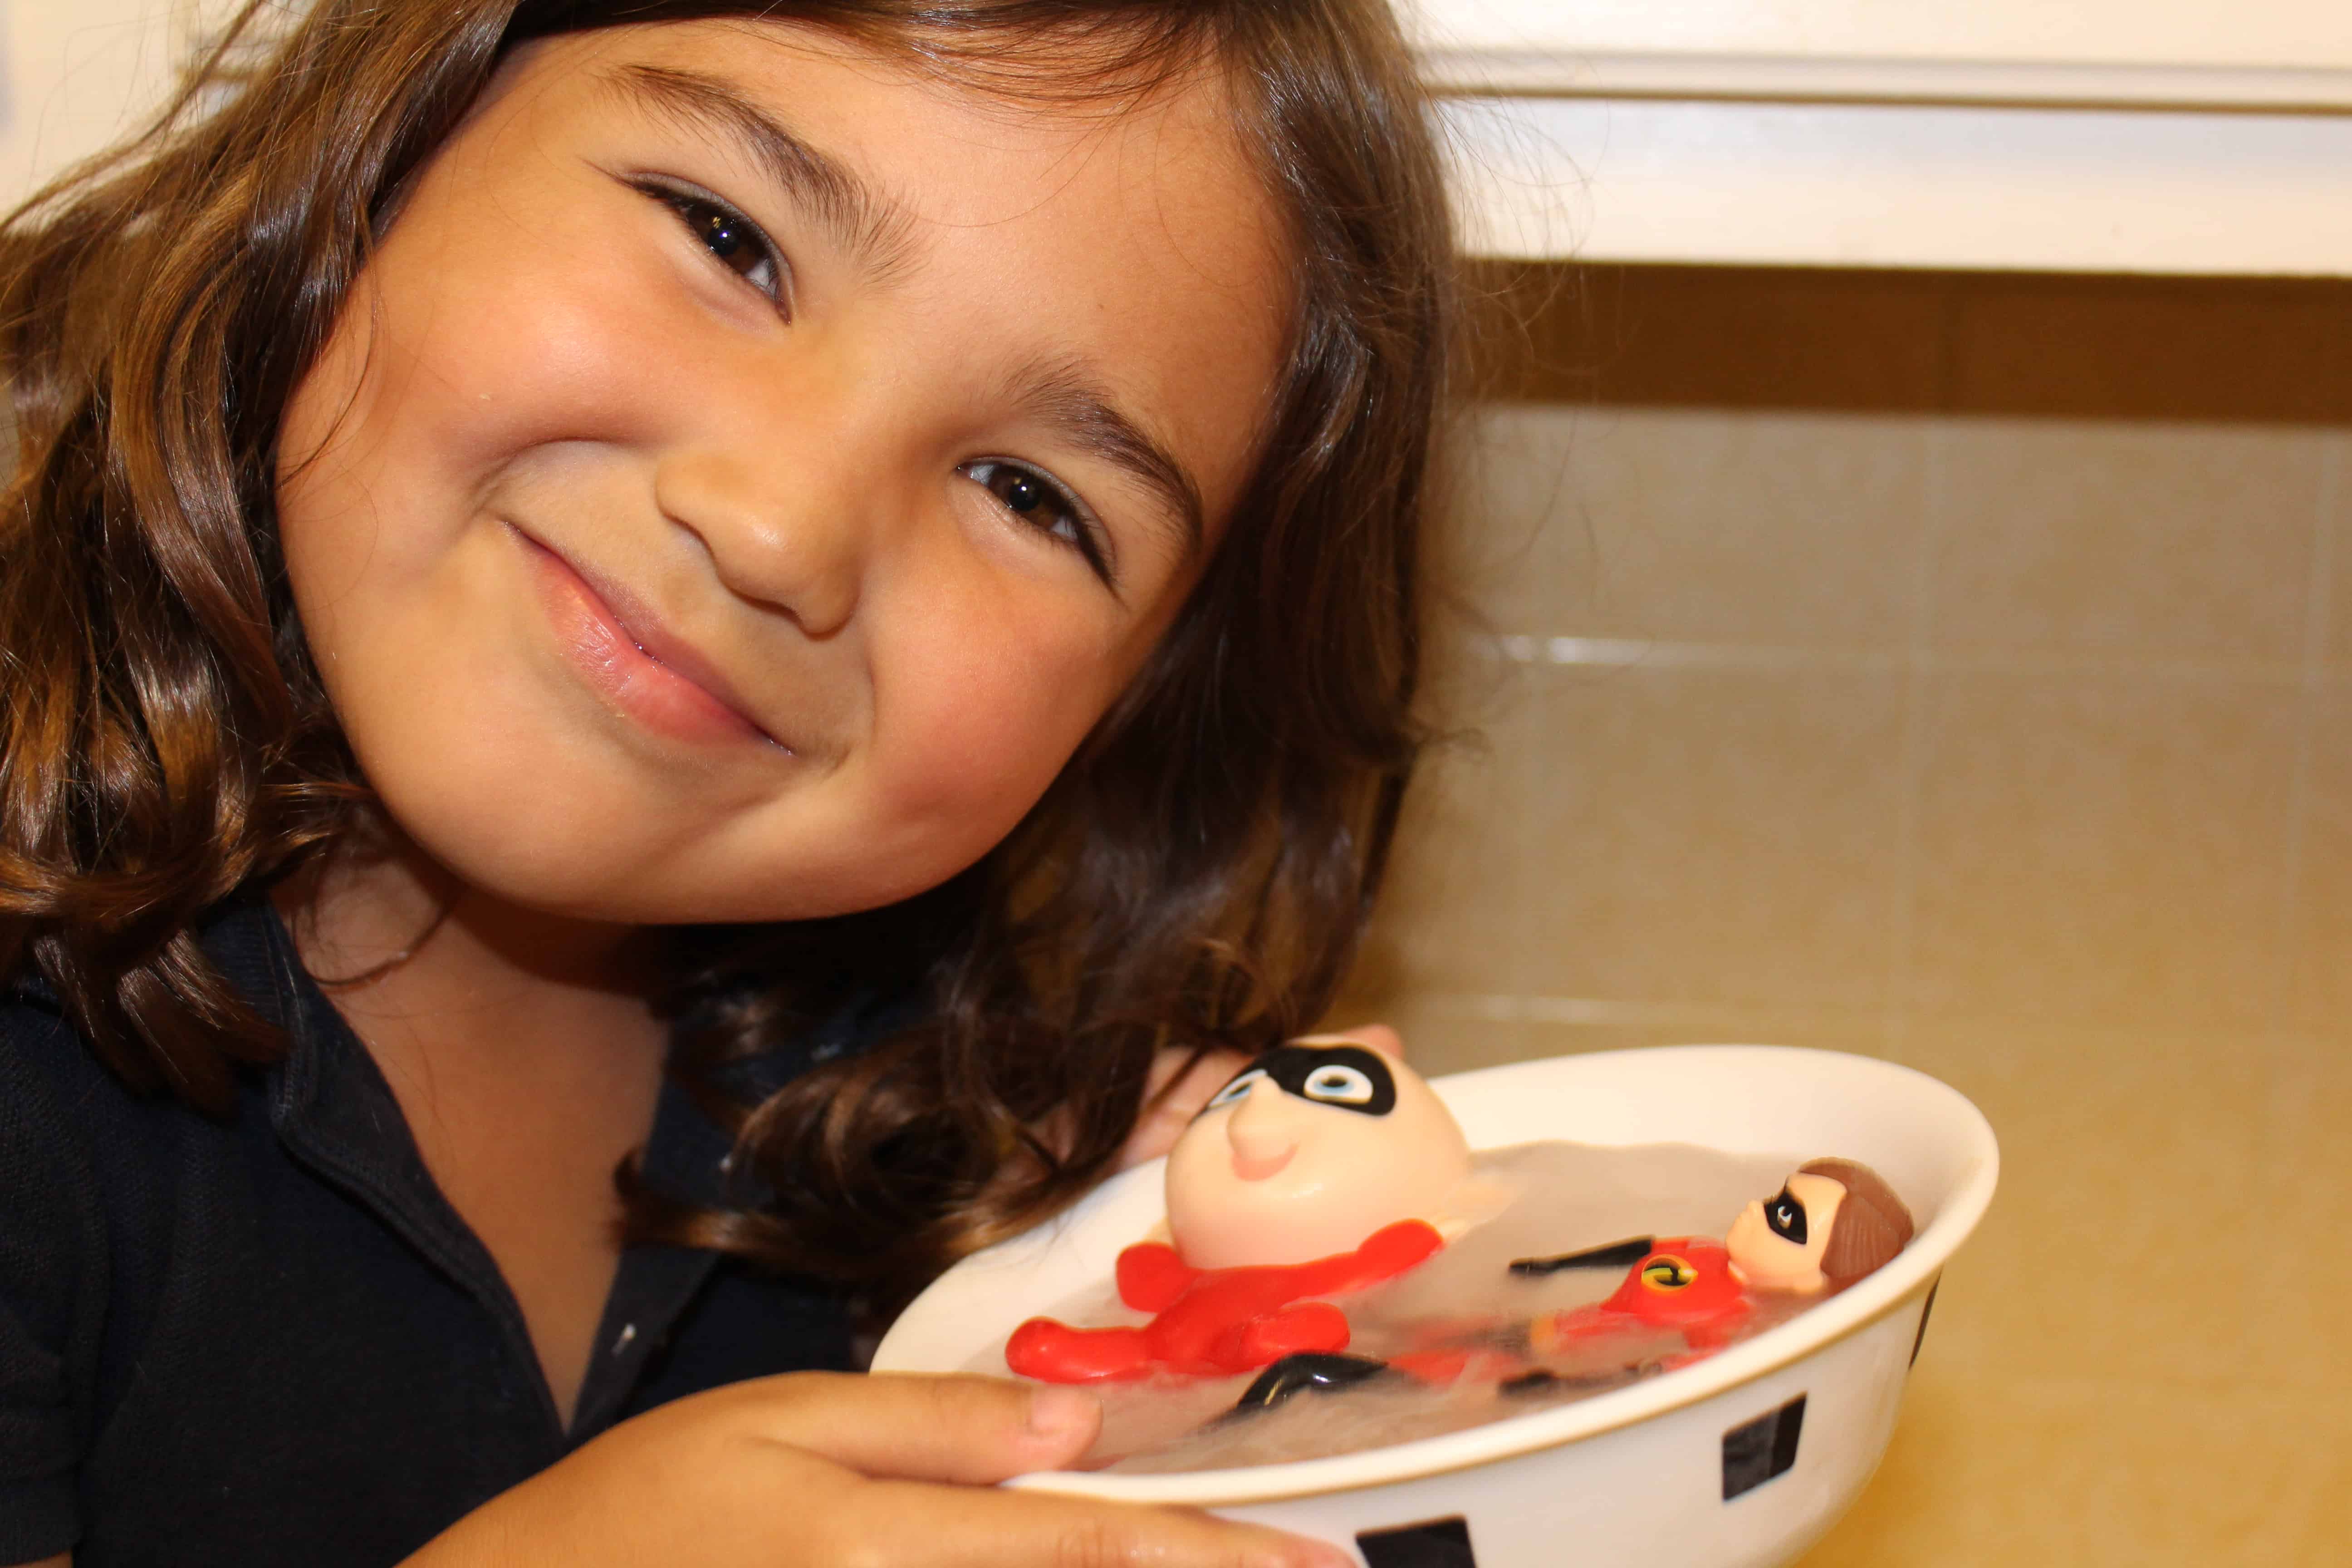
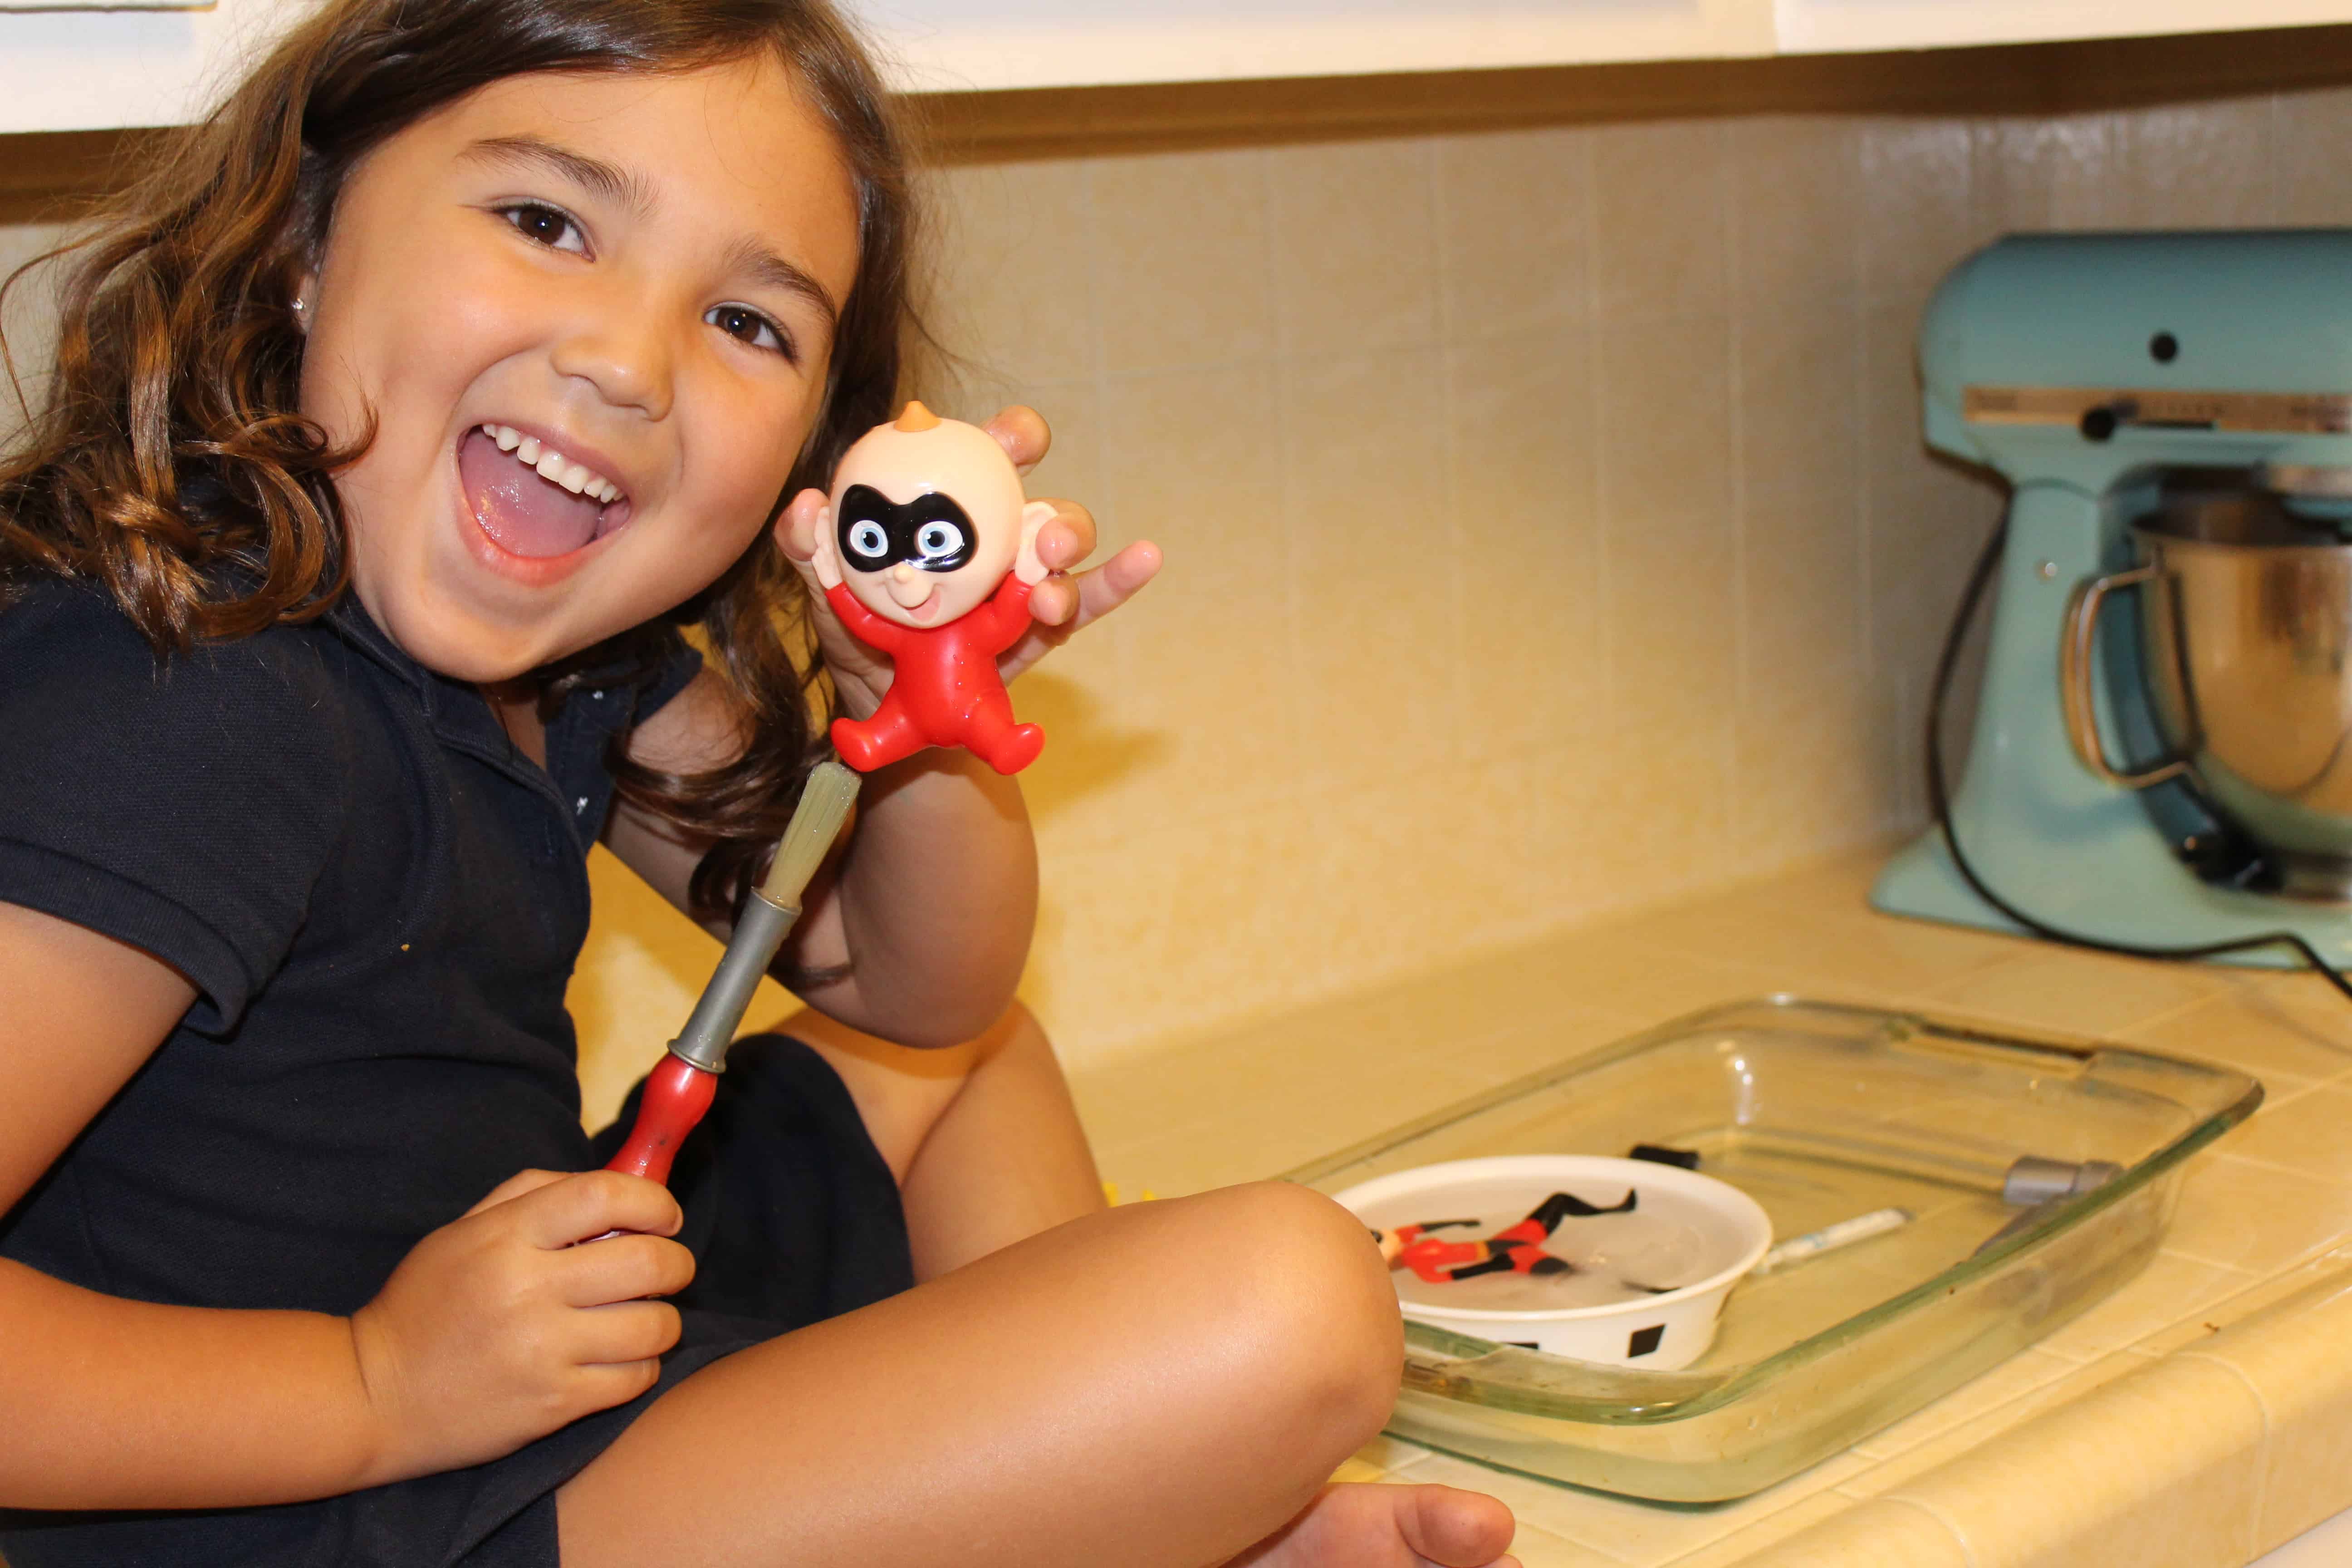
We’ve been obsessed with ice lately (read about the time we painted it here!) and so I decided that I would trap some of her favorite toys inside a block of ice. On this day, The Incredibles 2 was just about to come out, so we went with a Frozone theme.
It’s SUPER simple, but this frozen toys ice challenge is lots of fun. Grab a few plastic figurines ad let’s get started!
This post contains affiliate links. You can read more at our legal page. Thank you for supporting The Salty Mamas!
Trap the Toys
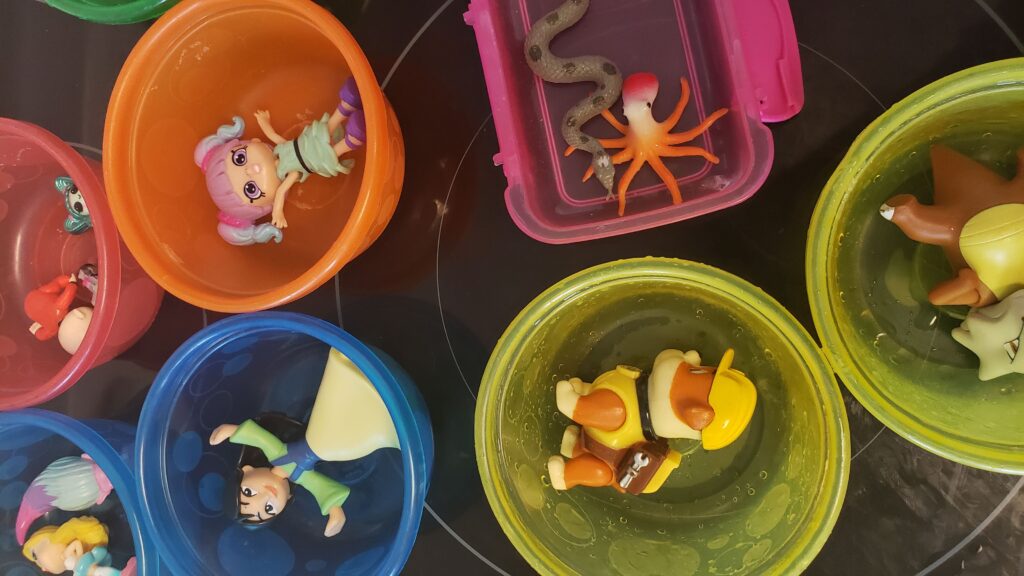
First up? Ask your kids to collect a few plastic figurines (or do it yourself). If you’re anything like me, you hit up McDonalds sometimes. And by sometimes, I mean a lot.
Their little plastic figures are perfect for this activity, but most plastic action figures are safe to use. There is a possibility that they’ll lose some of their paint, so don’t choose your child’s very favorites.
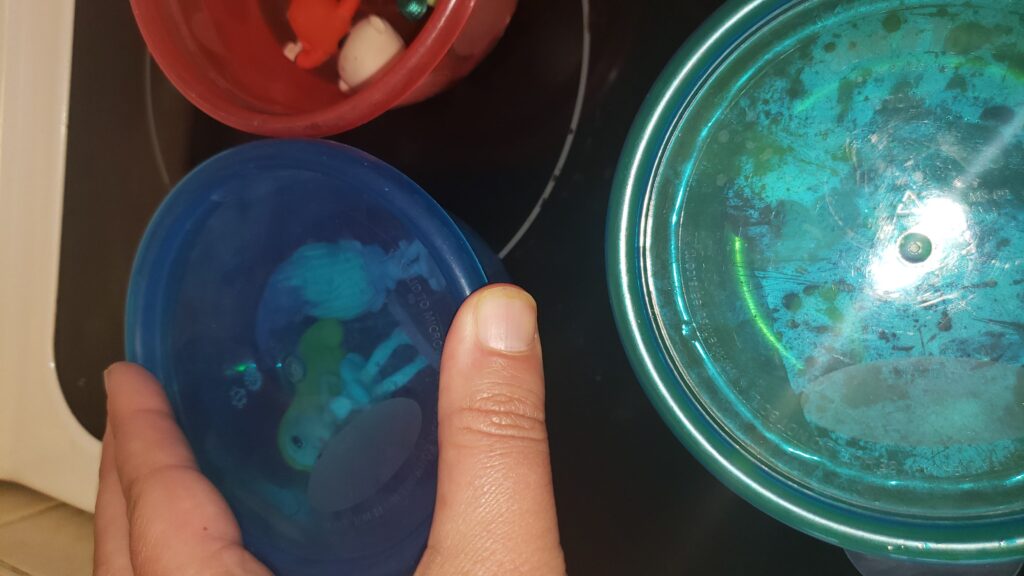
Set each toy in a small bowl. We love to use Take and Toss bowls for this, as they have small lids (we also use them for our baking soda experiments, as well as to hold paint, so they get a lot of use around here).
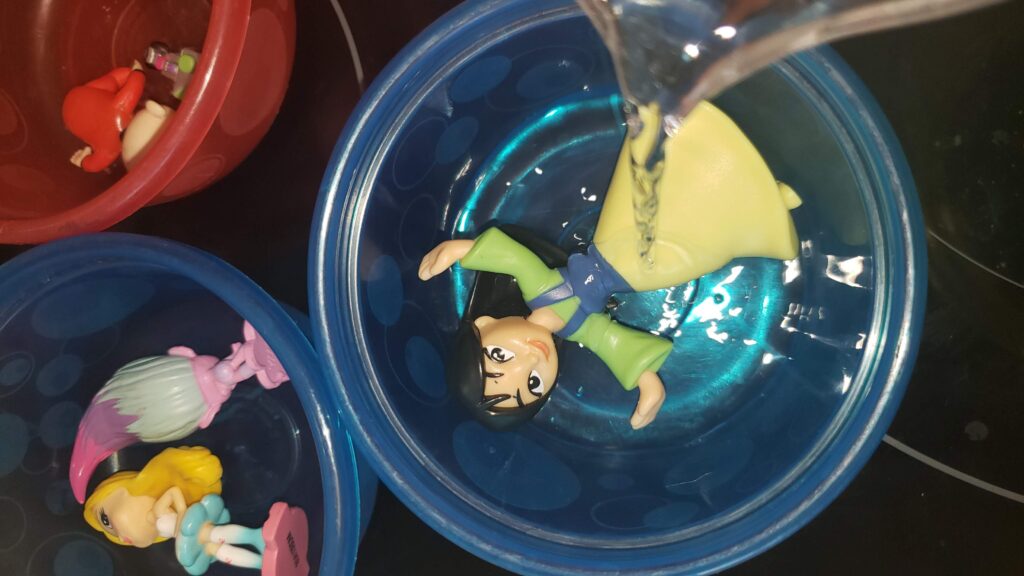
Put the toys in the bowls (we use one or two for each, depending on their size). Pour water into each bowl, near to the top of the container. Some toys may float, and that’s okay.
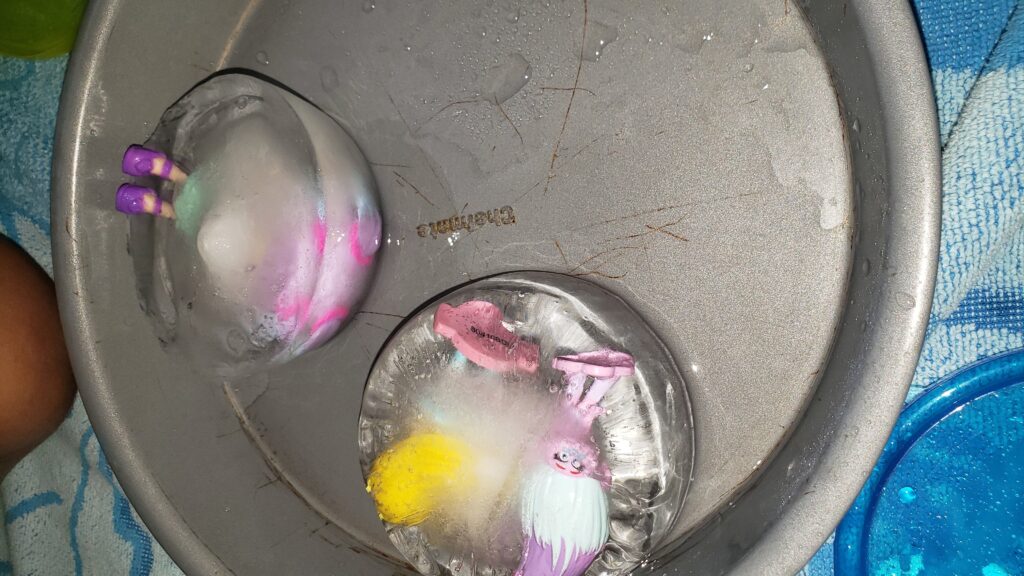
Snap the lids on (lids really help reduce the mess!) and pop them into the freezer. They usually take about six hours to freeze completely, but we generally leave them overnight.
Set the Scene
You can decide how dramatic you want to play this. Would your child enjoy some mystery? Would they rather just get to work? How much backstory you give them is up to you.
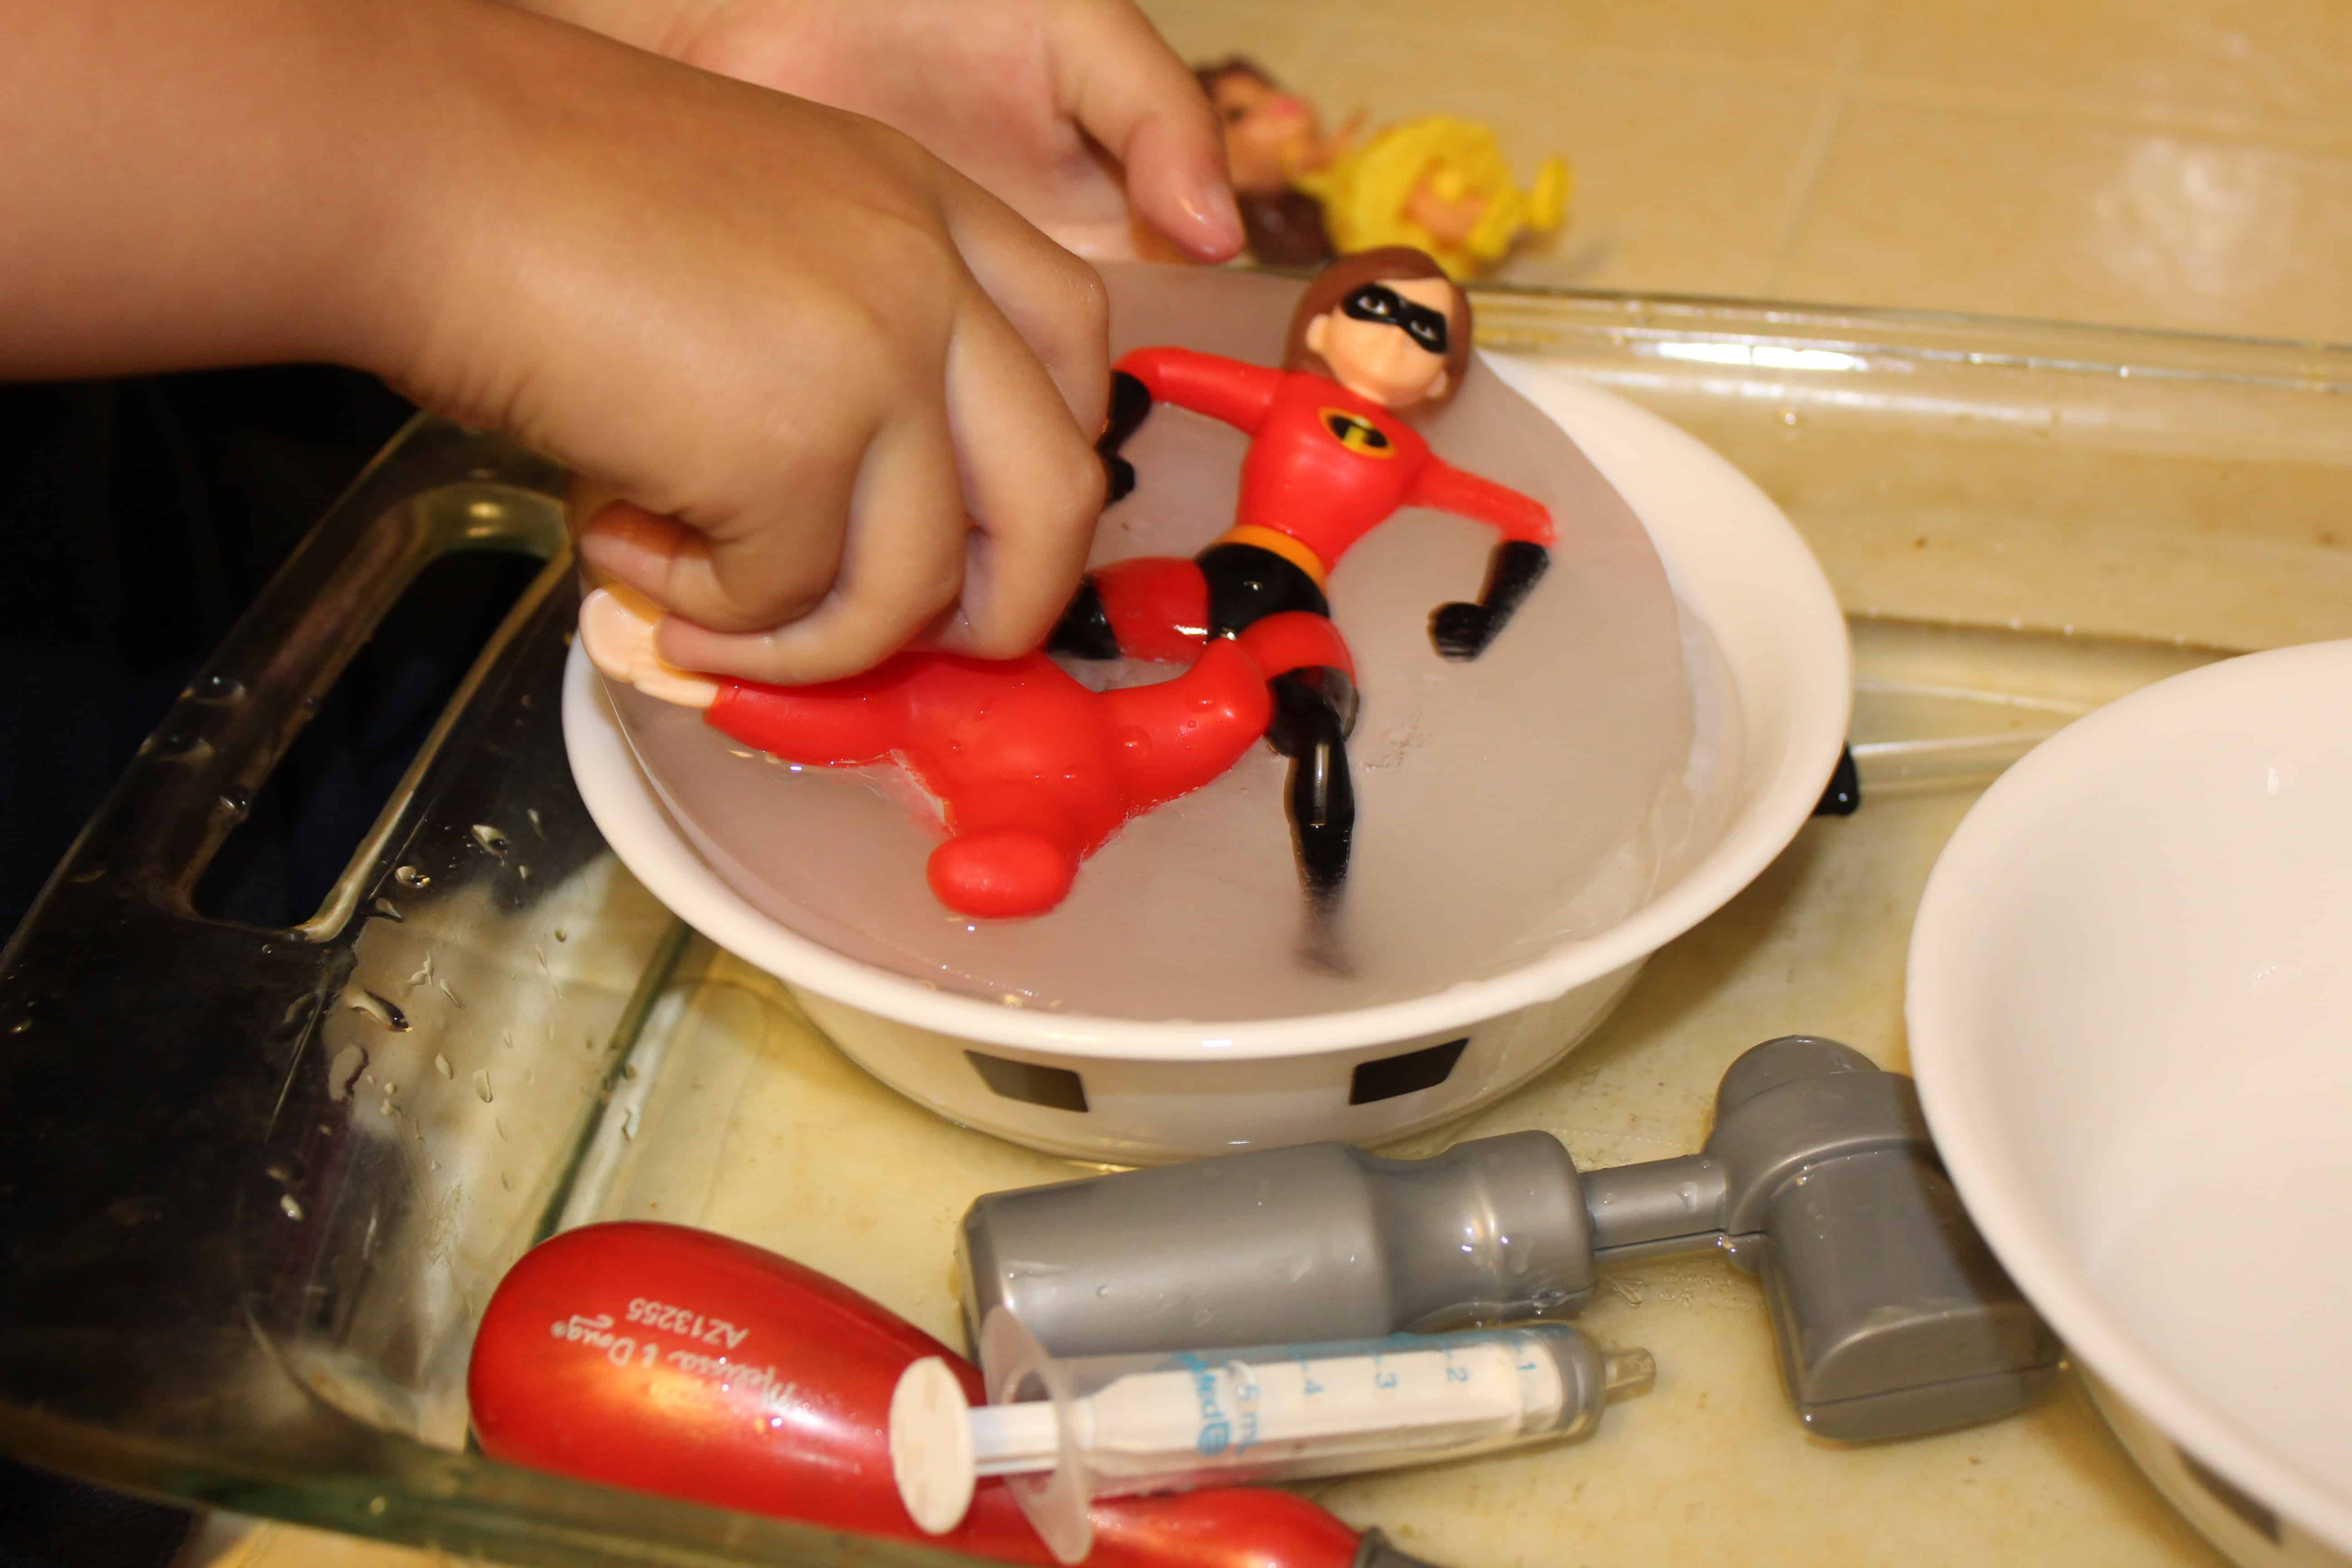
If your child is like Lila, they might need some coaxing to get engaged in a new activity. So I really took it pretty far, setting up a scene where Frozone from the Incredibles had accidentally frozen everything.
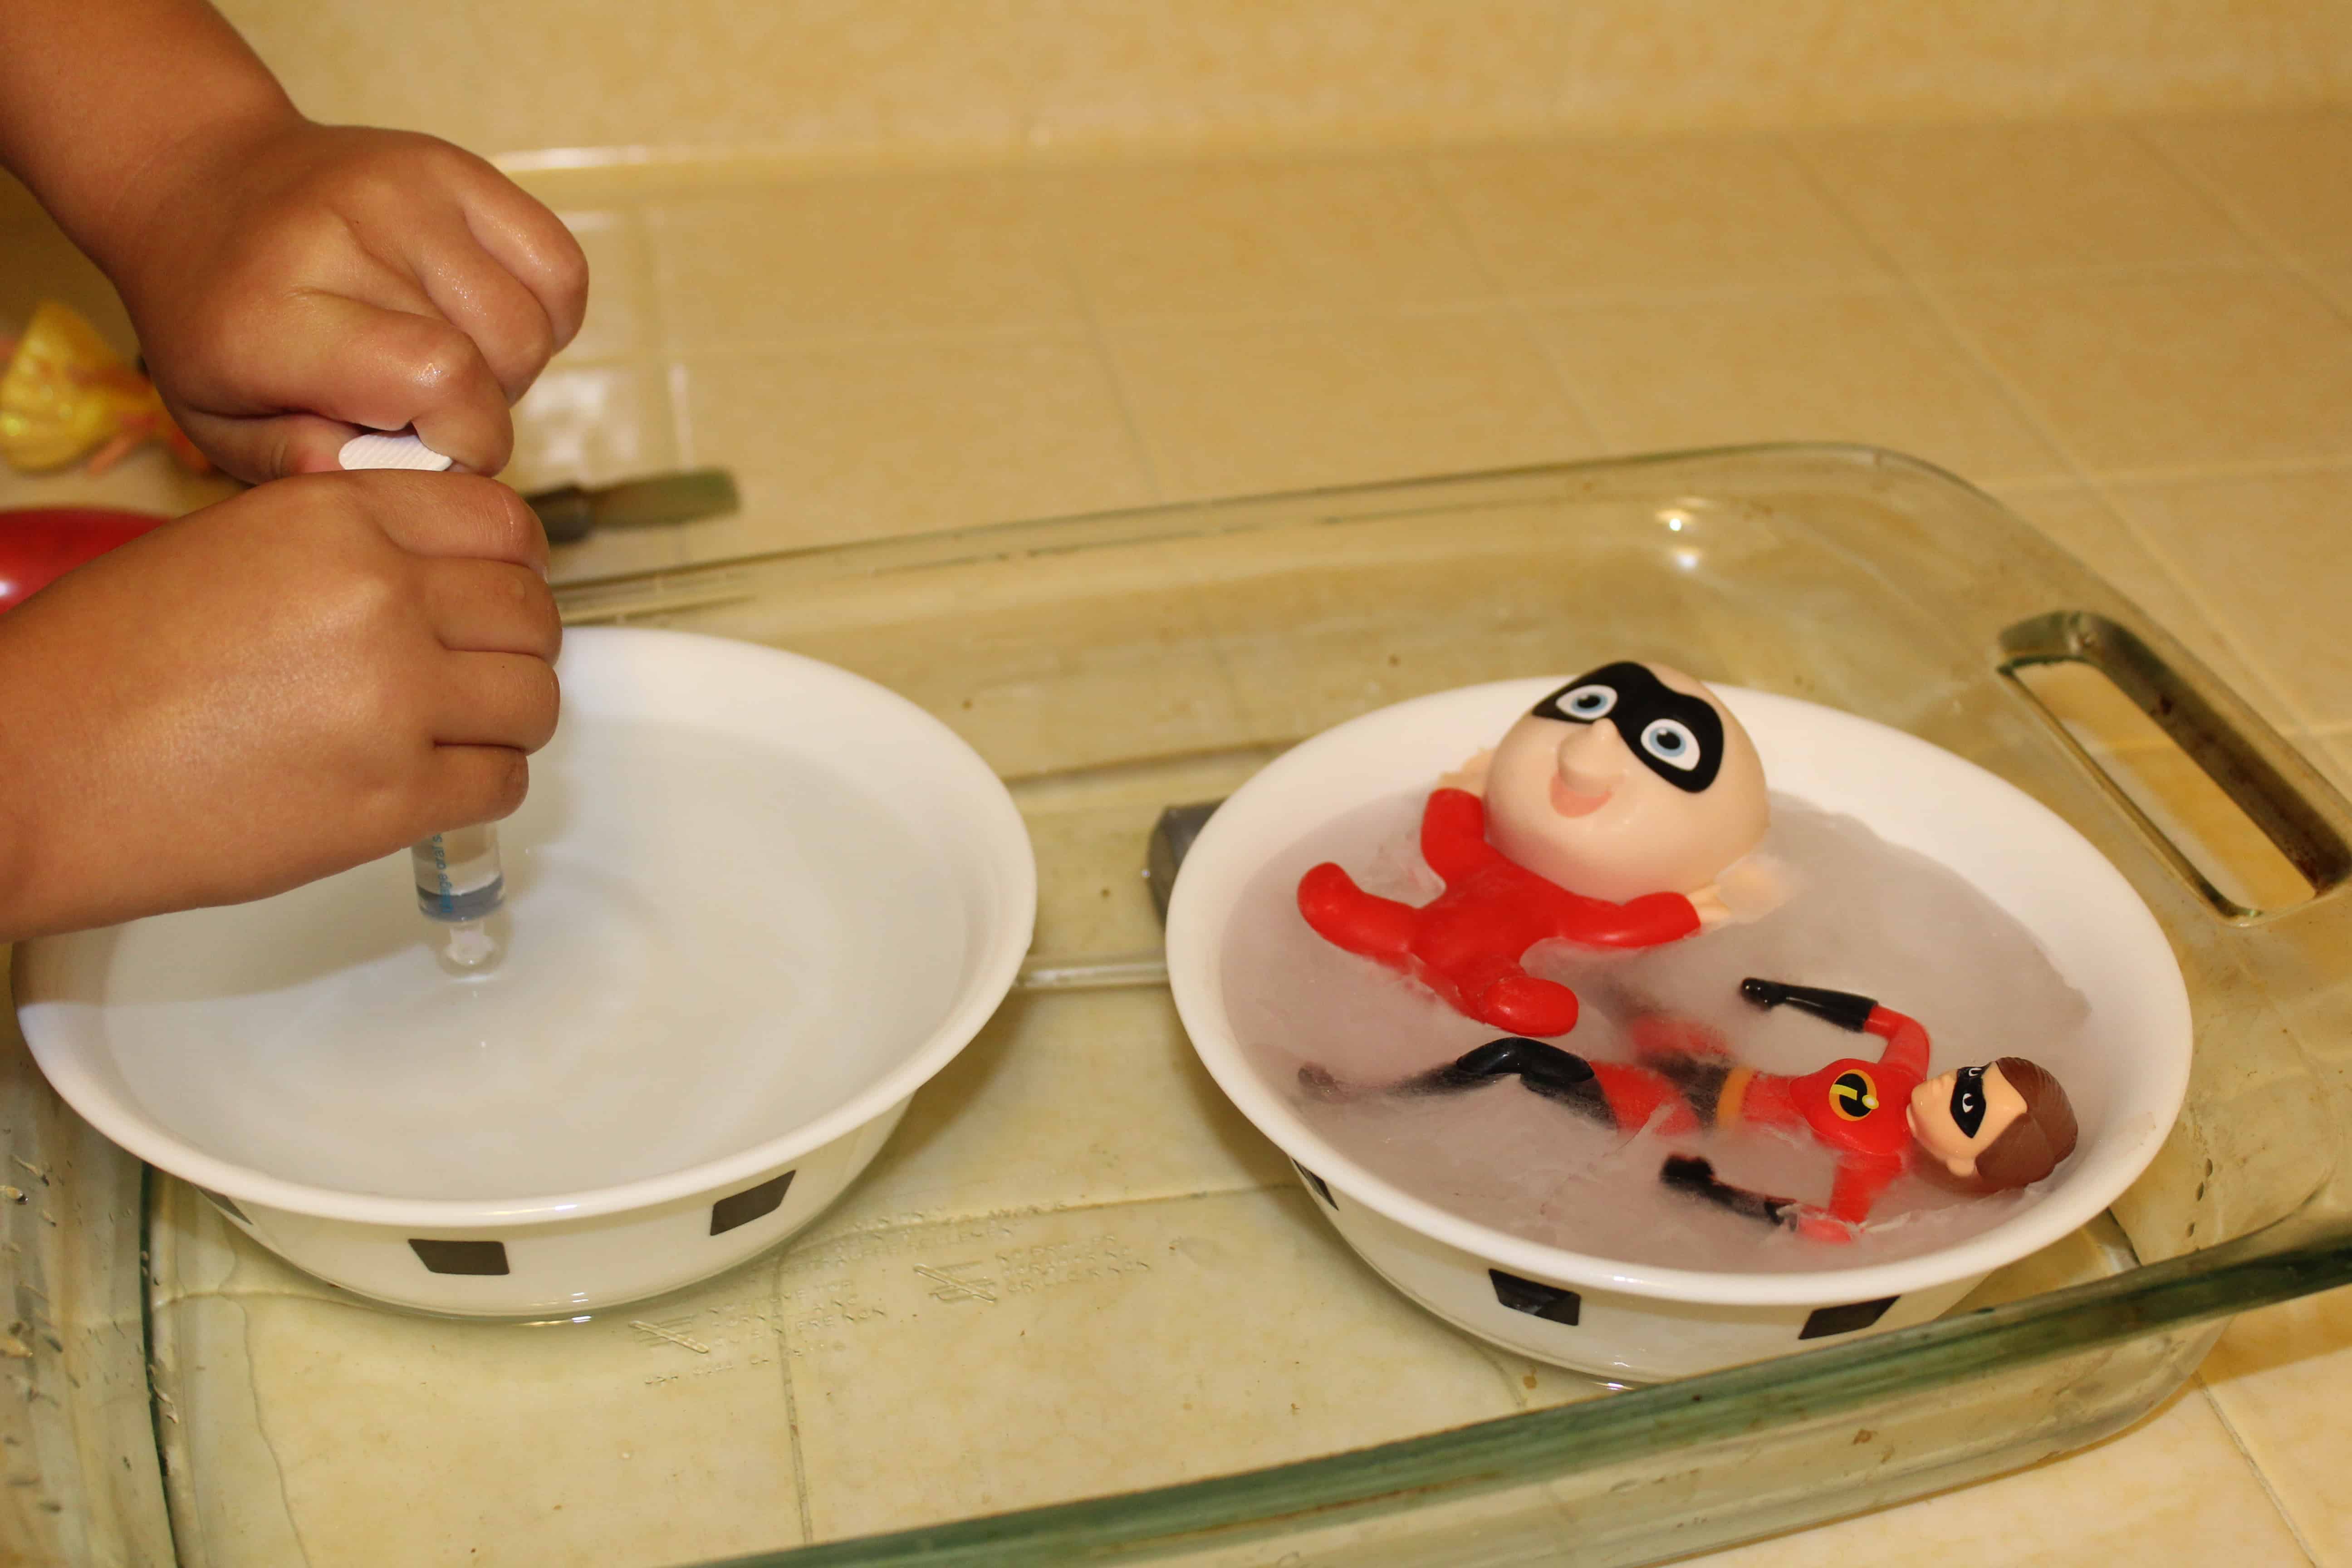
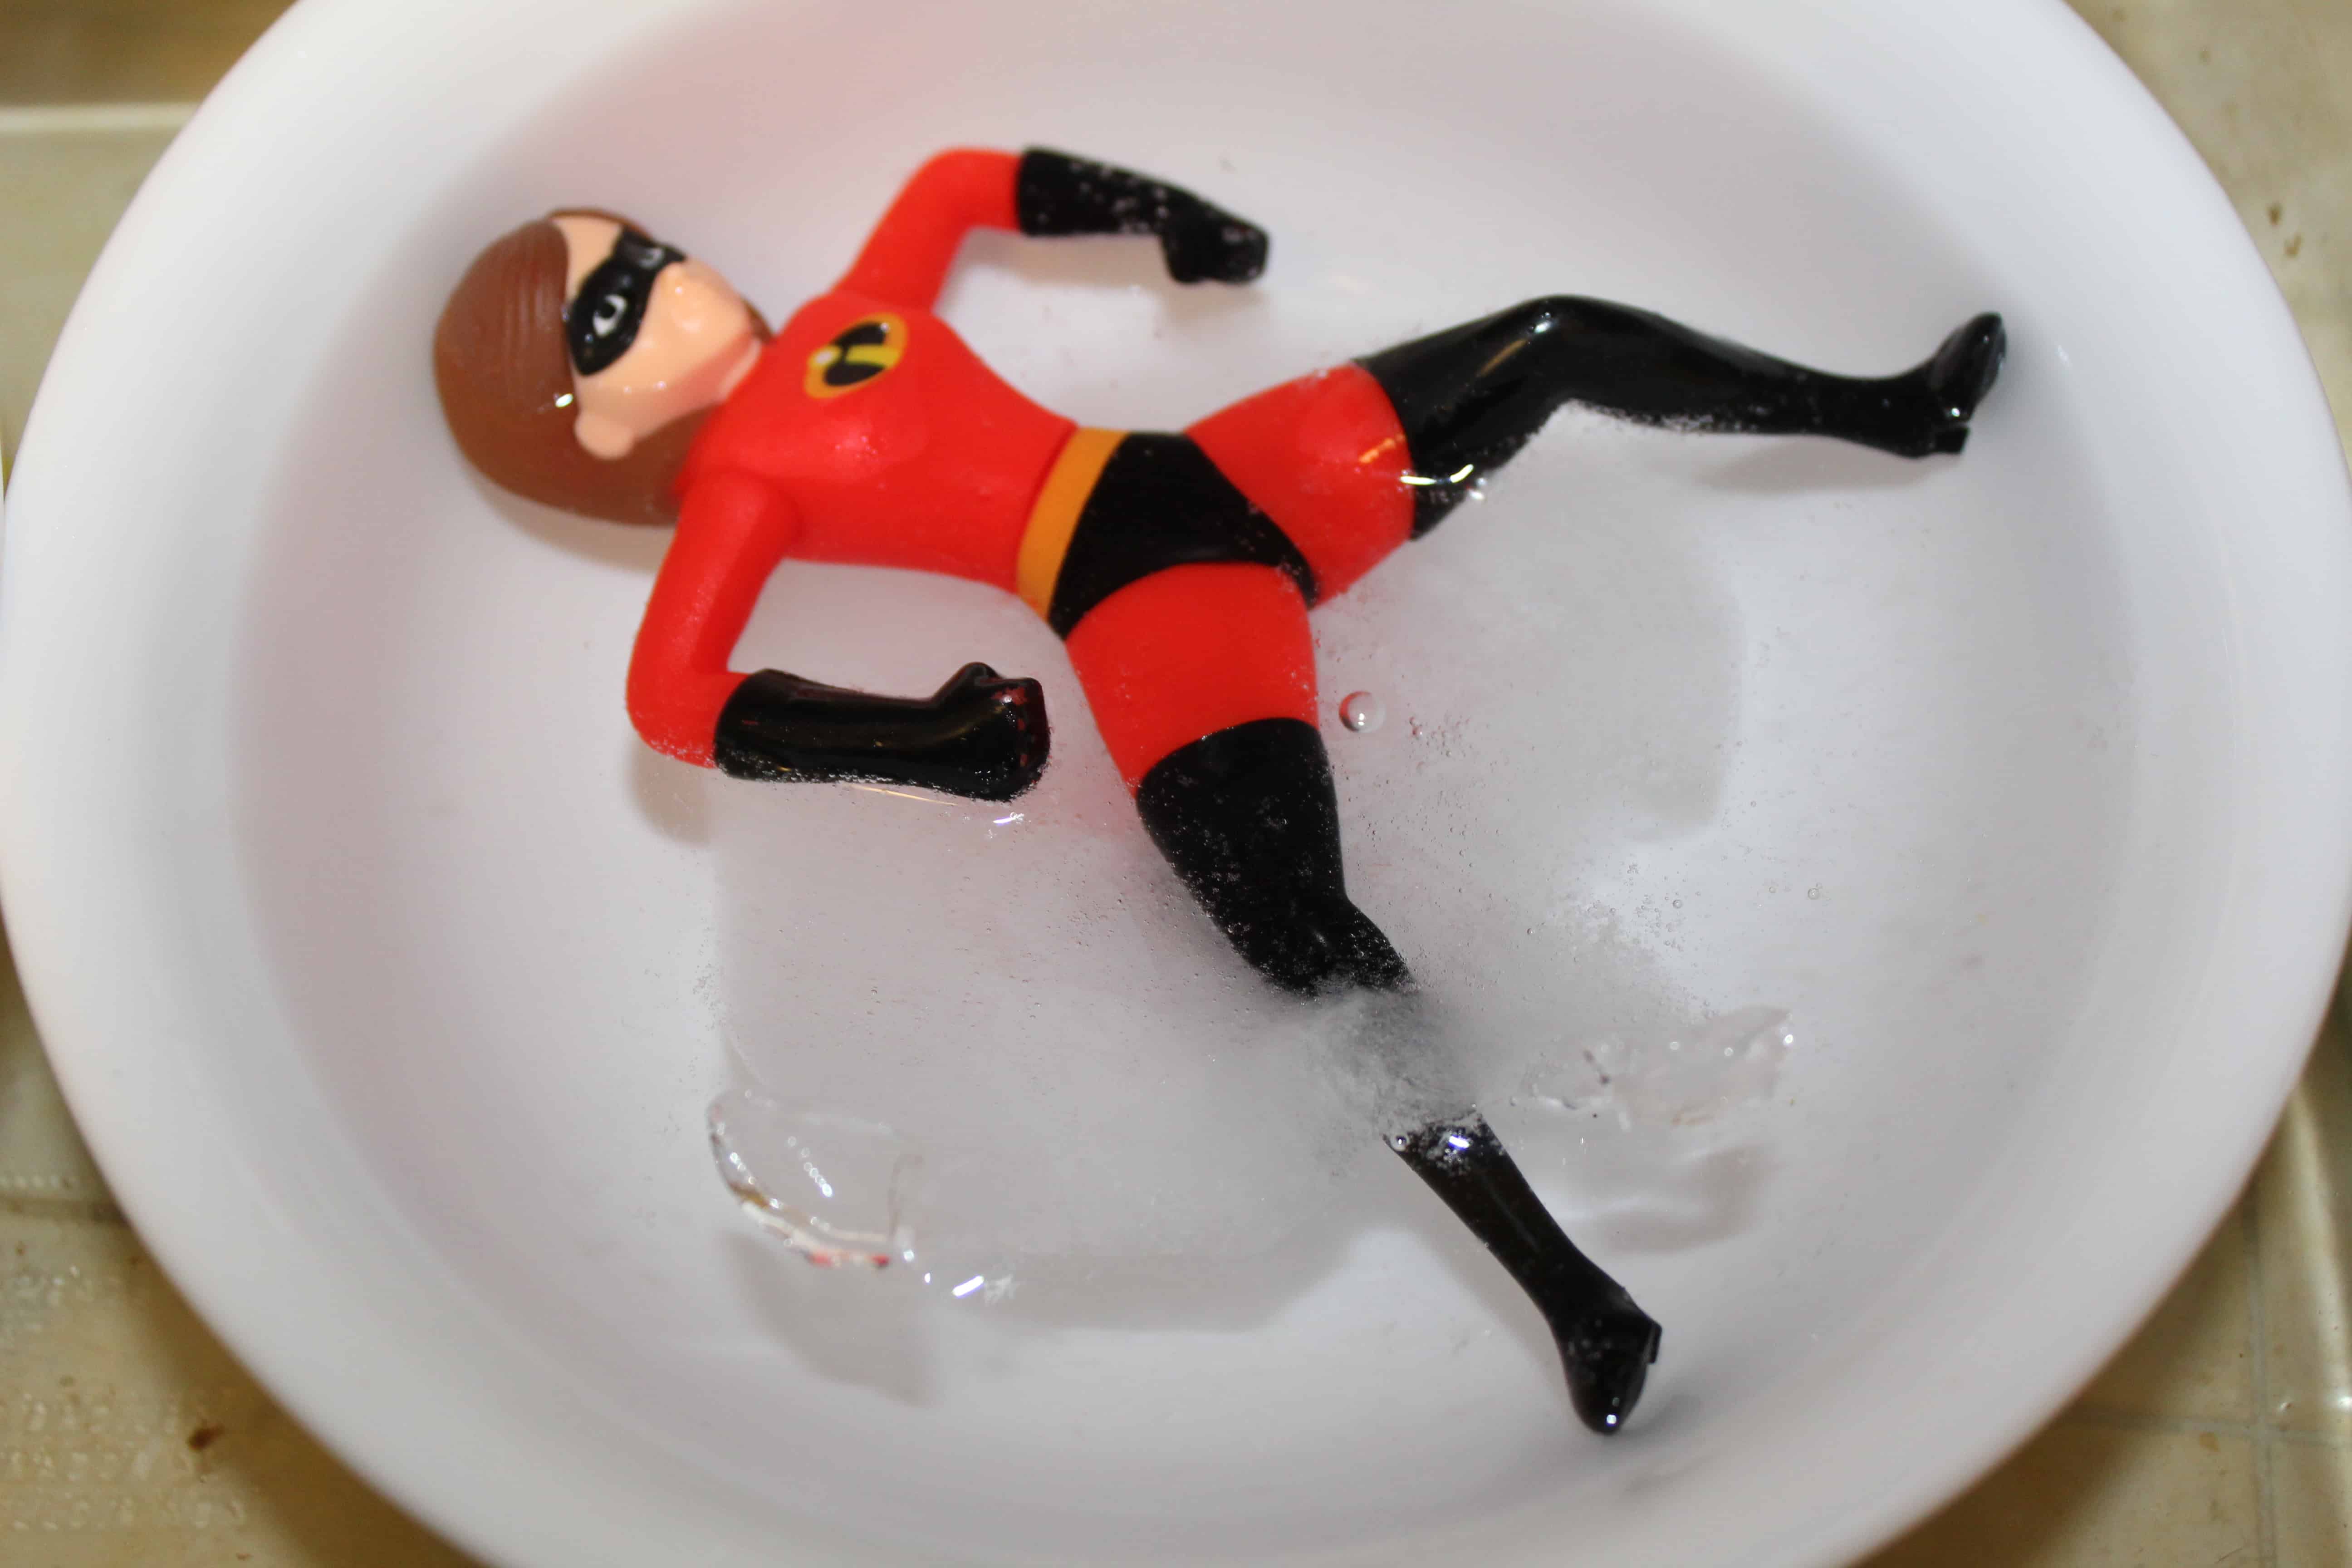
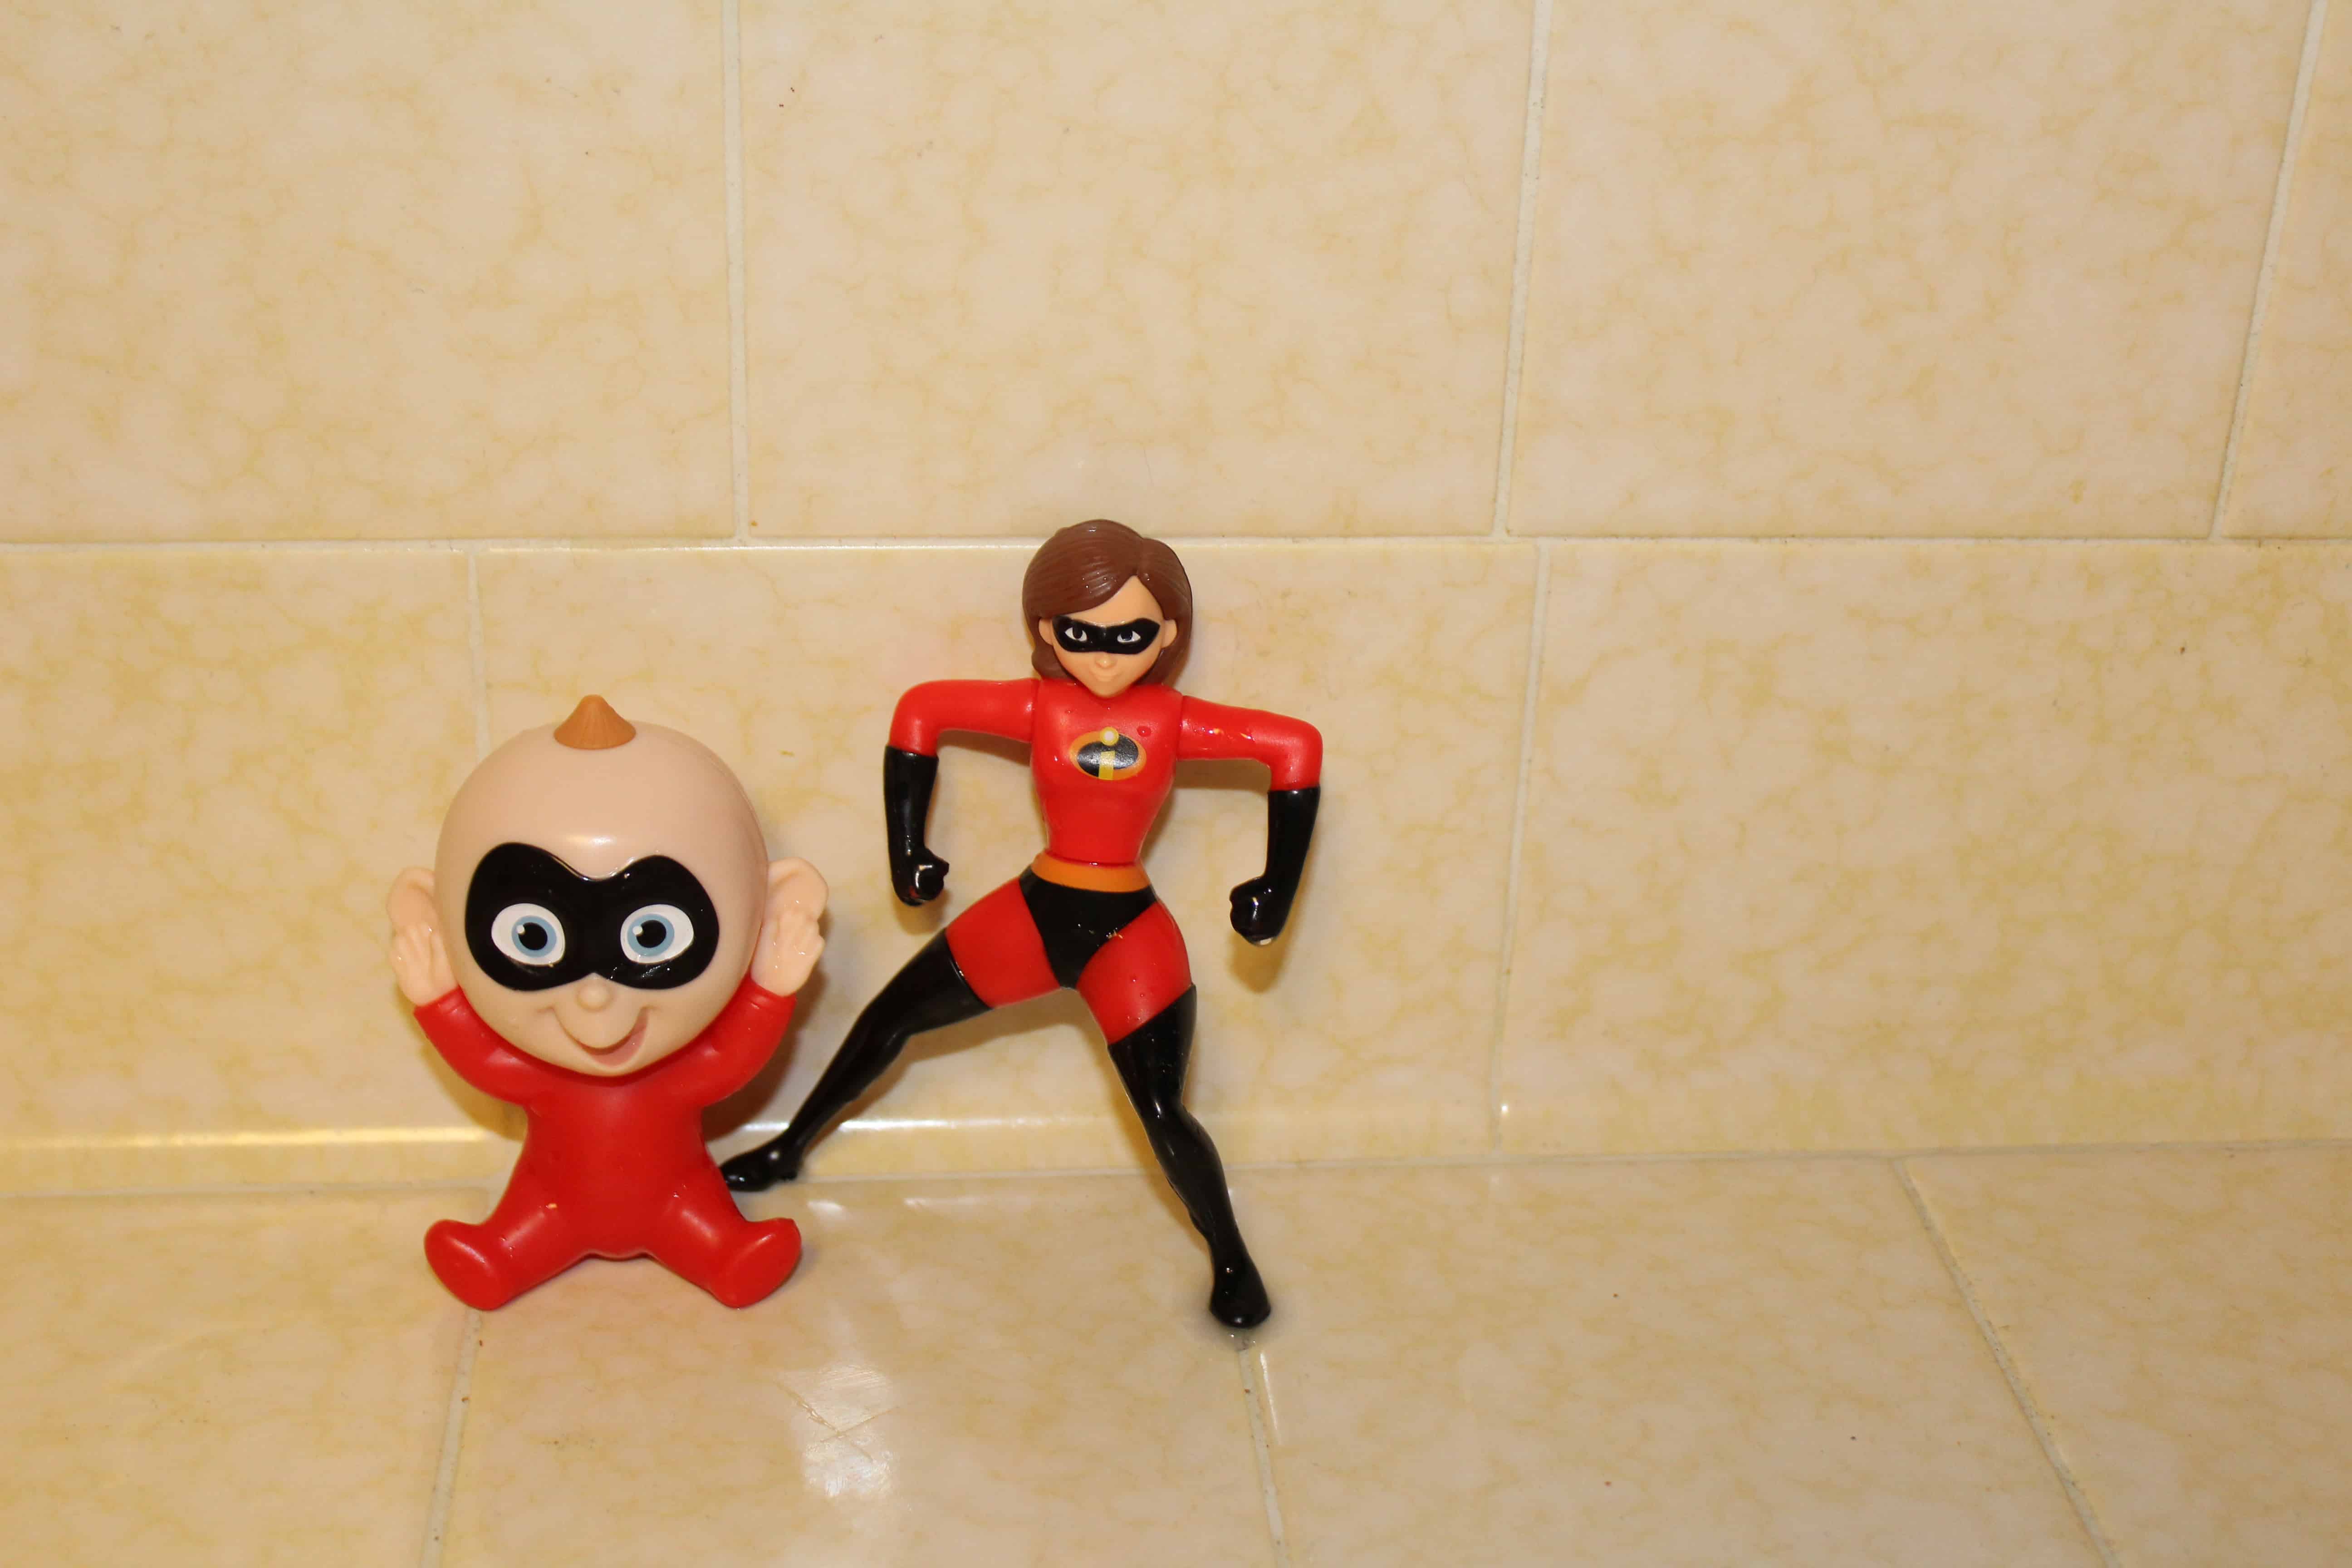
I explained to her that Frozone had accidentally encapsulated Elastigirl and Baby JackJack in ice, and that he need our help to save them…before it was too late. ( Dun-dun-DUN optional).
And she was in, hook, line, and sinker.
We also made an adorable, ready to print Frozone Rescue Letter. It’s a subscriber exclusive, so make sure to sign up for our newsletter if you want a copy! (You’ll get the password to our Printables Library after signing up). You can also set up a similar experience if you’re using Frozen toys, saying that Elsa is responsible!
You can also skip the drama, too, and present the frozen toys to your kids. They’re still gonna think it’s pretty darn fun.
Contain the Mess Before You Begin!
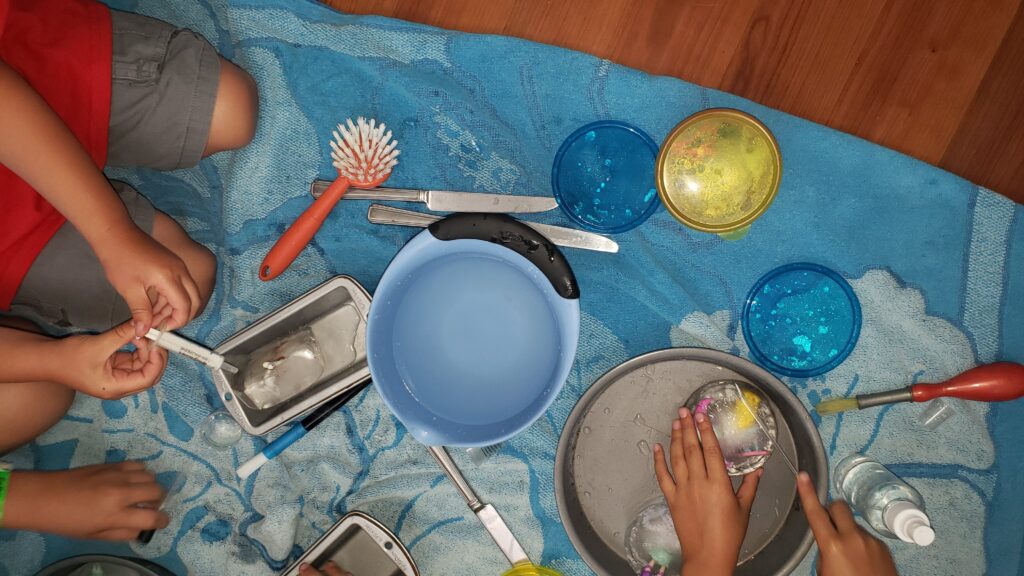
To help minimize the mess, set your frozen toys in a pie pan, pyrex dish, or other container with a lip. Then place the container on a towel on the floor.
You’ll thank us for this tip later!
Provide Some Tools
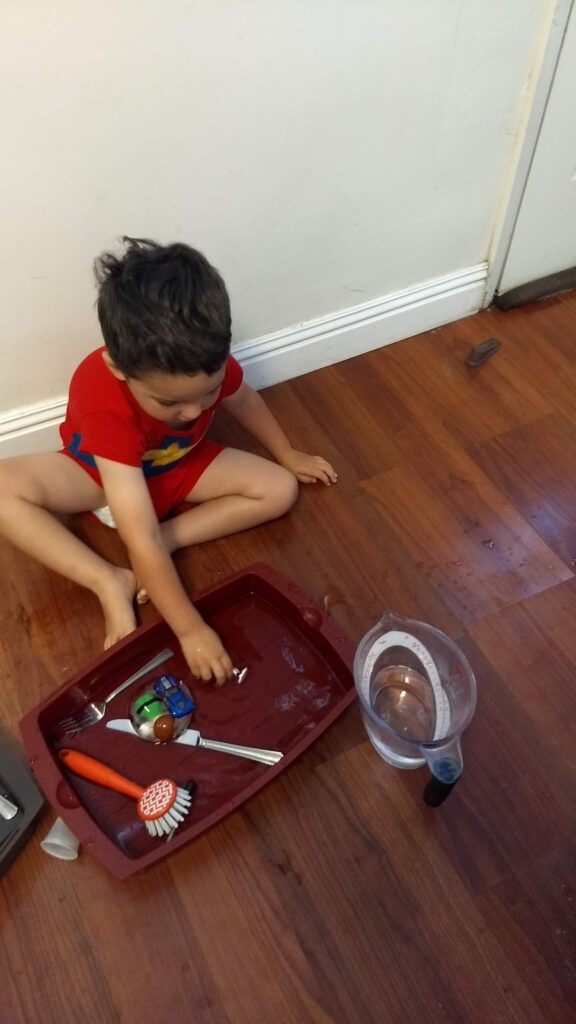
You know I’m a big fan of process-based activities, and this kids’ science project is no exception. I set out a variety of tools for Lila to use, showed her the options, and then left her to her own devices.
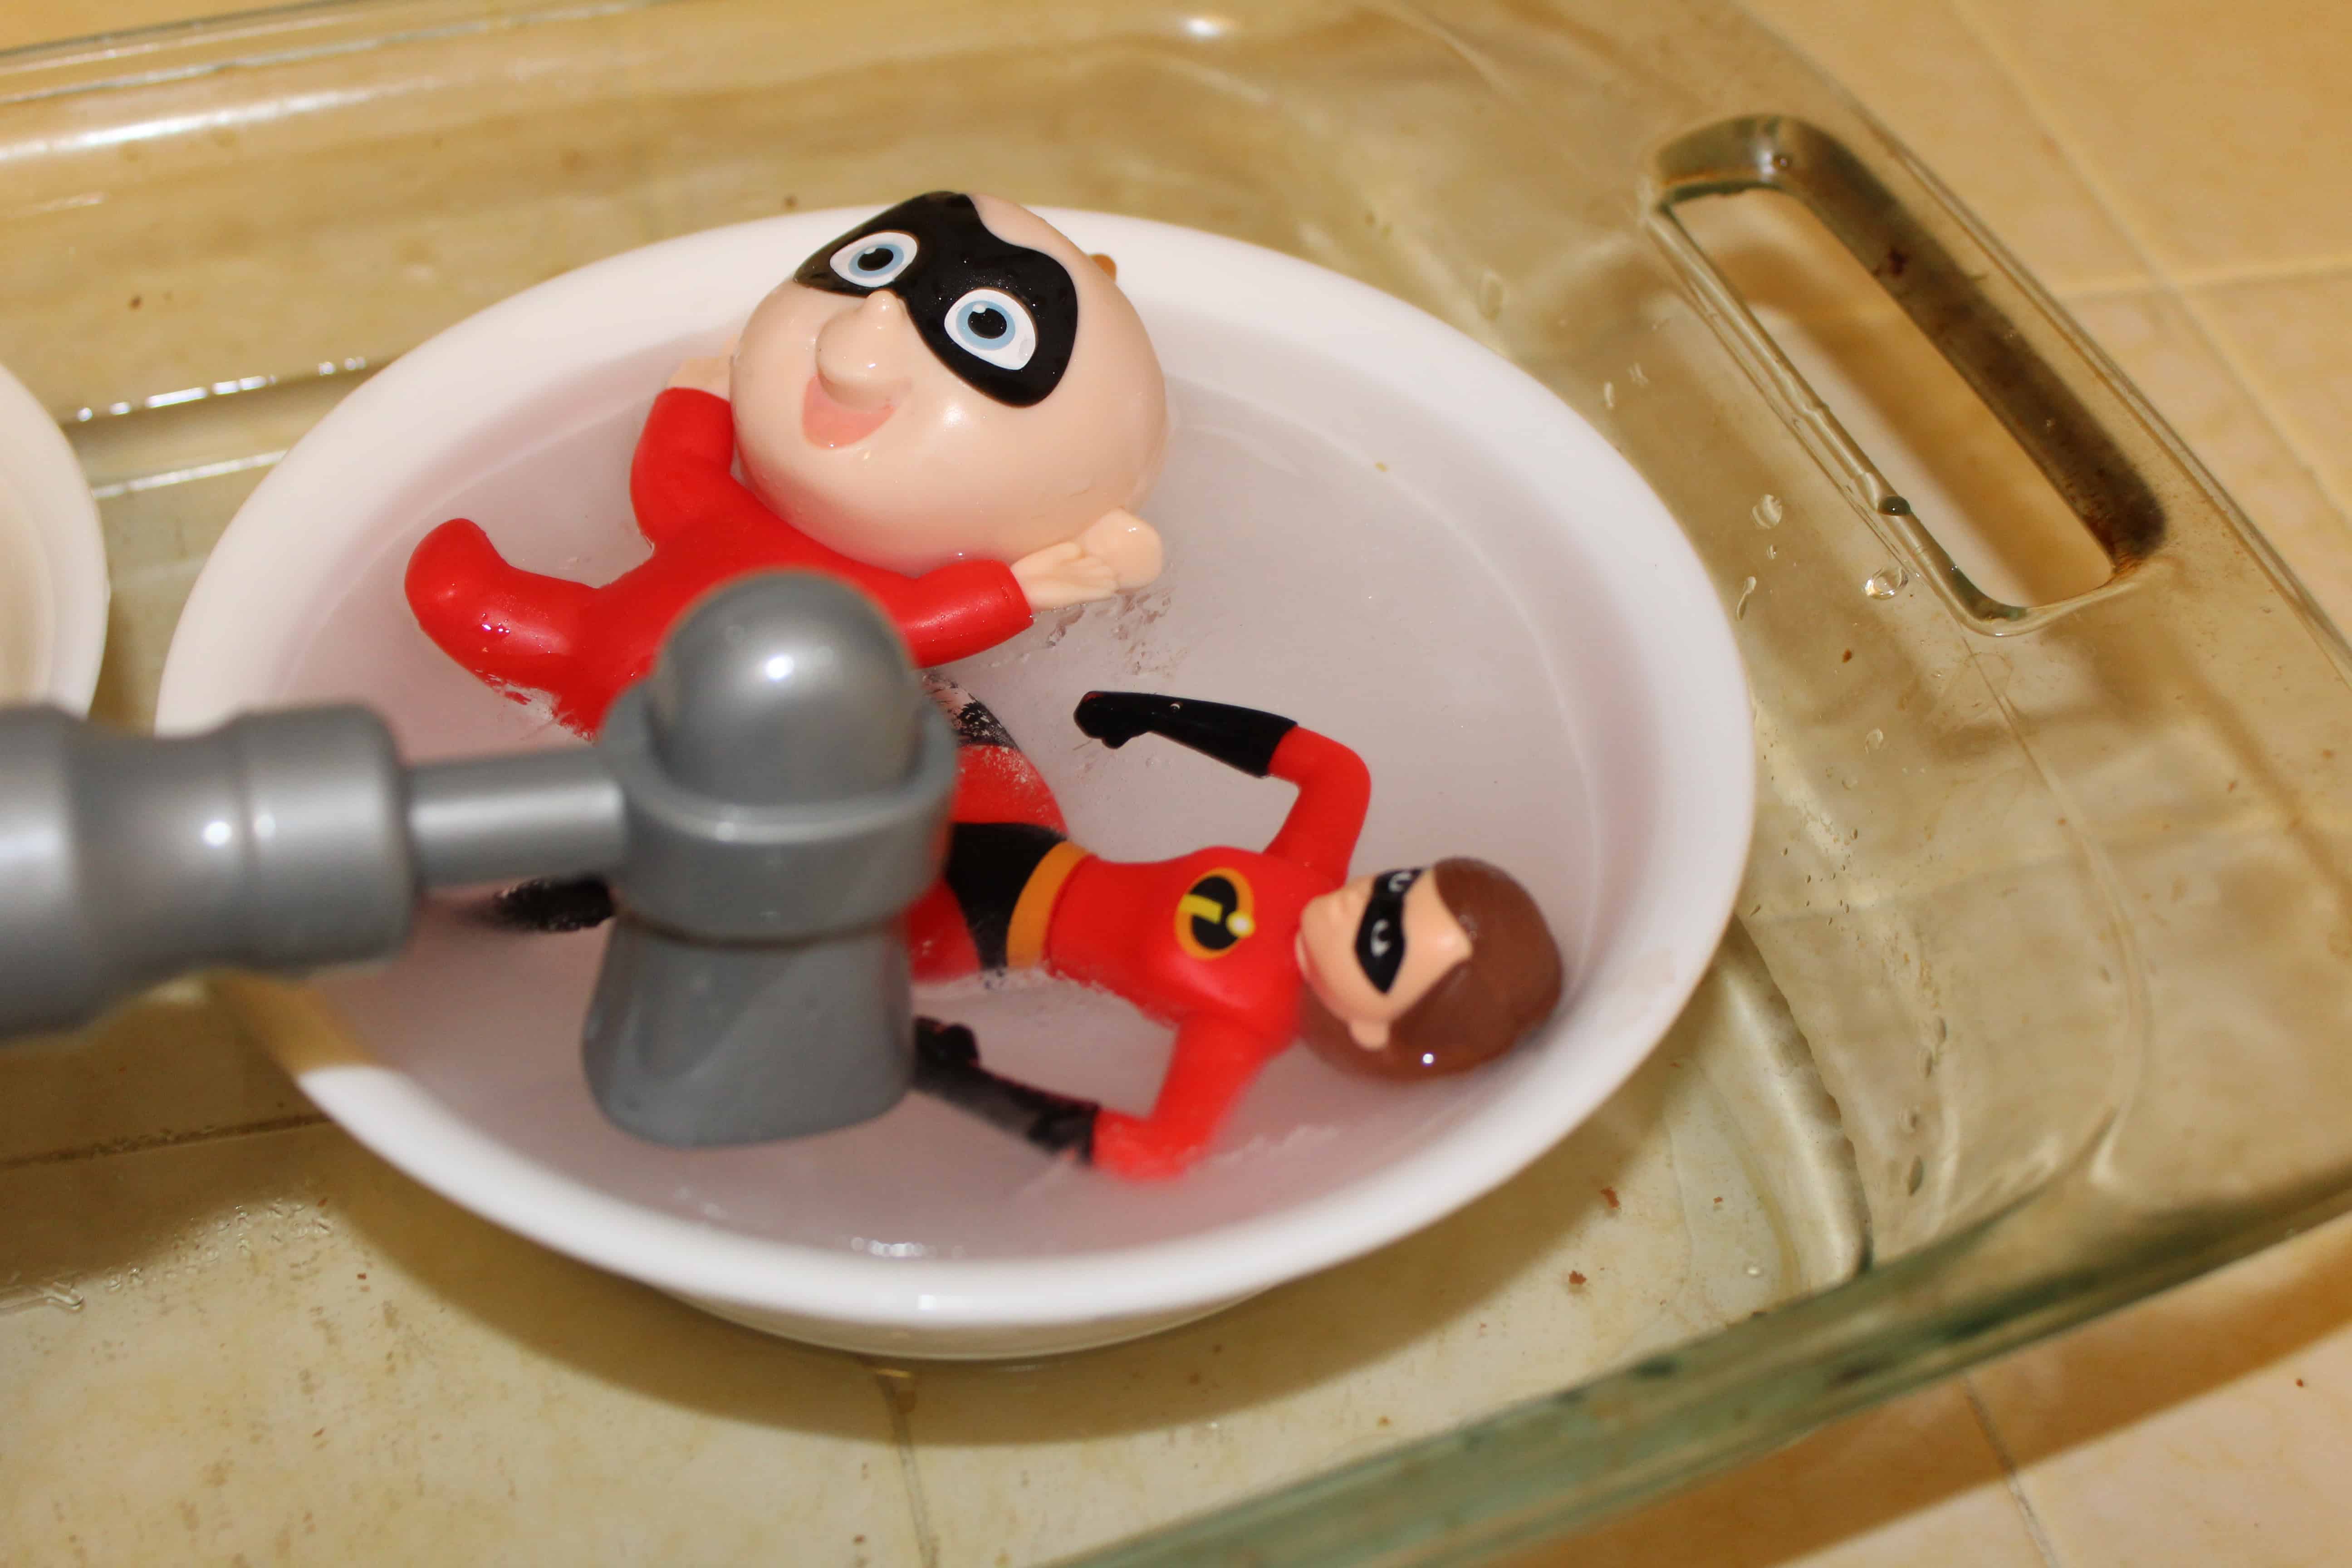
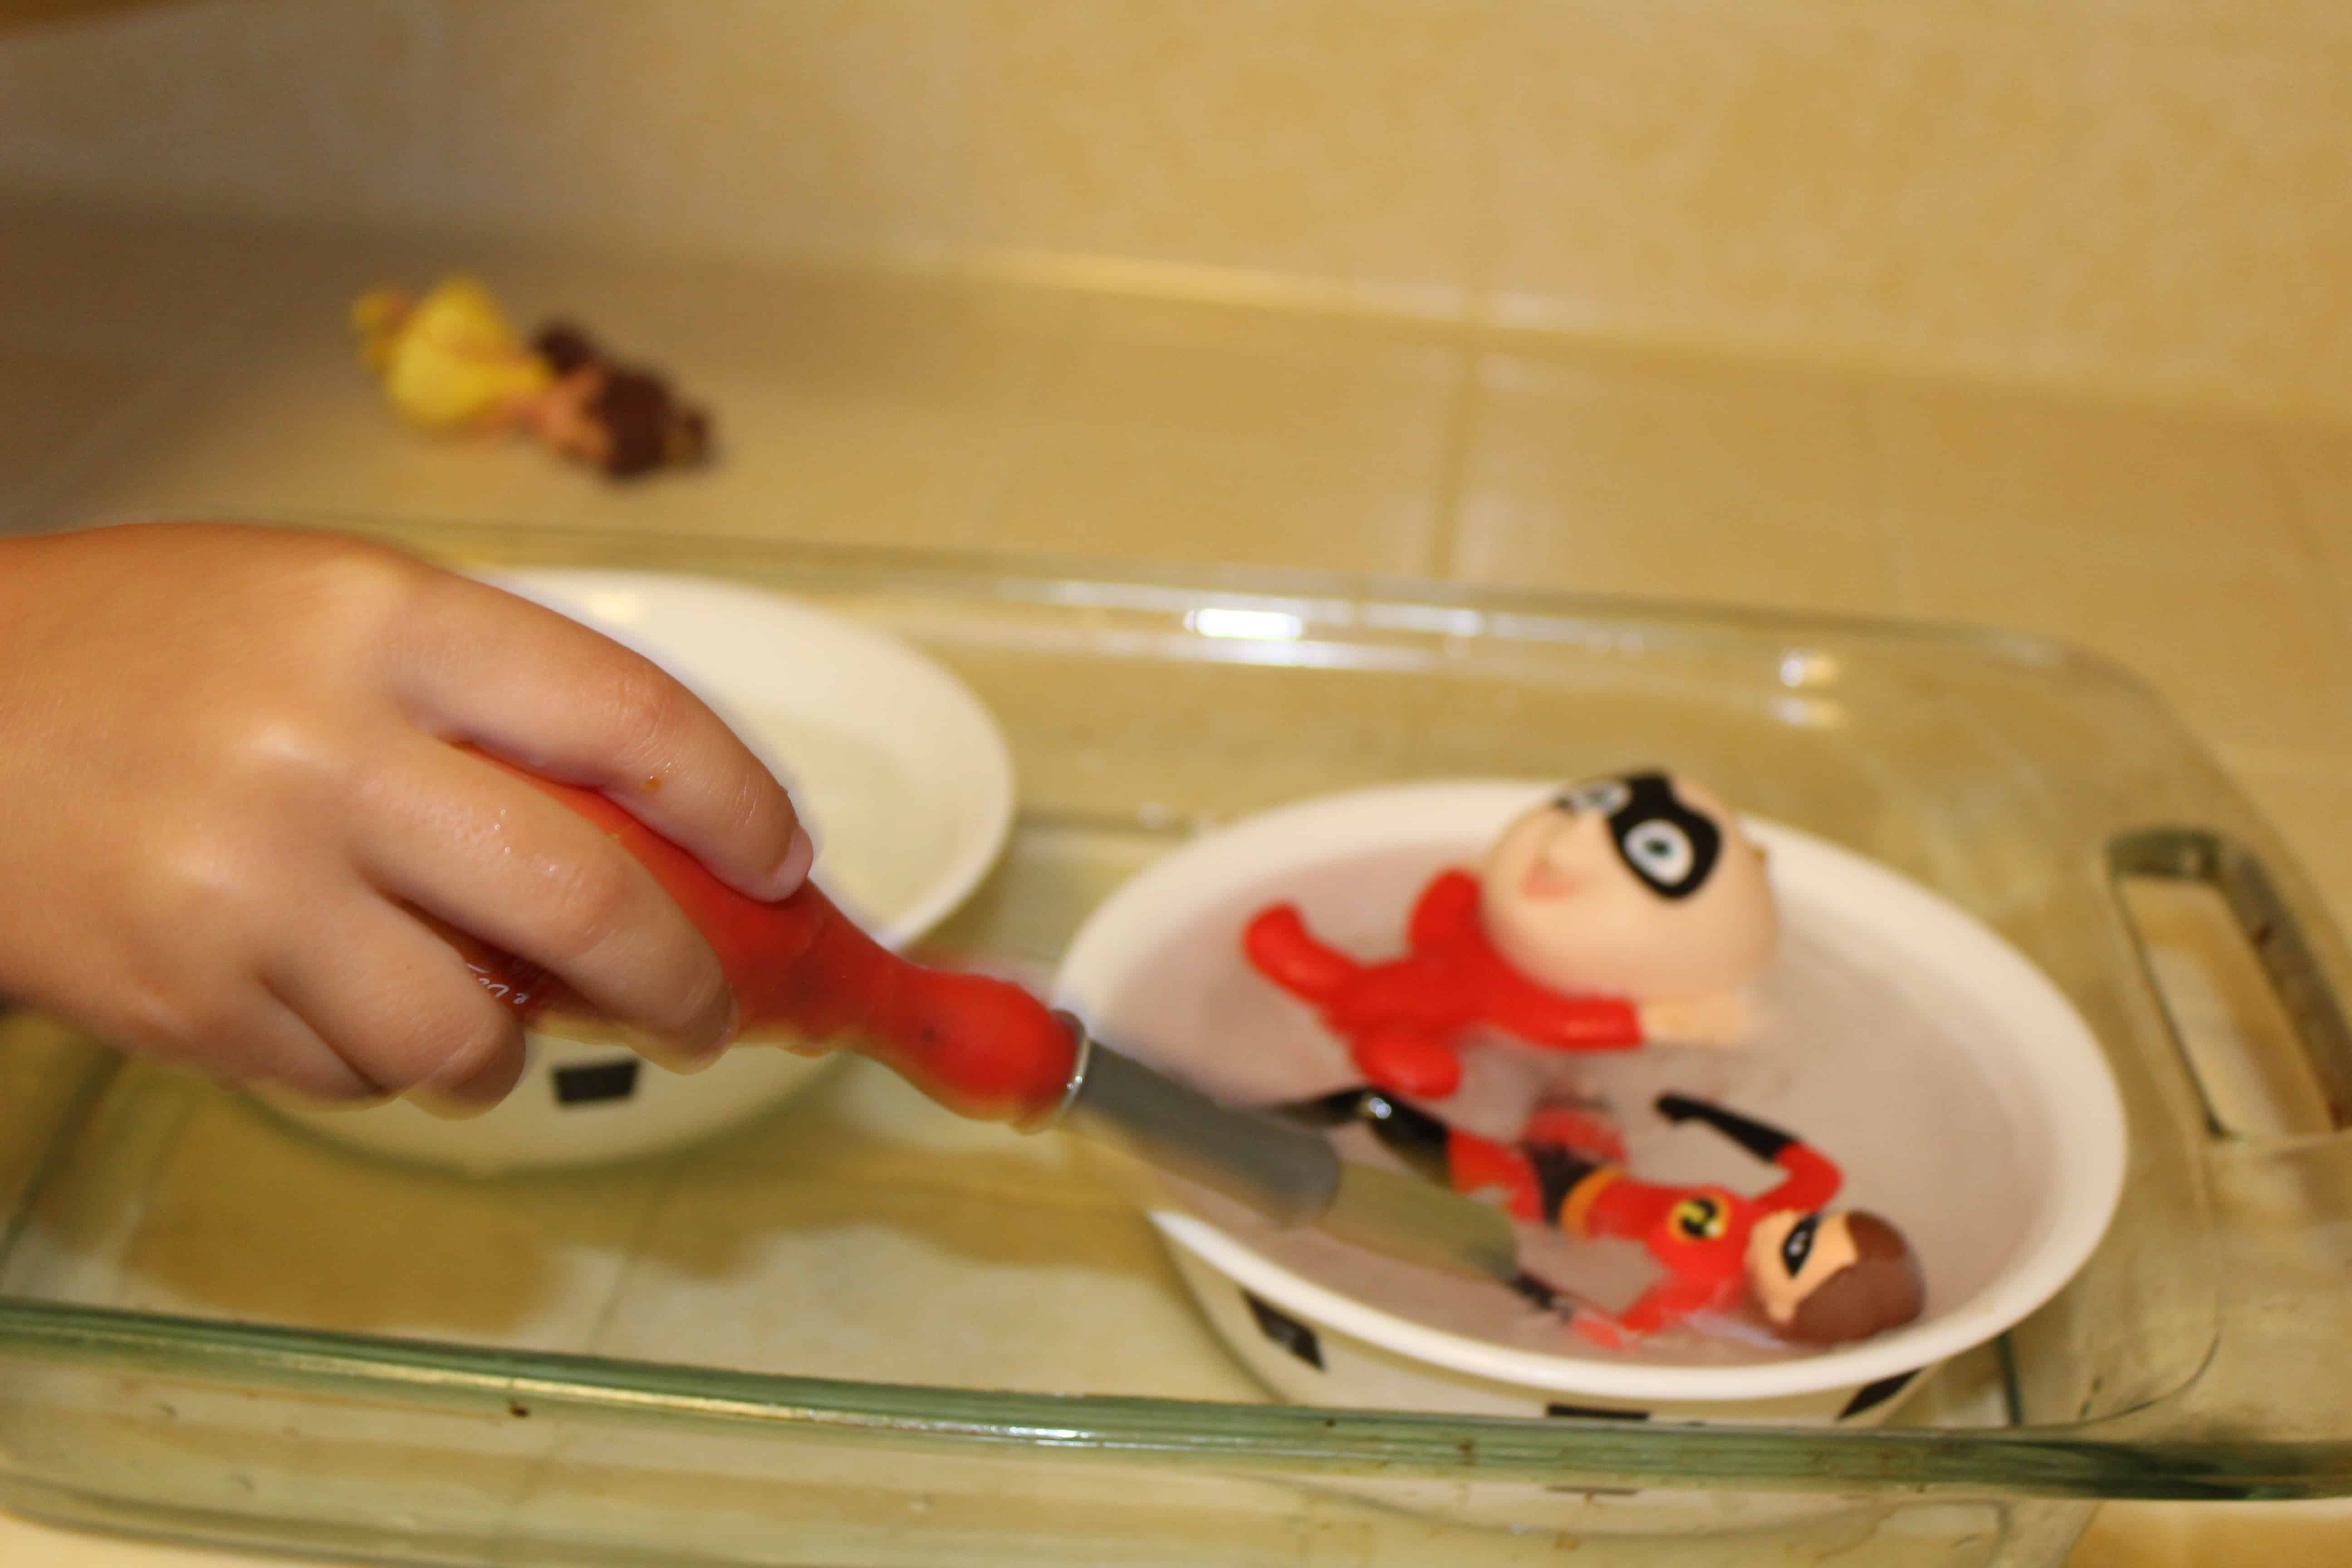
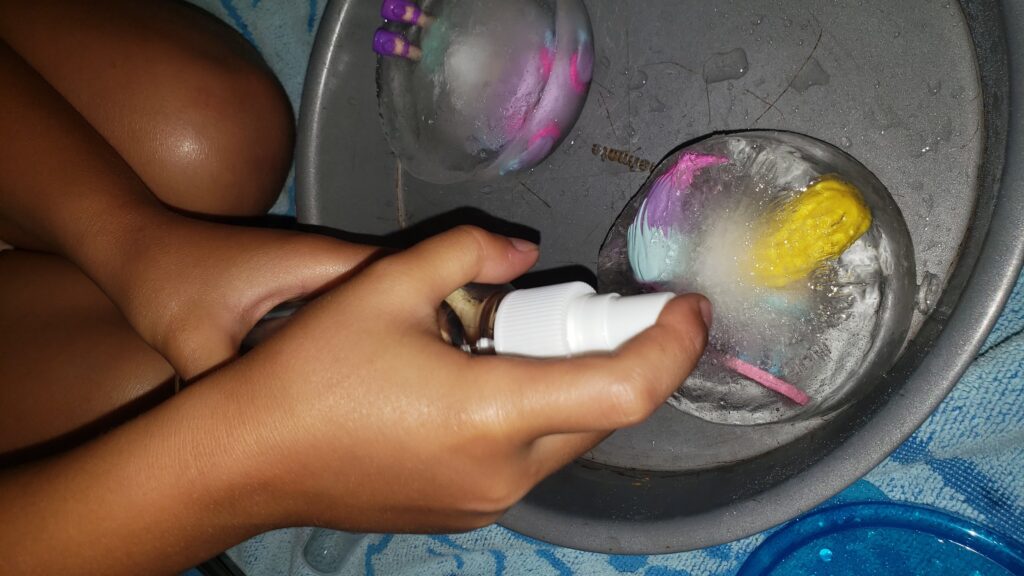
Give them something to hit with (like a plastic hammer), something to rub with (like a paintbrush), and then a few water-dropping toys.
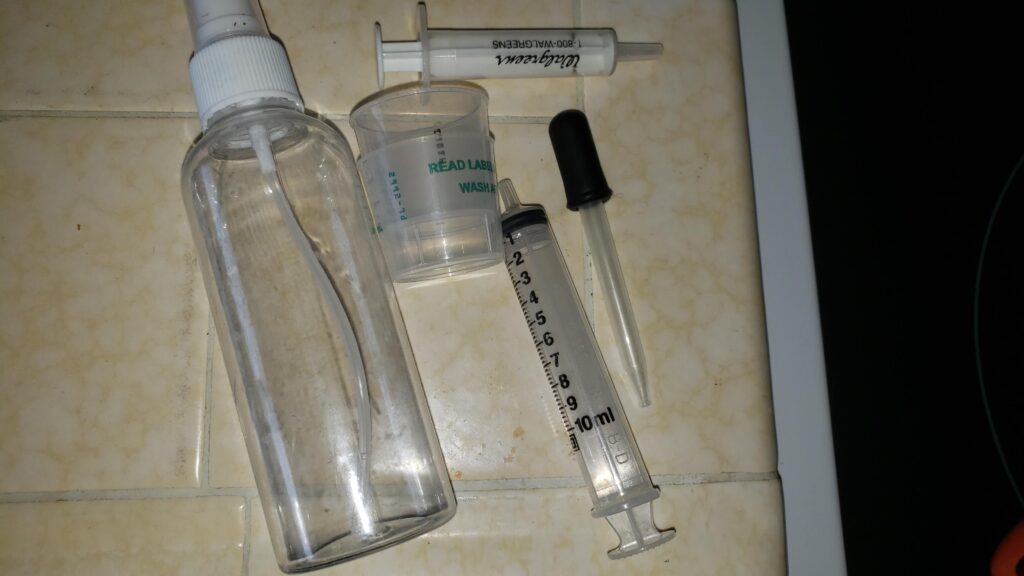
Here are some ideas for water dropping toys (Note: They can be used again in our baking soda & vinegar art!)
Let the kids spend some time experimenting with the various tools. If they ask for others, feel free to provide them (within reason, obviously).
Offer Some Guidance
If your child gets stuck with the tools at hand, ask a few leading questions before you supply additional materials or information.
Something along the lines of, “we need to get them out of the ice. What would be a good way to make the ice go away?” or “I think we need to melt the ice. But how?”
If you’re lucky, your child will stumble upon the idea of using warm water on their own. Or they may say that they need to make it warmer. Either way, you want to guide them in the direction of adding some warm water to their materials.
Show them How to Use the New Tools
I knew that I wanted Lila to end up using warm water, so I put out a couple of tools that would point her in that direction.
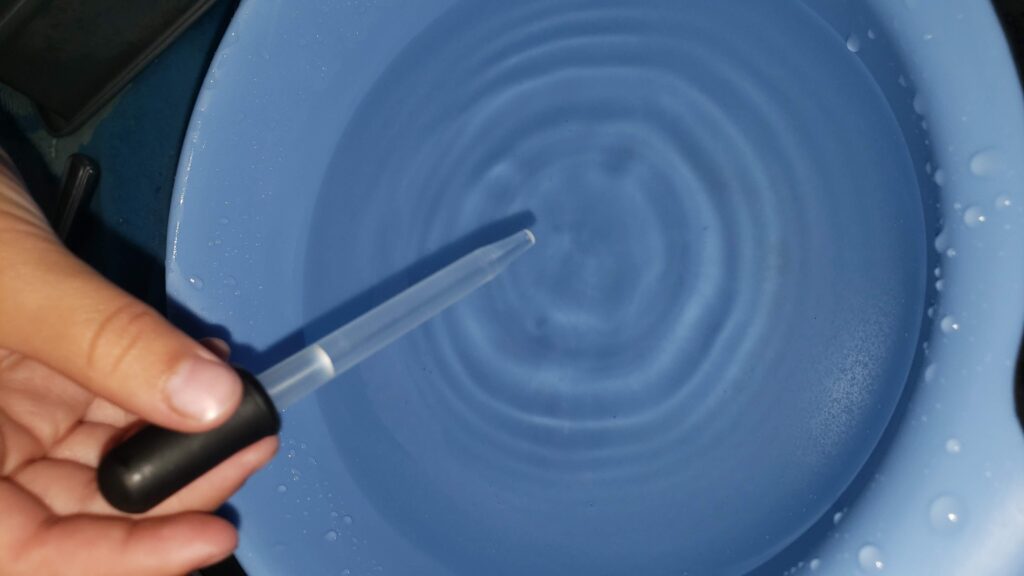
She needed help learning how to use the eyedropper and the syringe. I let her experiment for a bit, and then showed her how to best use them.
Let Them Struggle
I mean, if your kid has this in the bag, more power to them. But the true benefit of S.T.E.M. activities for kids comes from them making discoveries for themselves.
You can ask more leading questions, or do a think aloud, (“hmm, I remember when we made popsicles, I had to run them under warm water to get them out of the popsicle mold. I wonder if something like that would work again?”).
It can be hard to see your kids struggle, but half the fun comes from having figured it out all by themselves. Don’t rob them of the opportunity!
Let Them “Cheat”
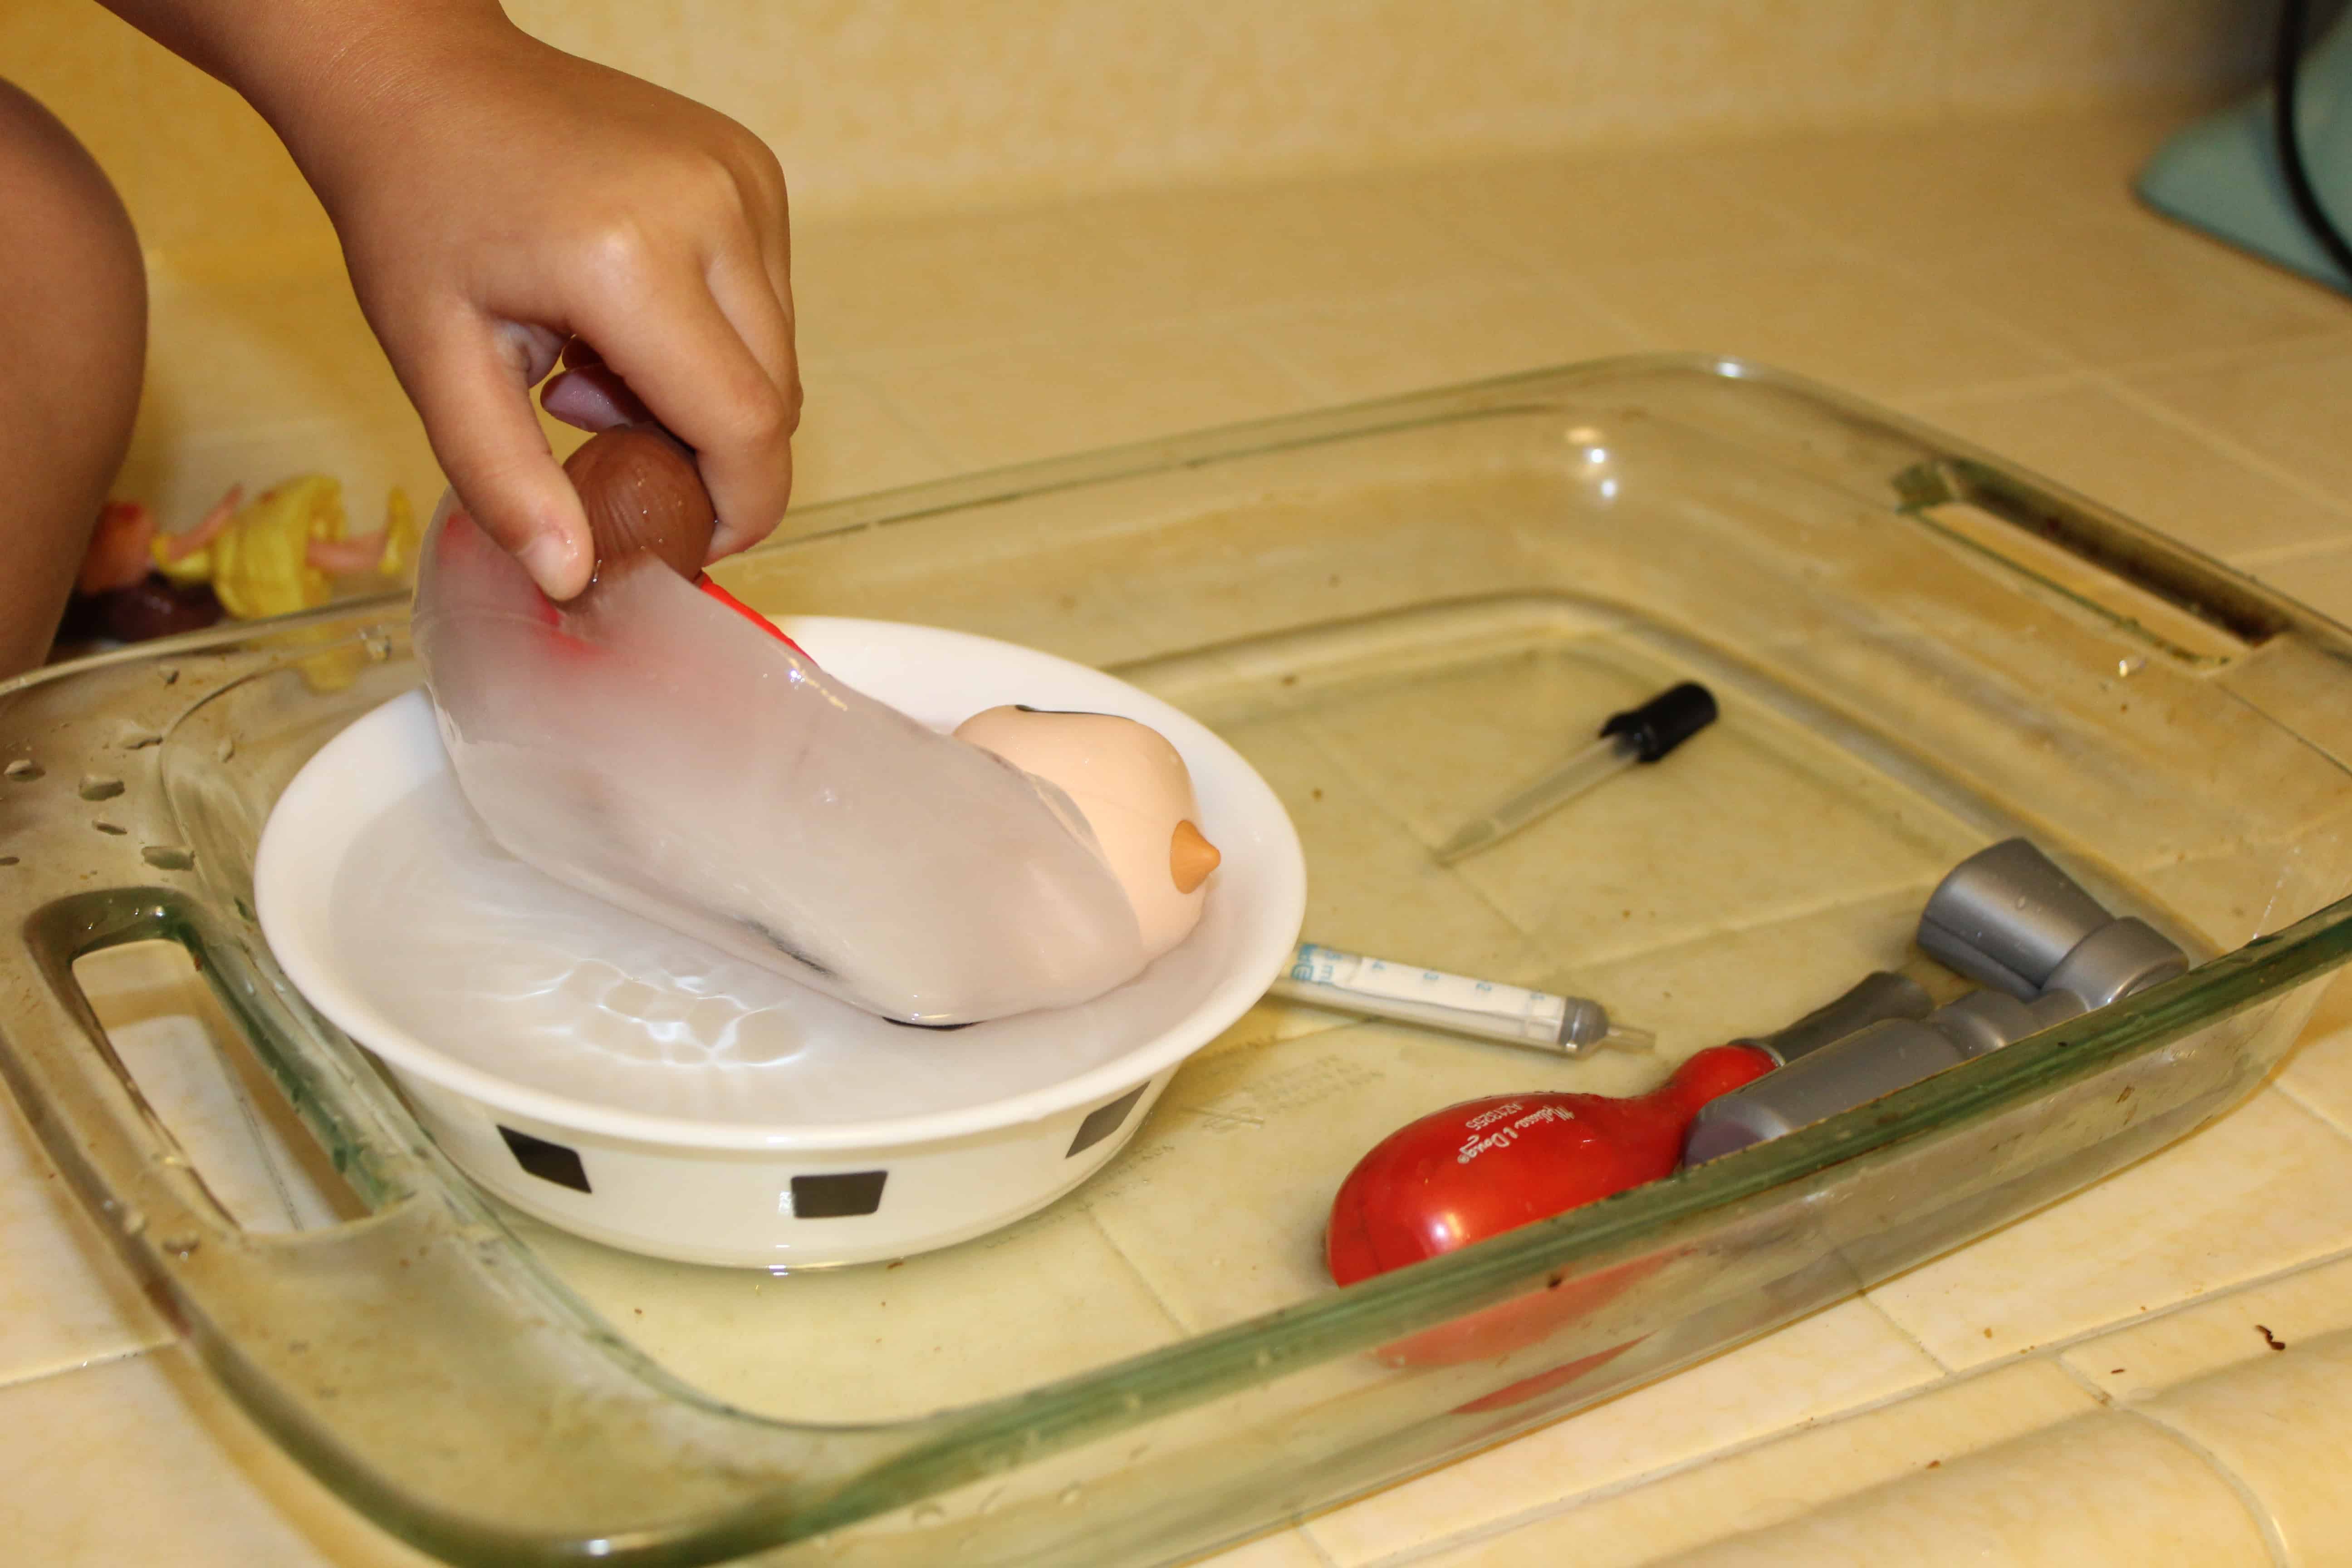
Eventually, Lila realized that she was spending a whole lot of time transferring hot water to the ice. She finally picked up the block of ice and dunked the whole thing into the warm water.
It went SO much faster at that point, and to be honest, I was a bit disappointed.
But you know what? She learned a lesson in efficiency, and she figured something out for herself, and for that, I was very, very proud.
Work Some Lessons in There, but Don’t Make it a Whole Thing
There is plenty of opportunity here to talk about scientific concepts. From state changes to heat transfer, there are big opportunities here for kids to learn a lot of neat stuff.
That is- if they want to. Lila was really interested in the fact that the temperature caused the water to change states from a solid to a liquid. She seemed intrigued by the fact that the hot water was giving its energy to the ice and melting it.
She could not possibly have cared less about the fact that the increased surface contact that resulted from dunking the block of ice in the warm water caused it to melt much faster. I mean, did I try to bring it up? I mean, women in S.T.E.M. So yeah.
But she wasn’t into it, so I let it go. I let her focus on how “cool” it was that it was melting, and oohed and ahhed over her “magic trick.” Because FIVE.
Start Again
Don’t be surprised if your kid wants to repeat this activity again. And again. And again. In fact, you might want to have some more blocks of ice prepared, just in case.
You can change up the activity by offering different tools, asking them to do it without water this time, or even by simply changing the color of the water.
Keep it fresh, keep it fun, and most importantly- let them keep on experimenting.
*******
Looking for more fun ways to help your kids learn at home? Give these posts a try!
- Solo Cup Stacking Engineering Challenge for Preschoolers
- STEM in Action: Homemade Ice Cream in a Bag for Kids
- No-Fail Fluffy Slime Recipe
Tried this activity? Tell us how it went in the comments below!
Recommended Reading:

