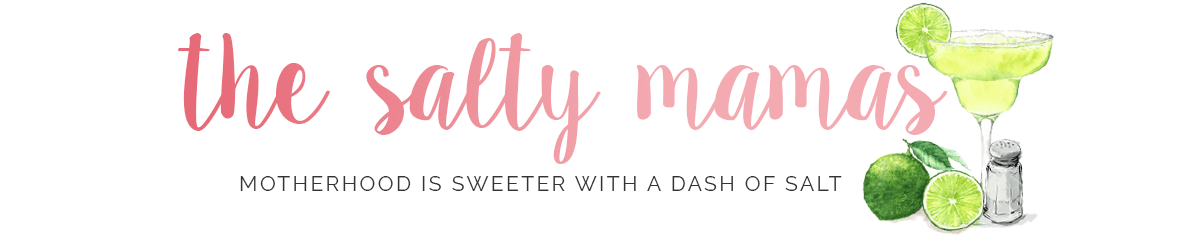
If you’ve been watching our stories on Instagram, you’ll notice we’ve been making a real push to get open ended art into the hands of more children. Process art for toddlers seems so daunting at first- people are afraid of the mess, or don’t know where to start- but they don’t have to be complicated. With a little inspiration, and a tiny bit of prep, you’ll be able to get some easy toddler art projects under way in no time.
Process art activities range from the very simple (think an easel with little pots of paint) to the more complex (like our recycled materials painting wall, see below). The beauty is that you and your kids get to decide how elaborate your process based art projects are going to be. The idea is to keep process art for toddlers fun, simple, and creative, and to let the kids take it from there.
So if you are looking for some easy process art for kids, we’ve got a few ideas that you can do this week, with materials you’ve already got on hand. Collect some supplies, bust out the paint, and you’ll be watching your kids create and explore art in a whole new way in no time!

This post contains affiliate links. You can read more at our legal page. Thanks for supporting The Salty Mamas!
Cotton Ball Painting
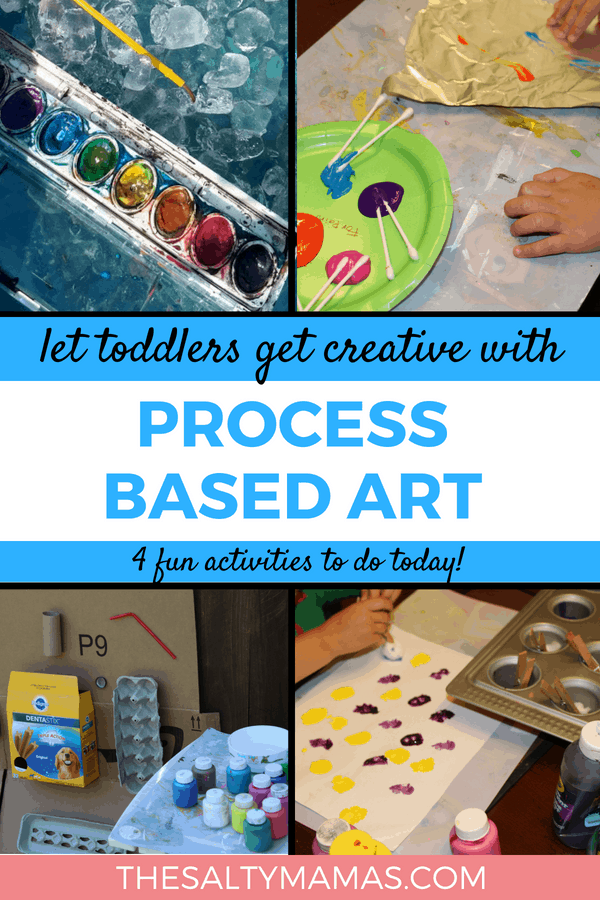
As is often the case in process art for toddlers, this project changes up the “paint brush” notion and puts kids in creative control. You’ll need a muffin tin (I like the variety I can present in a mini muffin tin), clothespins, cotton balls, and washable paint.
Pour a small amount of paint into each cavity. You can choose to stick with one color in each area, or you can place two colors in some. This will allow kids to experiment with color mixing on their own.
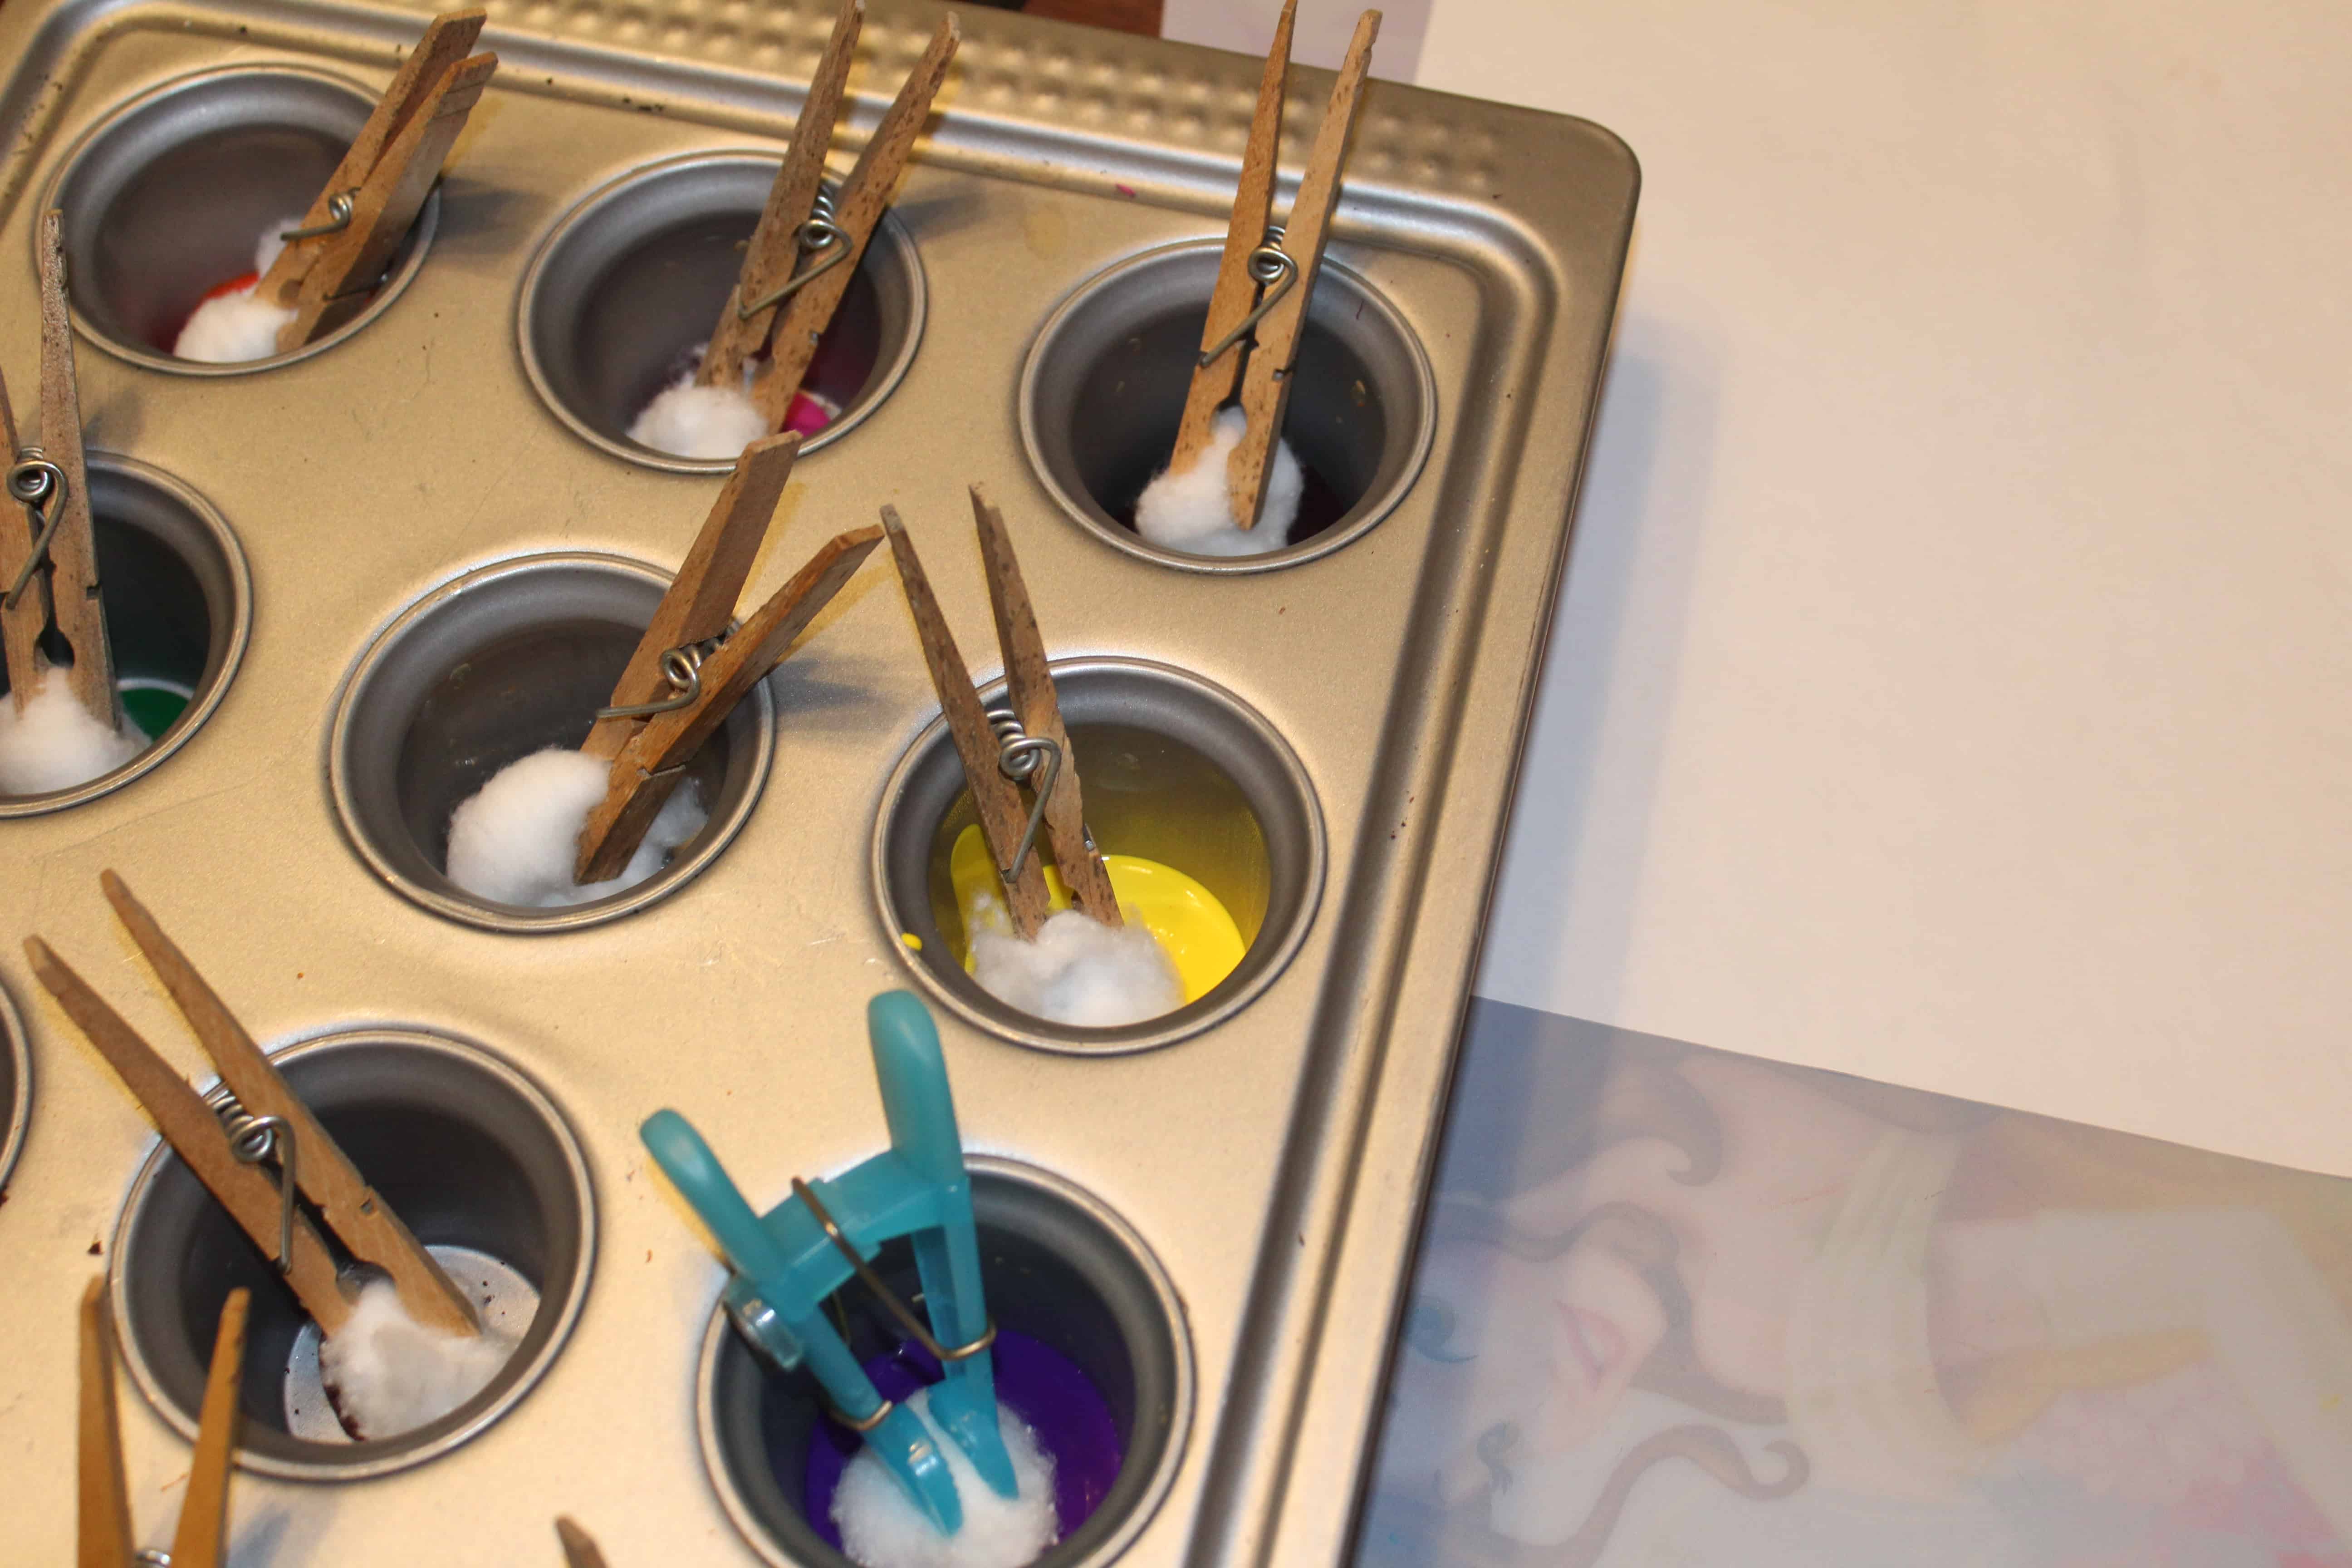
Use a clothespin to pinch a cotton ball onto the end. You can choose to place one “paintbrush” in each cavity, or let the kids do this on their own. You’ll get different results depending on how you choose to present this. If you place the “brushes” yourself, you’ll get less color mixing (which might feel “safer” if you’re Type A). If you let the kids take charge of this, you will likely see more muddling of the colors, which can be a good thing.
Related Post: Monster Truck Color Mixing
Process Art for Toddlers Using Recycled Materials
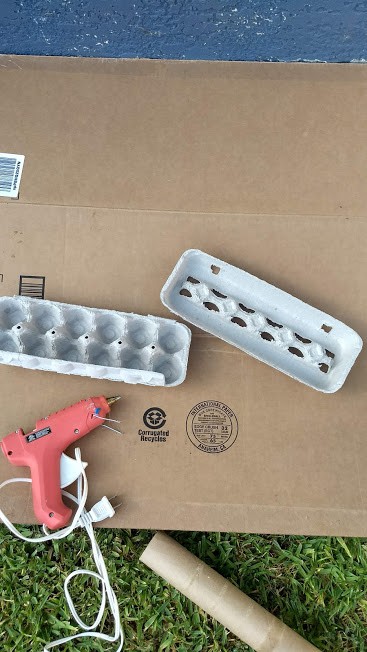
This one is crazy fun, and a good lesson on recyclable materials for kids to boot. It takes a while to gather enough supplies, so start saving your toilet paper rolls/drink holders/empty boxes now!
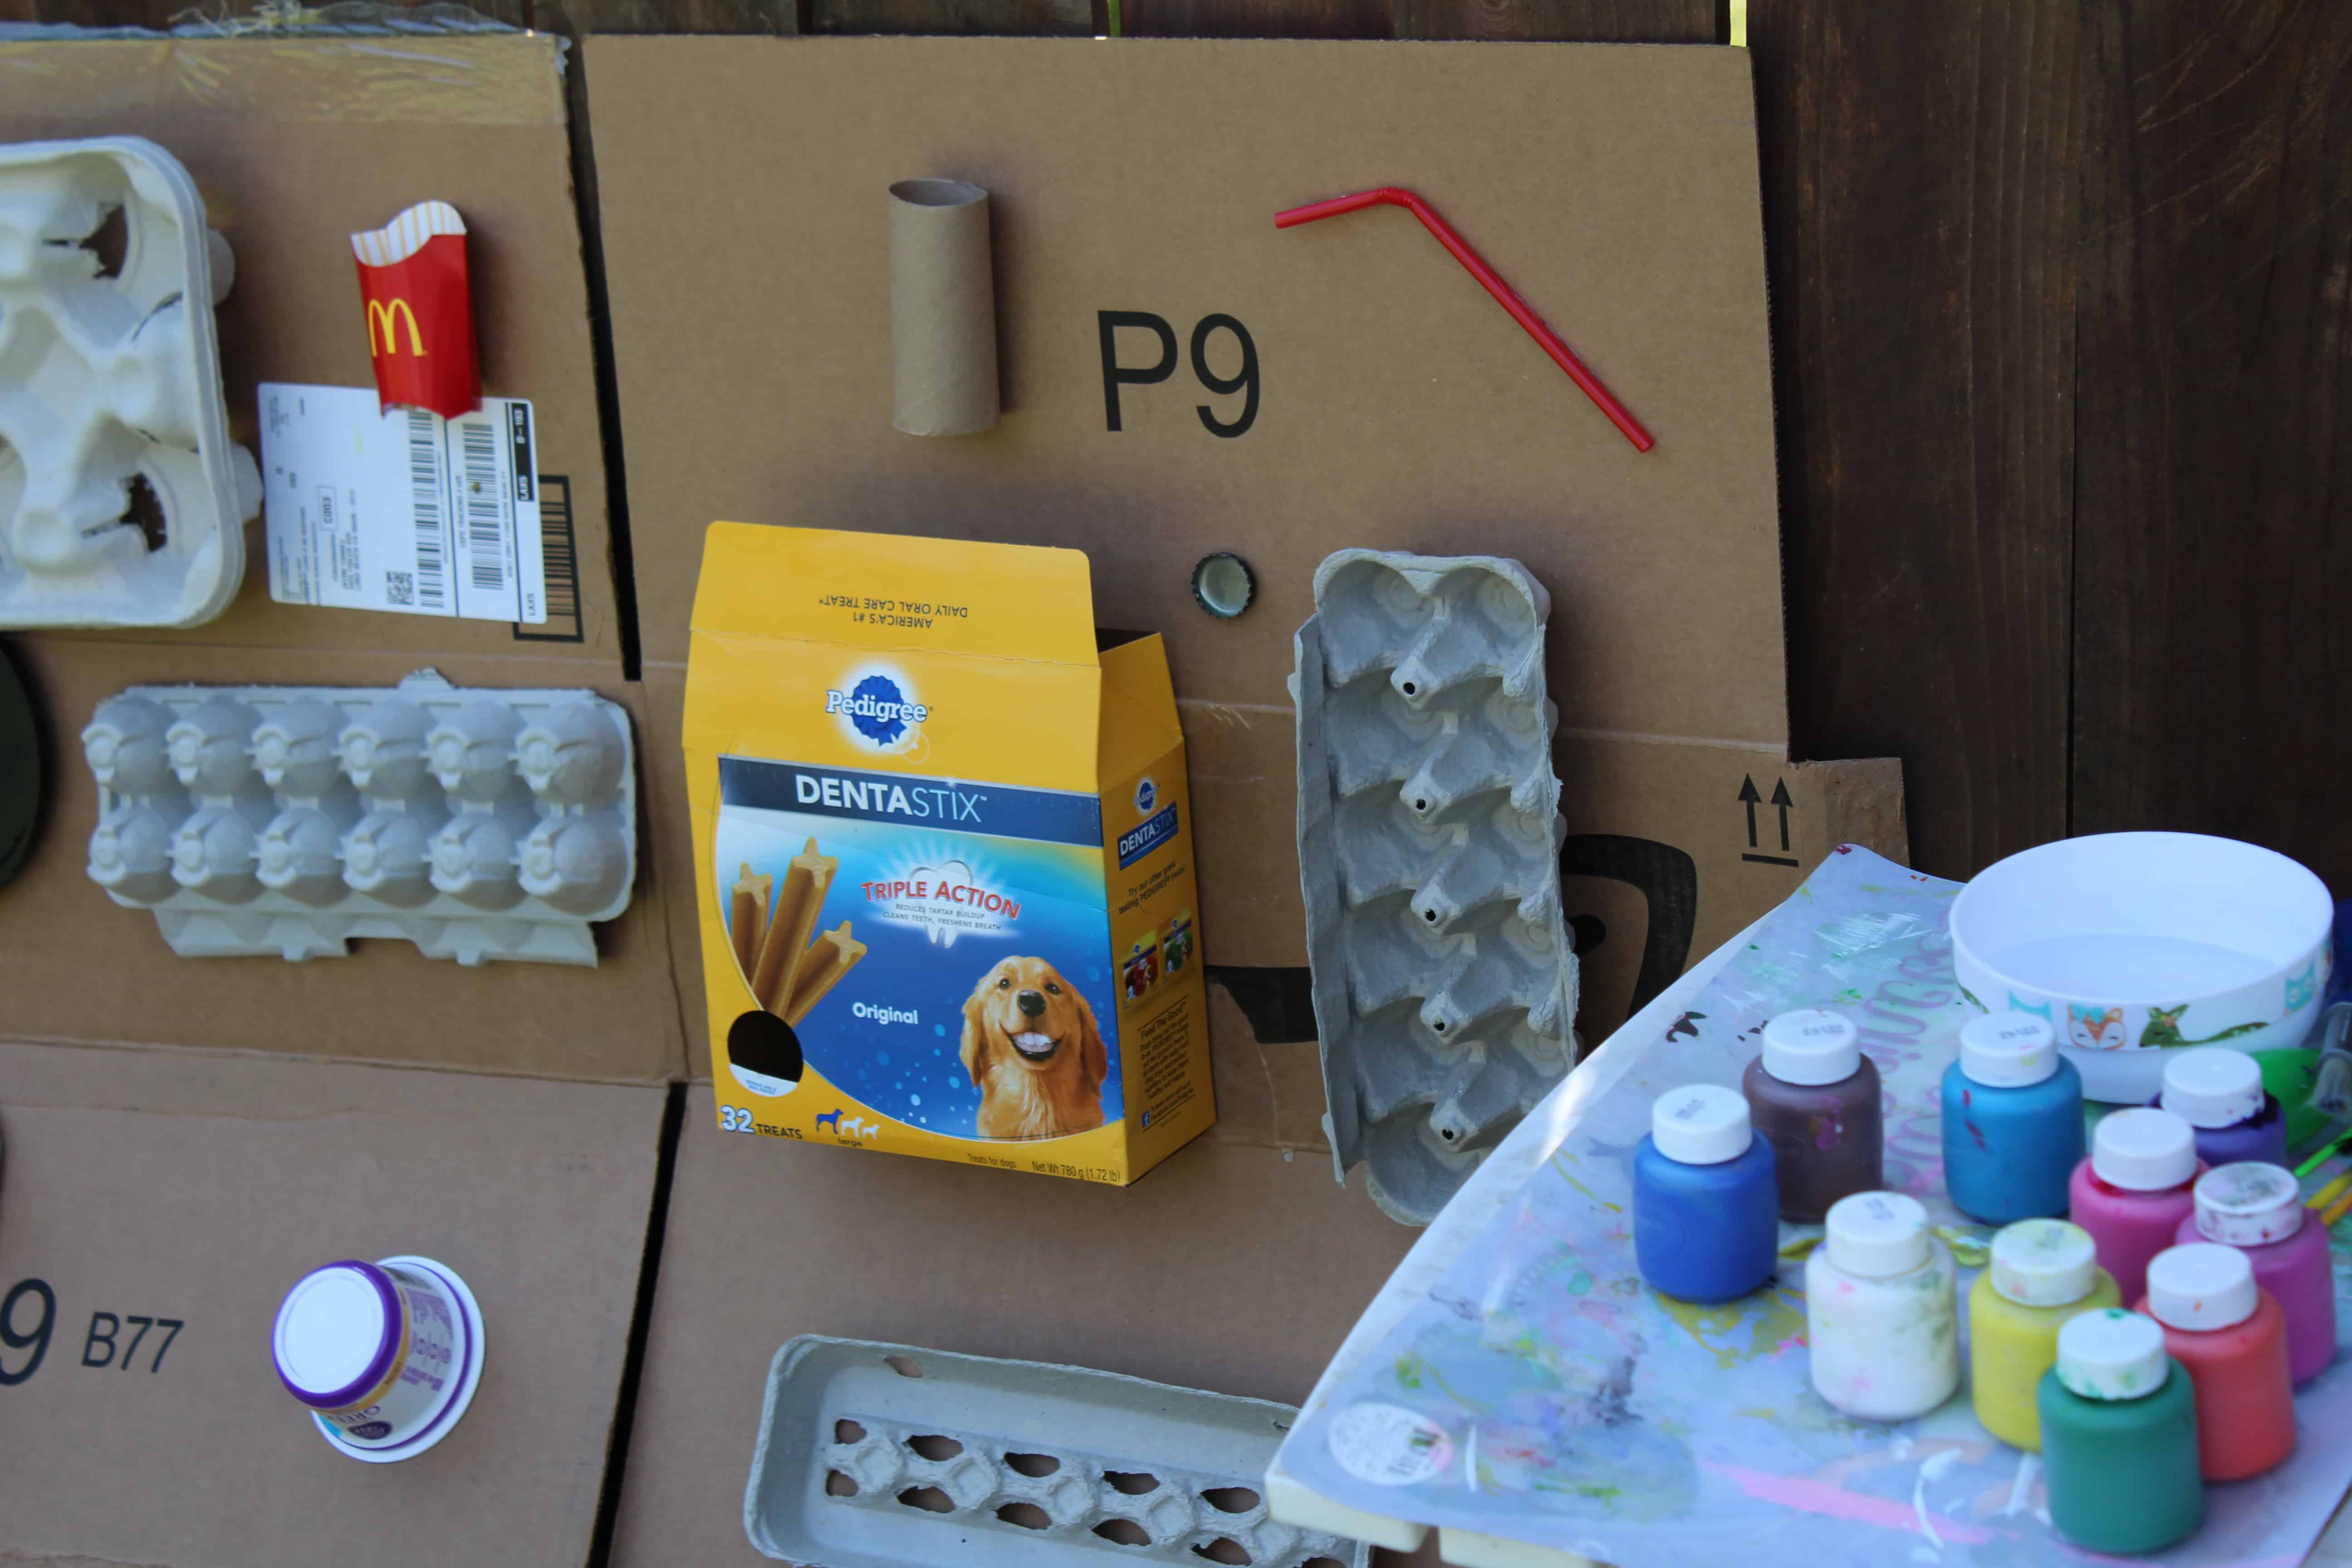
In this process based art activity, you’ll set up an art invitation that your kids will not be able to resist! Using a hot glue gun, an adult will attach the recycled materials you’ve been collecting to a large piece of cardboard. (We used a broken down Amazon Prime box because, like most other basic moms, Amazon Prime makes our lives work.)
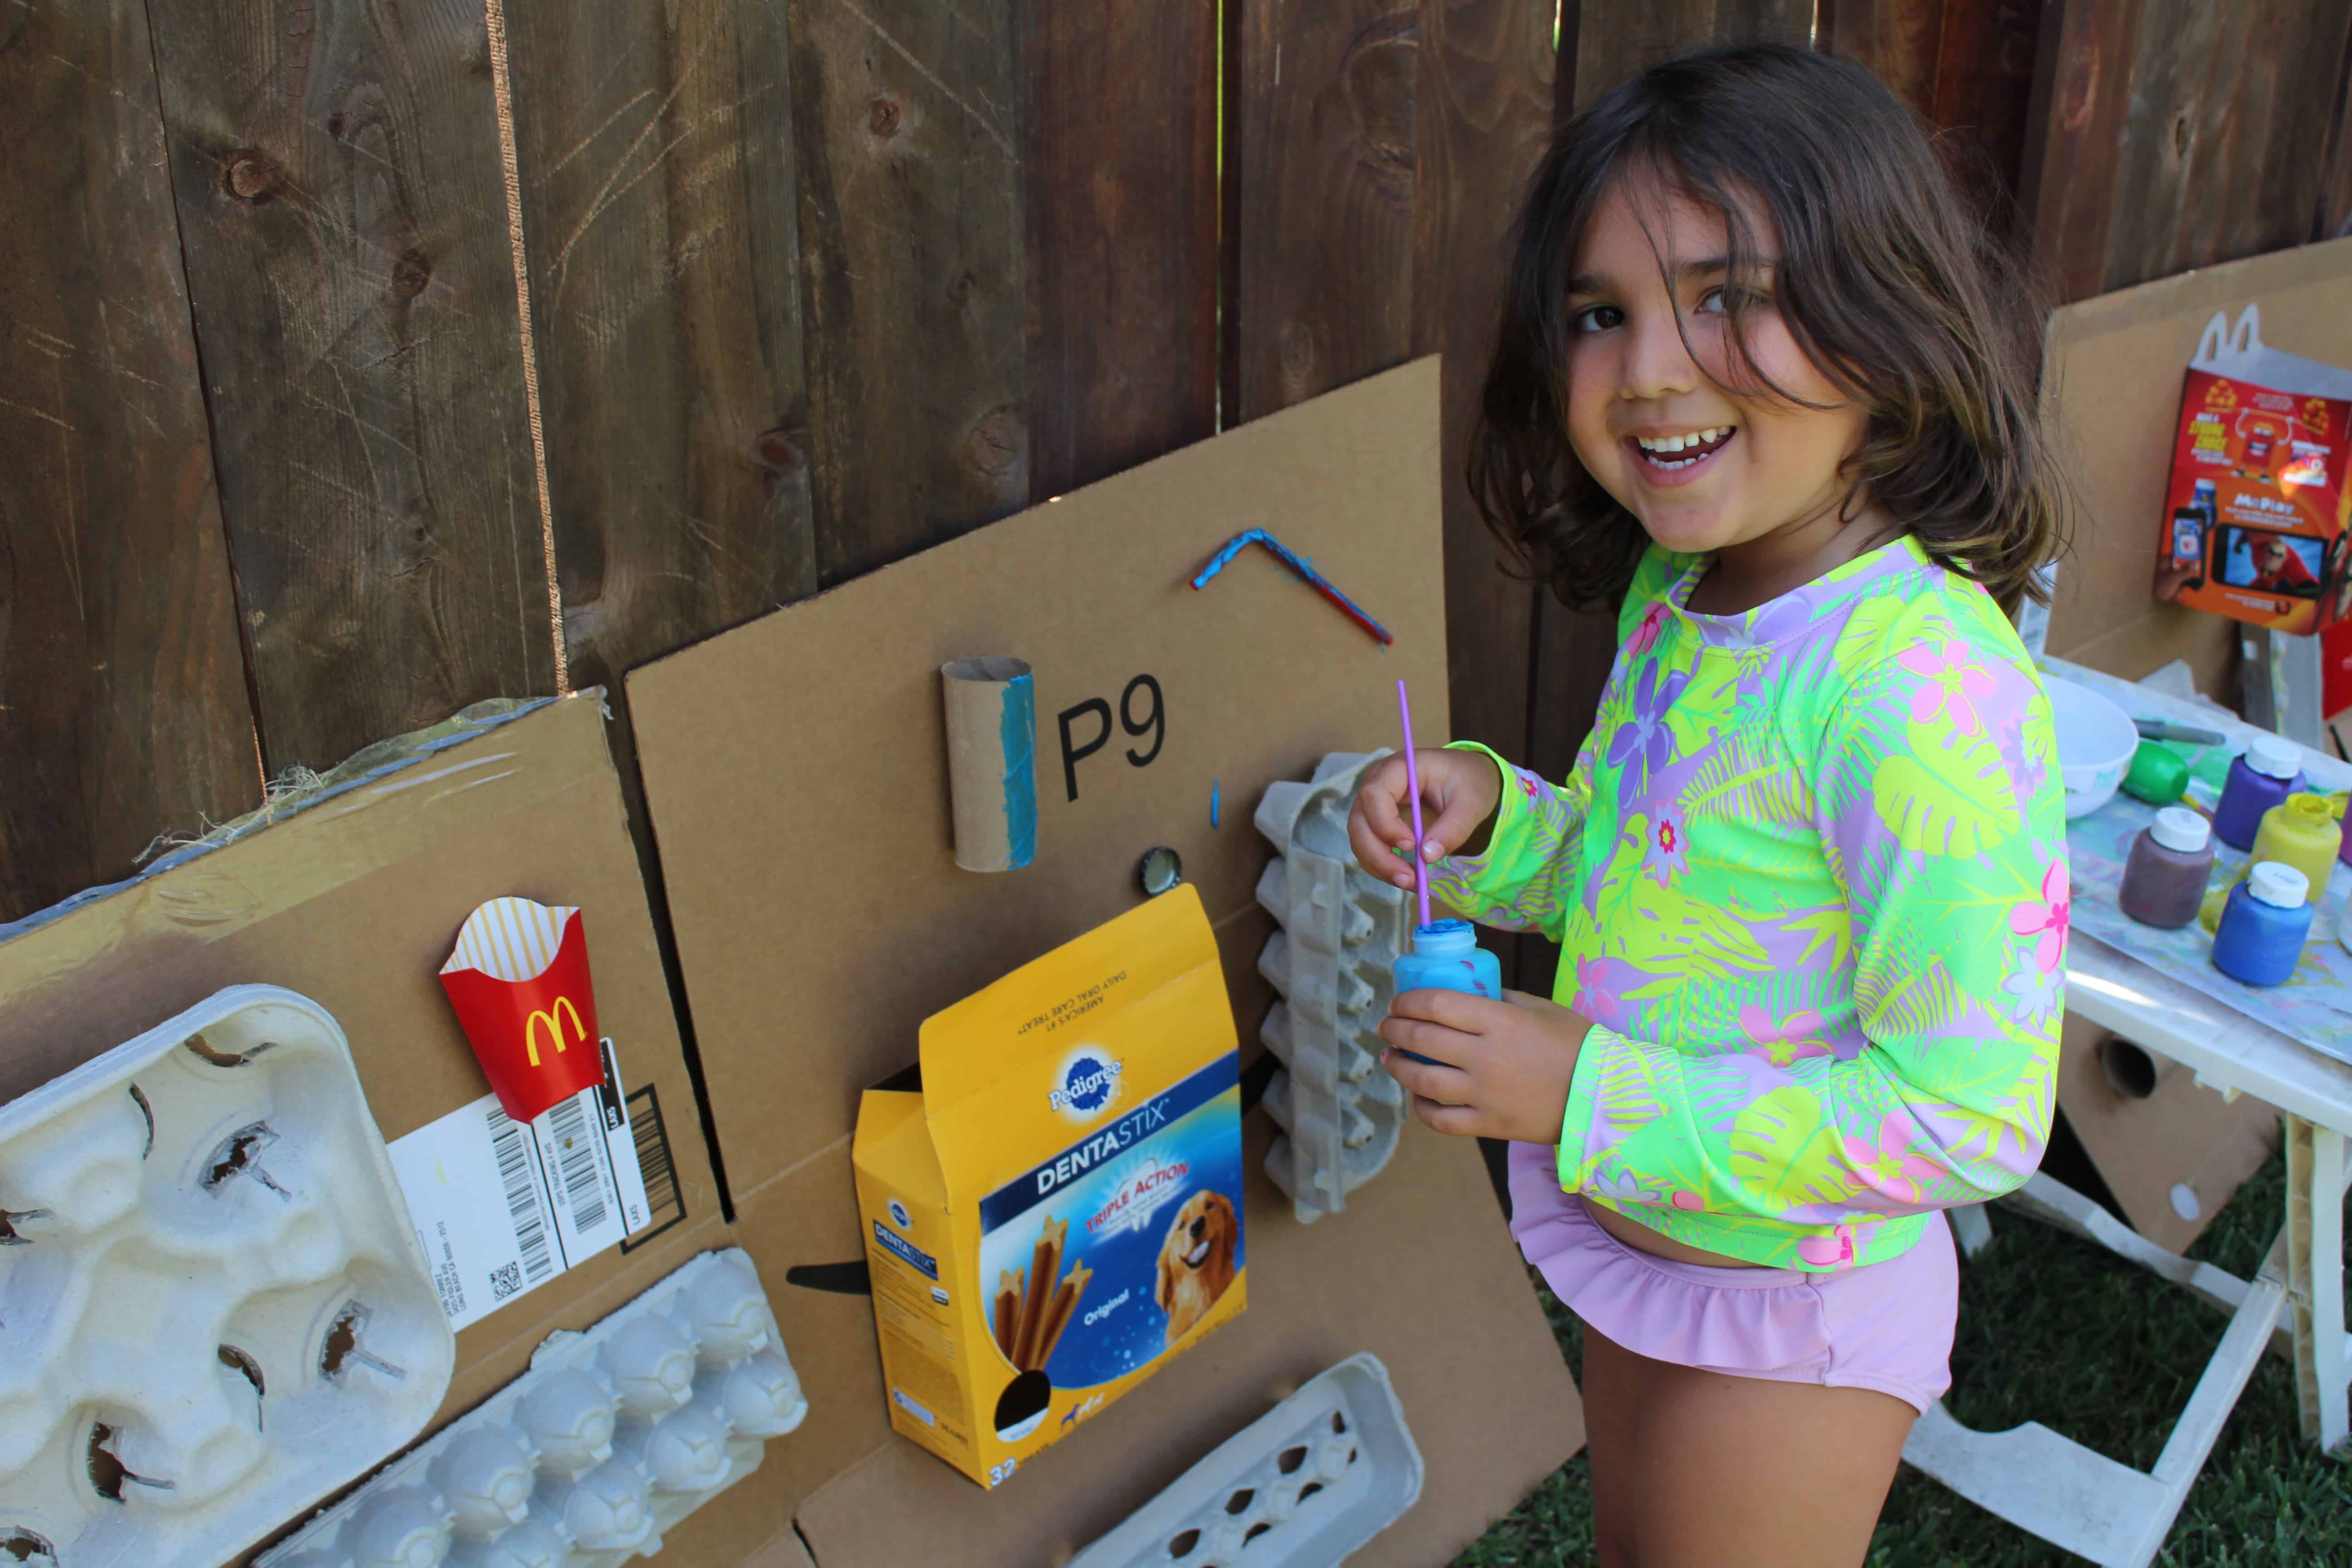
After you’ve got the recycled materials attached to your cardboard, you can simply prop it up (or lay it down), put out some paints, and let the kids paint. Allow them to explore the paints on their own. They may choose to paint them all one color, or paint pictures, or finger paint. Keep in mind that there’s no “right” way to do this.
And frankly, you’re just going to recycle the materials afterwards, anyways. The stakes on this one aren’t high.
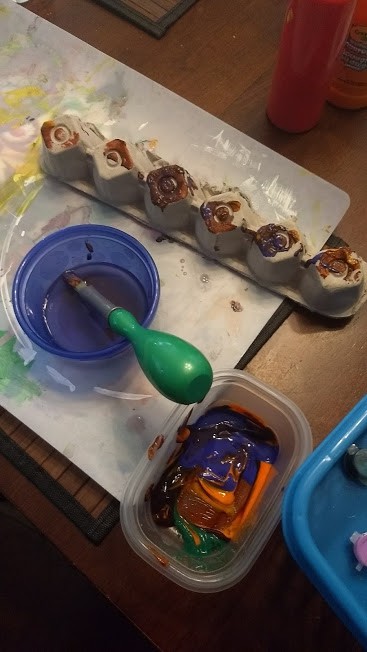
If you don’t feel like going through the extra step of gluing the materials to the wall, your kids will be just as happy to paint the items individually. I’m kind of a recycled-materials hoarder. Before I throw anything out, I ask myself, “could my kids paint this?” If the answer is yes, I hand them over with a little pot of paint before sending it to the recycling bin.
Painting Ice
This is as process based as it comes, since your “product” (aka art piece) is literally melting away as you work. And it doesn’t come any lower prep than this!
Place ice cubes in a water table, bowl, or plate. Put out some watercolors (it helps to wet each color first with the littler kids; it can be hard for them to add enough water to get the colors going at first). Let the kids paint the ice. That’s it!
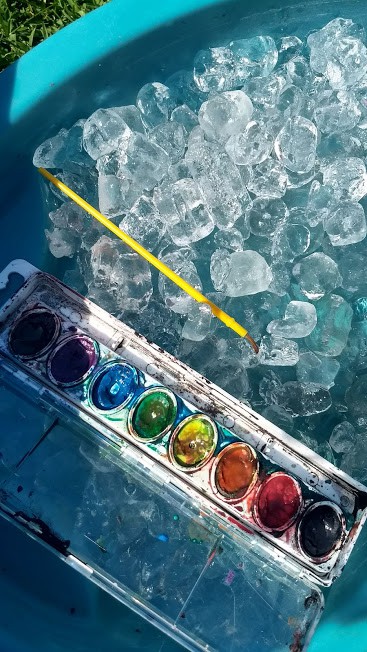
Kids really enjoy watching the colors come alive on this clear, icy canvas. Colors mix especially well on the slick surface, giving them a better chance to explore. And the colors swirl and change as the ice melts, making it an art activity that continues to change and evolve as they work.
To change it up, you can also create a larger slab of ice. Fill a bowl or Tupperware container about halfway with water, and place in the freezer. When it’s frozen solid, run it under warm water to release the ice block, and then hand it over to your little Picasso.
Related Post: Fun Ways to Paint (and Play With) Rocks
Cotton Swab Process Art on Tin Foil
I’ve seen this idea floating around Pinterest for a while, but couldn’t really understand the allure. However, when my daughter saw it on our Toddler Art Pinterest Board (give us a follow for more fun ideas!), she was immediately drawn to it.
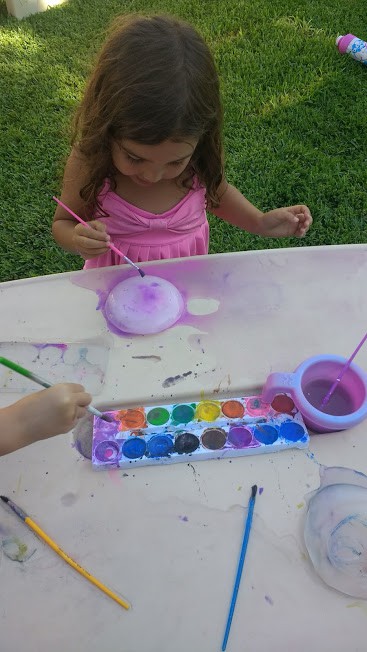
The prep on this is very simple. Place a few washable colors on a palette or paper plate, or even set out little pots of paint (we love this set from Crayola– very accessible for kids, and cheap enough that you can replace it whenever the colors get muddled).

You’ll tear off a sheet of tin foil (or a few sheets!) for each child, and put out some cotton swabs. They can use the cotton swabs as their paint brushes as they swirl paint colors or draw a picture (whatever they choose). There’s something extra fun about painting on an unusual surface that just pulls the kids right in.

Pro Tip: If you have a reluctant artist, give them a half-size sheet of tin foil. Smaller “canvases” are less intimidating to kids who are hesitant to jump into art activities.
*******
Process art for toddlers doesn’t have to be intimidating. With just a few materials you find around the house (and a little tolerance for mess, if we’re being honest), your kids can unleash their creative potential anytime. (easy art projects for toddlers, like these, have gotten me out of MANY an “I’m bored” summer afternoon.) So gather your supplies, be brave, and let your kids get to painting.
Looking for more art projects to do with your kids? Check out these fun and simple activities-