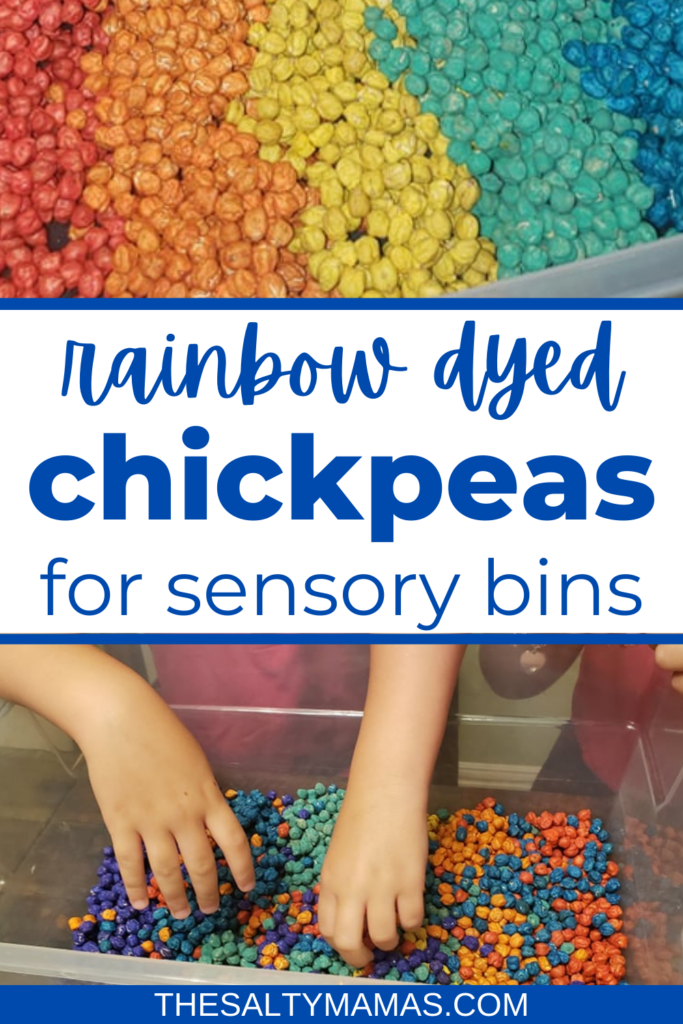
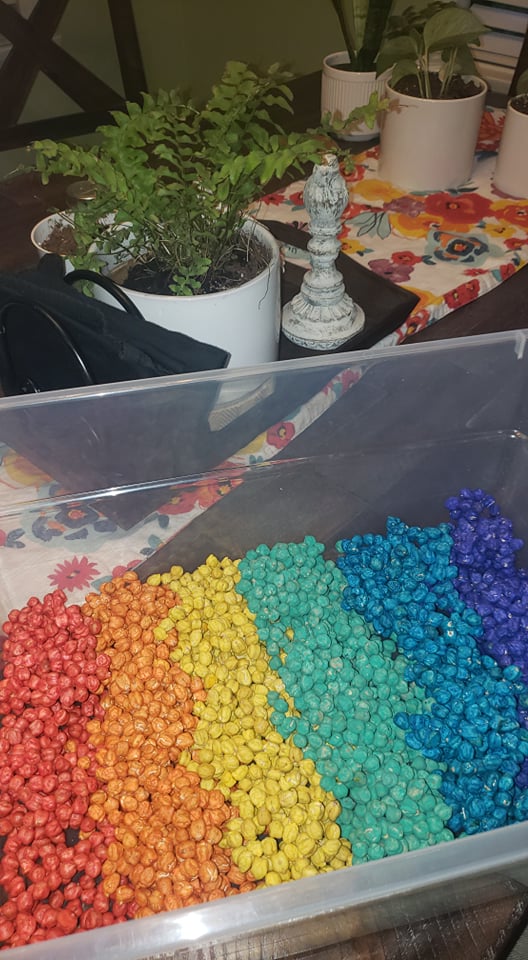
We’re always on the hunt for fun new sensory bin fillers, and this recipe for rainbow dyed chickpeas is WAY easier than it might sound! Read on to find out how to dye chickpeas for sensory bins (as well as lots of ways to play with your chickpea sensory bin!)
My son LOVES a good sensory bin. We’ve come up with some cute ones over the years, but it’s always nice to come up with something new for the rotation.
Adding anything novel to his sensory bin brings his interest level WAY back up. We can use the same tools and same prompts, but changing out the filler makes a huge difference for us.
We’ve used dried beans and dried chickpeas lots of times in the past (like in this construction themed sensory bin), but he had gotten so used to those that we knew we needed to shake it up.
Turns out, figuring out how to dye chickpeas and dried beans was much easier than we thought!
This recipe for rainbow dyed chickpeas for sensory bins sounds messy, but I actually found it to be pretty darn easy. And we bet you’re going to feel the same way!
This post contains affiliate links. As Amazon Affiliates, we may earn from qualifying purchases. You can read more at our disclosures page. Thanks!
The Developmental Benefits of Sensory Bins
Sensory bins have really taken off in popularity these days. Just remember, it doesn’t have to be elaborate to be beneficial to your kids! Simple bins work just as well as fancy ones.
Sensory bins provide a lot of benefits for kids. Here are some ways that a rainbow chickpea sensory bin could benefit your kiddos:
- Exposure to different textures and temperatures
- Helps calm and soothe busy bodies and brains
- Provides sensory input to strengthen propriocetpive and vestibular senses
- Improves hand strength
- Improves fine motor skills
- Allows low-stress practice with hand eye coordination
- Allows kids to practice measurement and capacity
- Provides opportunity for language development
Gathering Materials for Your Rainbow Dyed Chickpea Recipe
I LOVE how low fuss this rainbow dyed chickpea recipe is. It’s just two ingredients and few Ziploc Bags!
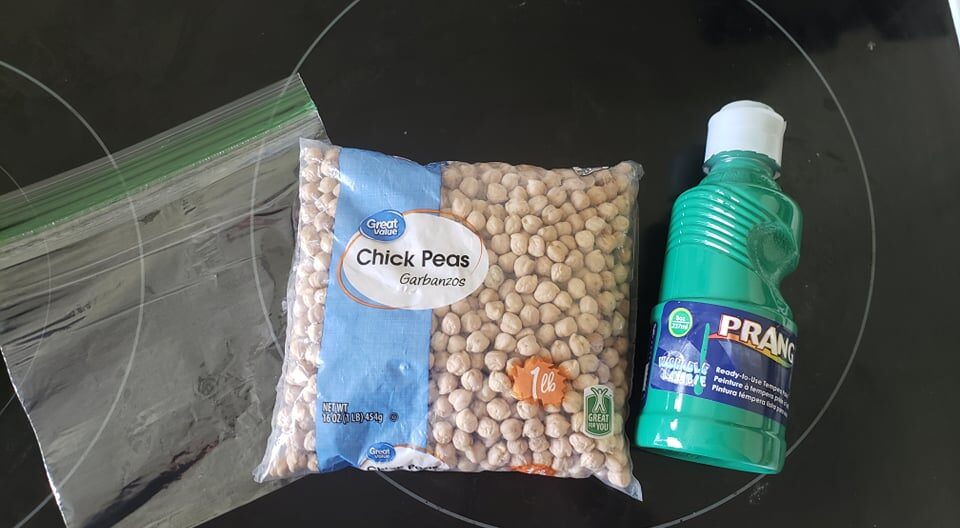
You’ll need for dying the chickpeas:
- Three Bags of Dried Chickpeas
- Small Amounts of Tempera Paint in Rainbow Colors (Grab some on Amazon, or get them cheaper at Walmart or Target!)
- Sandwich Size Ziploc bags (2-6, depending on preference). You can also use tupperware containers if you don’t like single use plastics (but you will have more mess to clean up)
For drying:
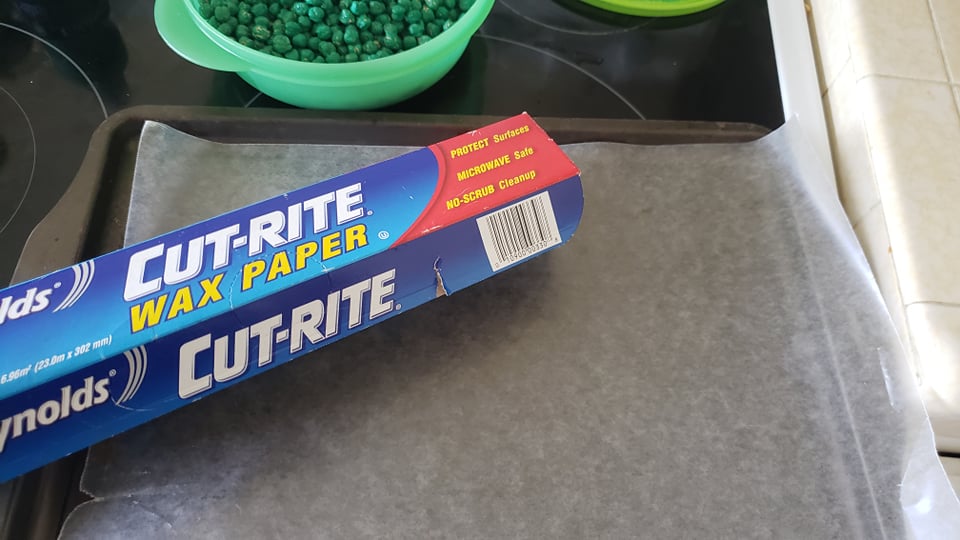
- Two large cookie sheets
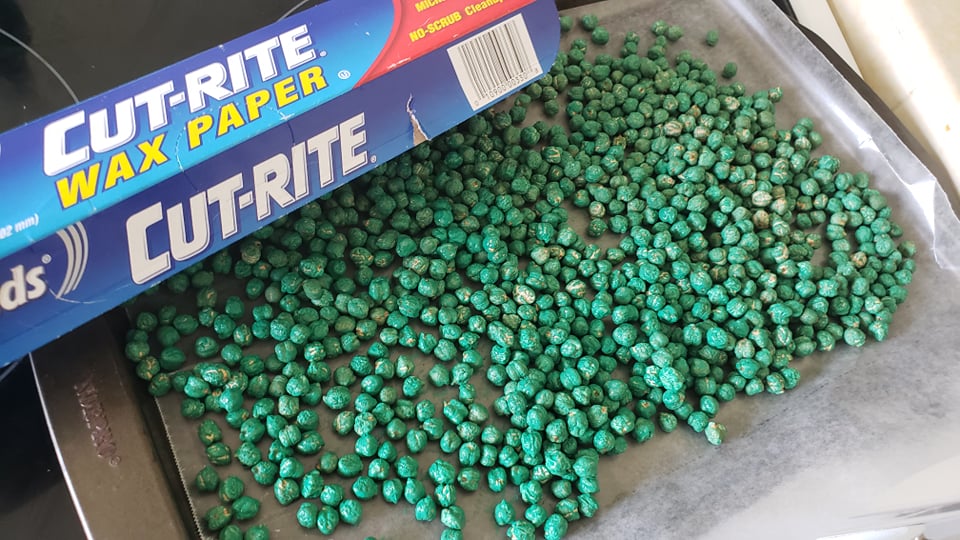
- Wax paper
- A safe place to store them overnight
How to Dye Chickpeas for Sensory Bins
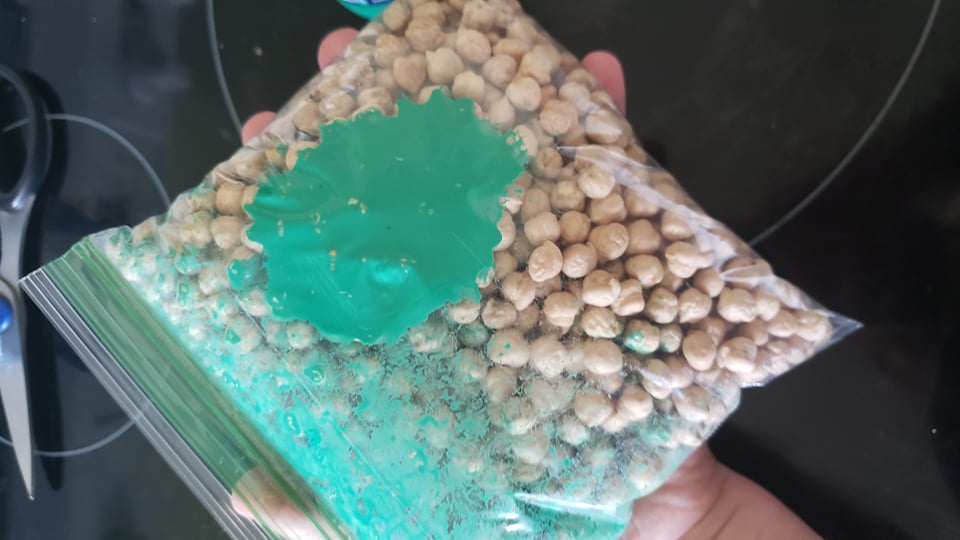
This seriously could not be easier. I know it SOUNDS messy, but everything is so well contained in these Ziploc bags that it really amounts to no big deal!
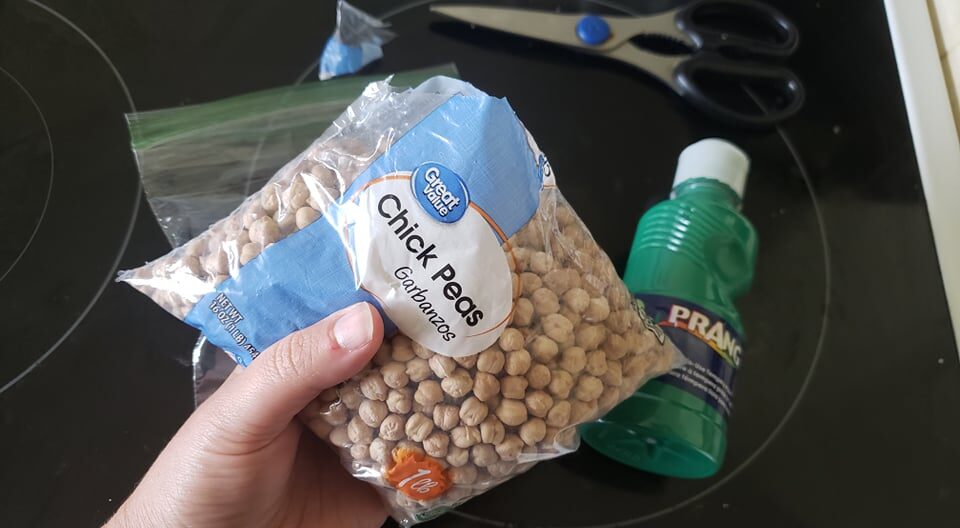
First, pour about a half bag of dried chickpeas into a Ziploc Bag.
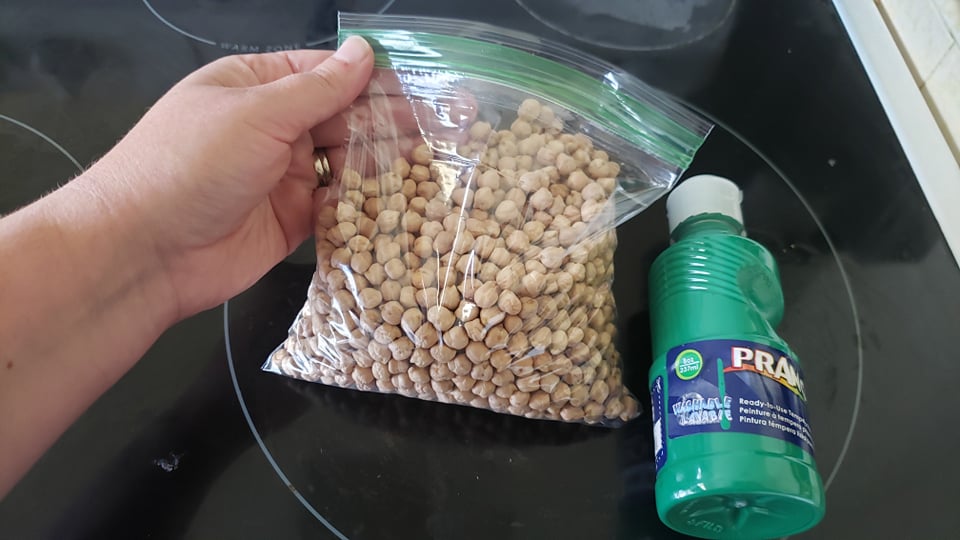
Add a tablespoon or two of tempera paint. (You don’t have to measure, just eyeball it.) If you have too much, it’ll just stick to the bag. If you don’t have enough, you can add more later.
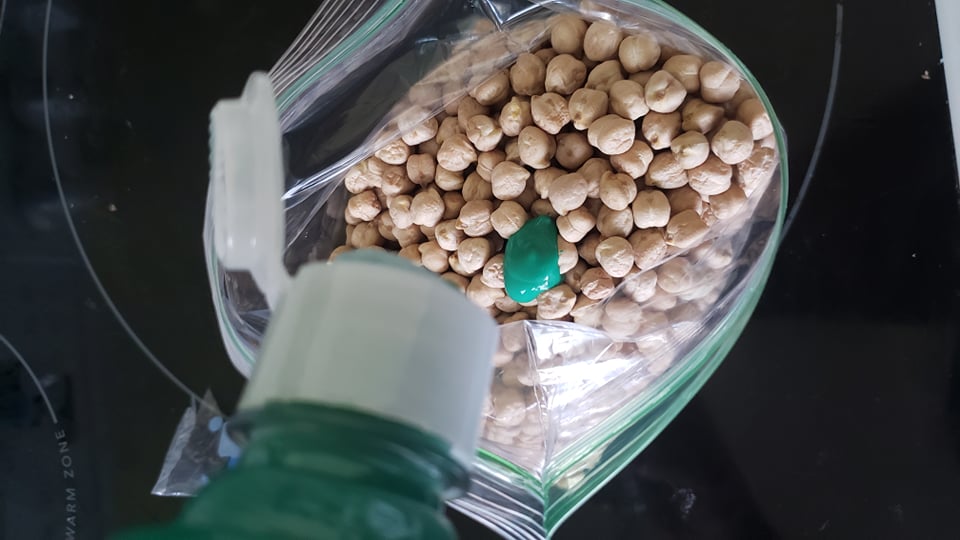
Now is the fun part (your kids may want to help out!) Shake up the Ziploc bag until all the chickpeas are coated in paint. Peek inside to see if they are fully coated, and if not, add more paint.
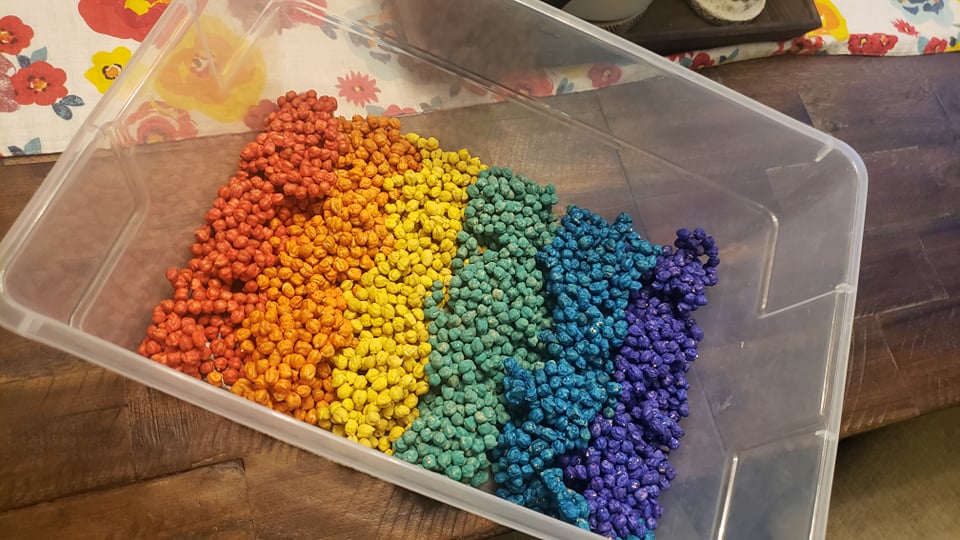
Spread out the wet chickpeas on a wax-paper lined cookie sheet. Store somewhere warm and dry for at least four hours, or up to overnight.
How to Dye Chickpeas without the Mess
Ziploc bags are really the key to how to dye chickepeas without the mess. I don’t love single use plastics, but it is really the best way to minimize messes!
I try to limit the amount of plastic baggies I use by using only two Ziplocs, one for cool colors and one for warm colors. First, dye chickpeas yellow in one bag. Move to the cookie sheet.
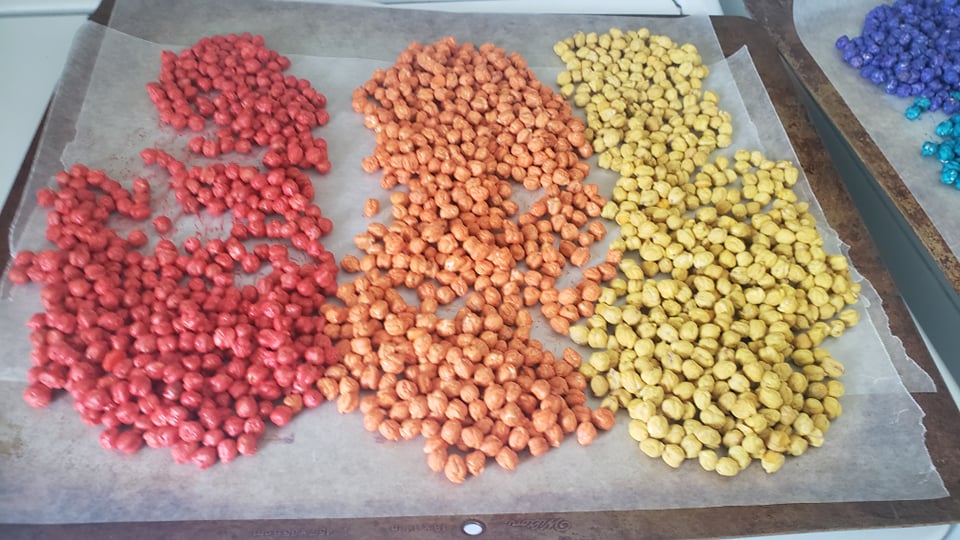
Next, add more dried chickpeas to the yellow bag, and add orange paint. Any yellow that is left will just mix into the orange, no big deal. Repeat for red, then dispose of this bag.
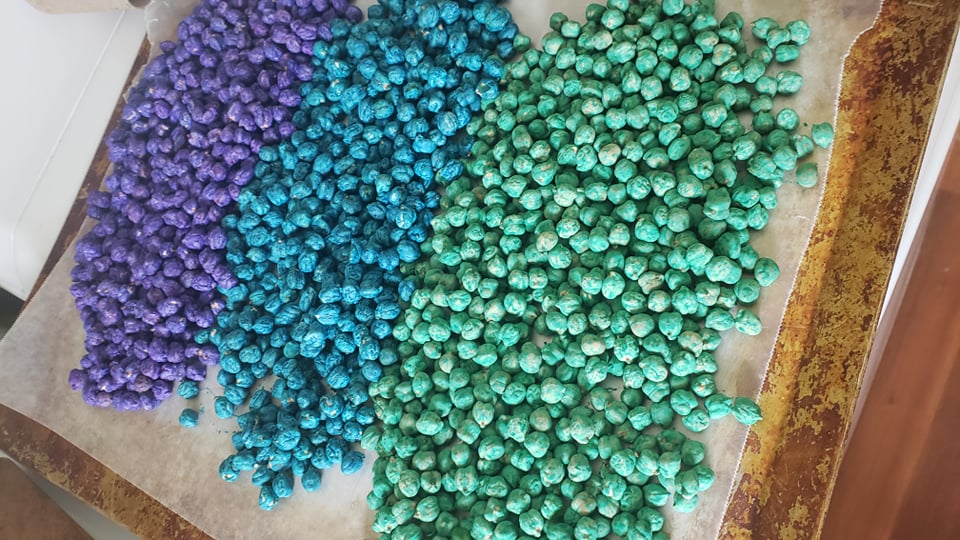
In a clean bag, add in green paint and dried chickpeas, followed by blue, and then purple. Then you can throw out the Ziploc.
How to Keep Kids From Making a Mess with the Sensory Bin
The number one hesistation about sensory bins that we hear from moms? The mess! But sensory bins don’t have to create a huge mess.
You can cut down on the mess by giving your kids rules before you begin playing with your sensory bin. Here are ours:
- Sensory bins (and their contents!) stay in the area they start in.
- Keep materials in the bin as best you can.
- Keep objects out of your mouth.
- Tell mom when you’re done so we can clean up together.
Dyed Chickpea Sensory Bin Ideas
Now you’ve got these gorgeous rainbow dyed chickpeas- so what do you do with them?
Here are some ideas.
Break Apart the Rainbow Dyed Chickpeas
You might find that some of the chickpeas are stuck together with the paint. Resist the urge to break up the chickpeas on your own- the kids will LOVE doing this!
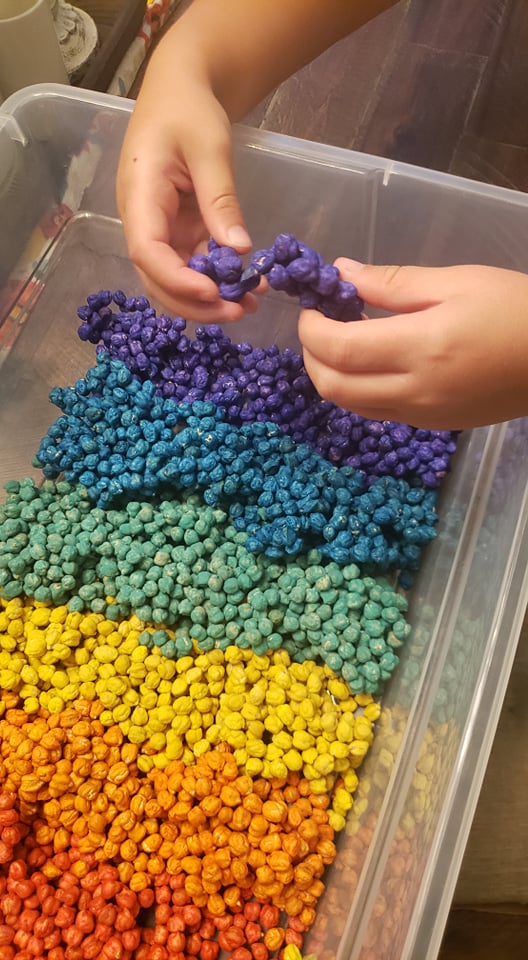
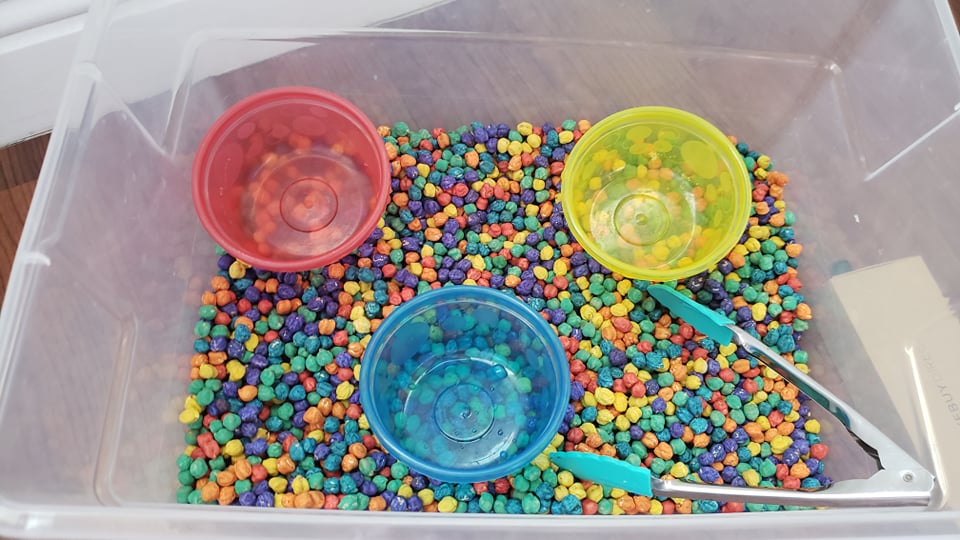
Divide colors into small bowls so that they stay separate. Show kids how to break
apart the chickpeas.
Something about this just appeals to them. It’s definitely got bubble wrap vibes.
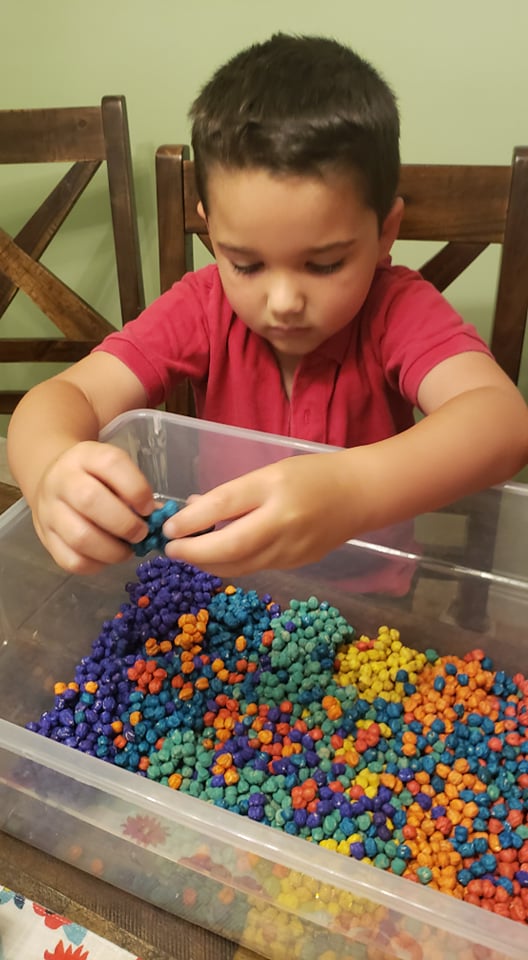
Sort Toys into Your Chickpea Sensory Bin
Give your child toys, pom poms, or other objects in rainbow colors.
Encourage them to sort the toys to the area with a matching color.
Mix the Colors
Now it’s time to mix up your rainbow dyed chickpeas!
Give kids a whisk, spoon, or just their hands, and let them mix them up. They’ll enjoy
Fill Containers in Your Sensory Bin
Add a few containers to your dyed rainbow chickpeas sensory bin. Think various bottles, containers, and jugs with lids.
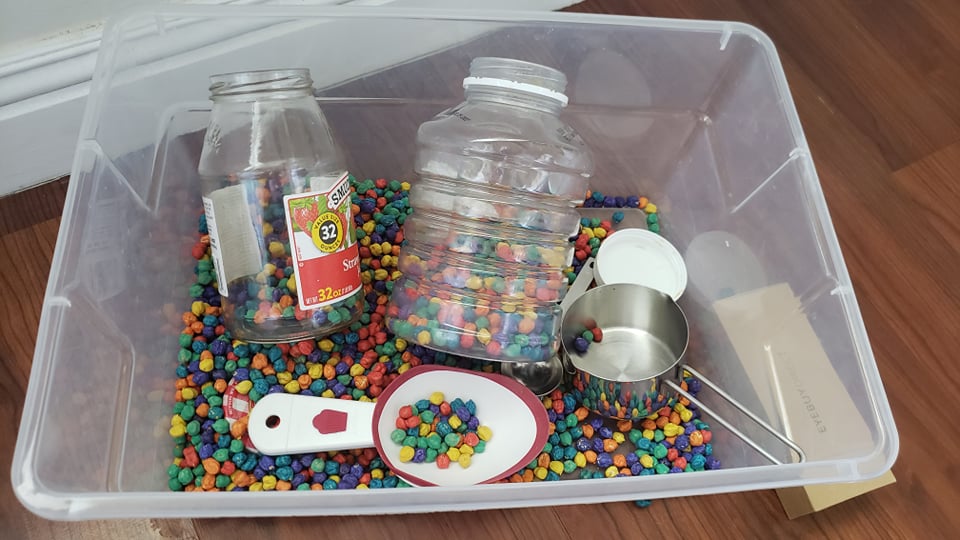
I added some scooping “toys” to the mix. Measuring cups, measuring spoons, and these cupcake scoops that have quickly become sensory bin favorites.
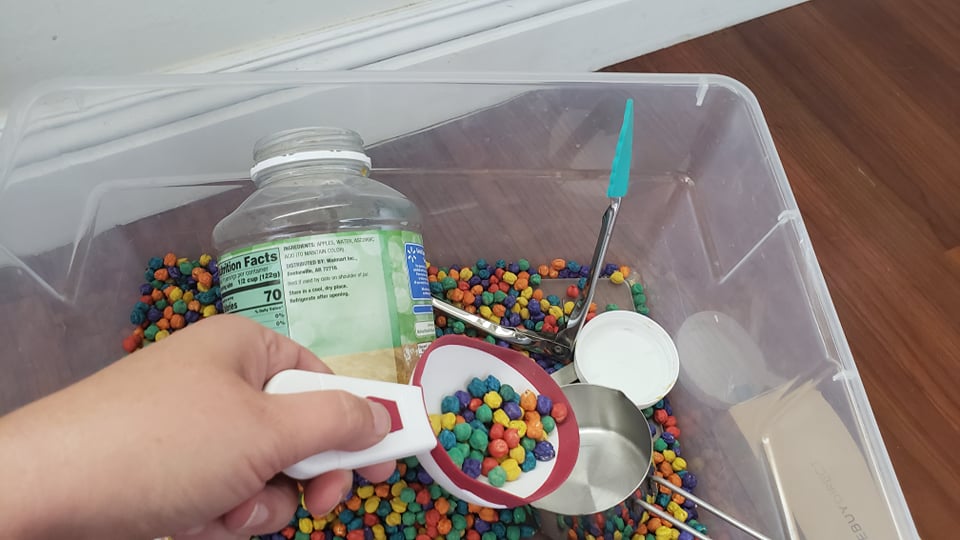
Let kids fill the jars (and sneakily learn the concepts of measurement and volume in the process!)
Sort the Chick Peas Back Into Colors
Take six plastic cups, and tape a piece of construction paper to each one, in rainbow colors. Place them in the middle of the sensory bin. We use Take N Toss containers for everything, and this is no exception!
Add tongs or tweezers to the sensory bin. Encourage kids to sort the dyed chickpeas into the matching cup by color.
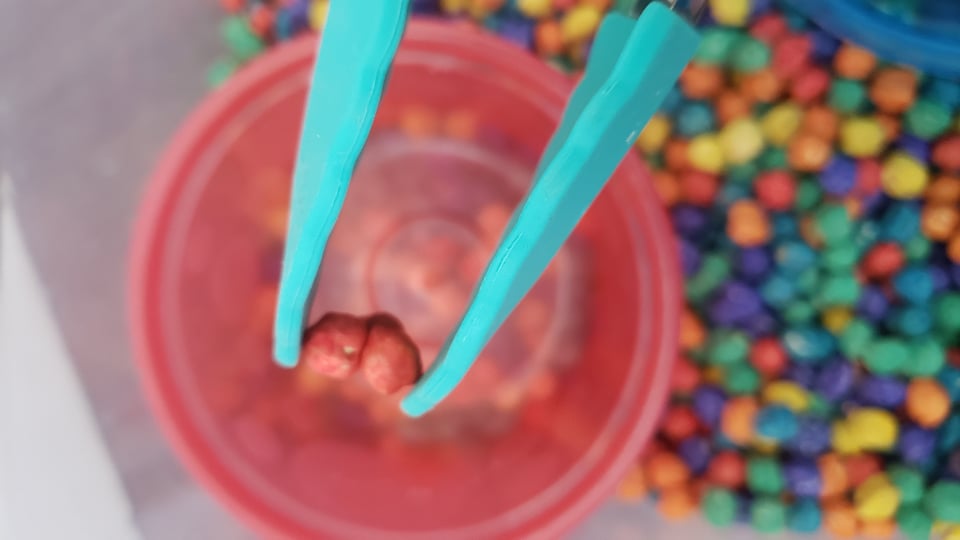
They for SURE won’t do all of them. That would be exhausting! Just encourage them sort at least a few chickpeas for each color, or as many as they enjoy.
Storing Your Dyed Chickpeas
When you’re ready to change up your sensory bin filler, tidying up your rainbow dyed chickpeas couldn’t be easier!
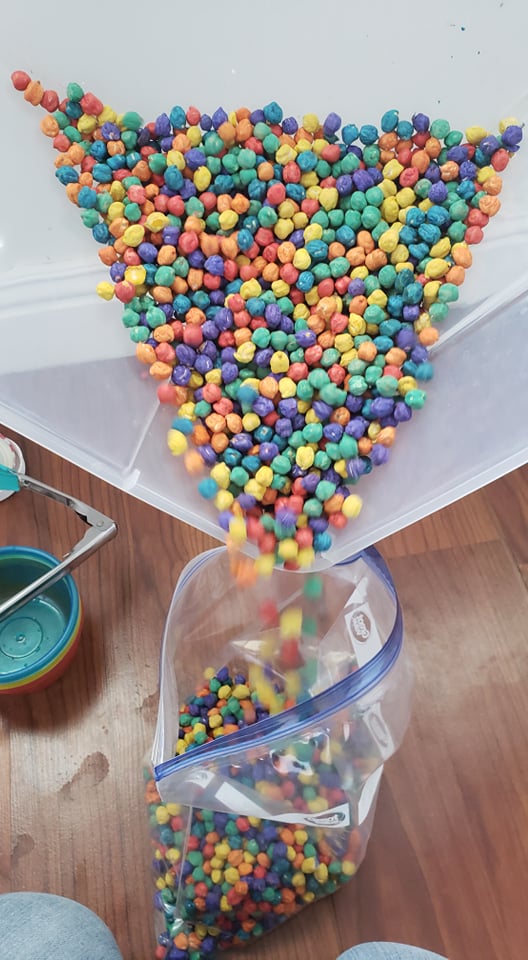
Open up a gallon size Ziploc bag, and fit it to the inside of a mixing bowl to keep it upright. Pour the rainbow dyed chickpeas into the gallon size bag, and zip tight.
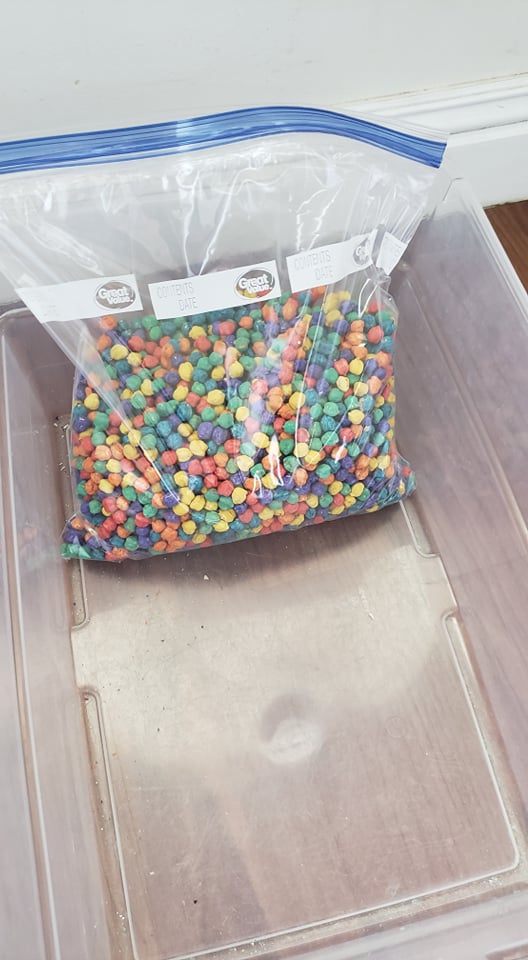
We store our sensory bin fillers inside the large Sterilite container we use as a sensory bin. That way, when we’re ready for sensory play, we just choose a bag to open up and pour in, and we’re ready to go!
*******
So with less prep (and less mess!) than you think, you can bring a whole new life to those dried beans you’ve been using in your sensory bins. This rainbow dyed chickpea recipe for sensory bins is sure to impress your little ones, and bring a whole new enthusiasm to your sensory play!
Looking for more sensory play ideas? Head here next-