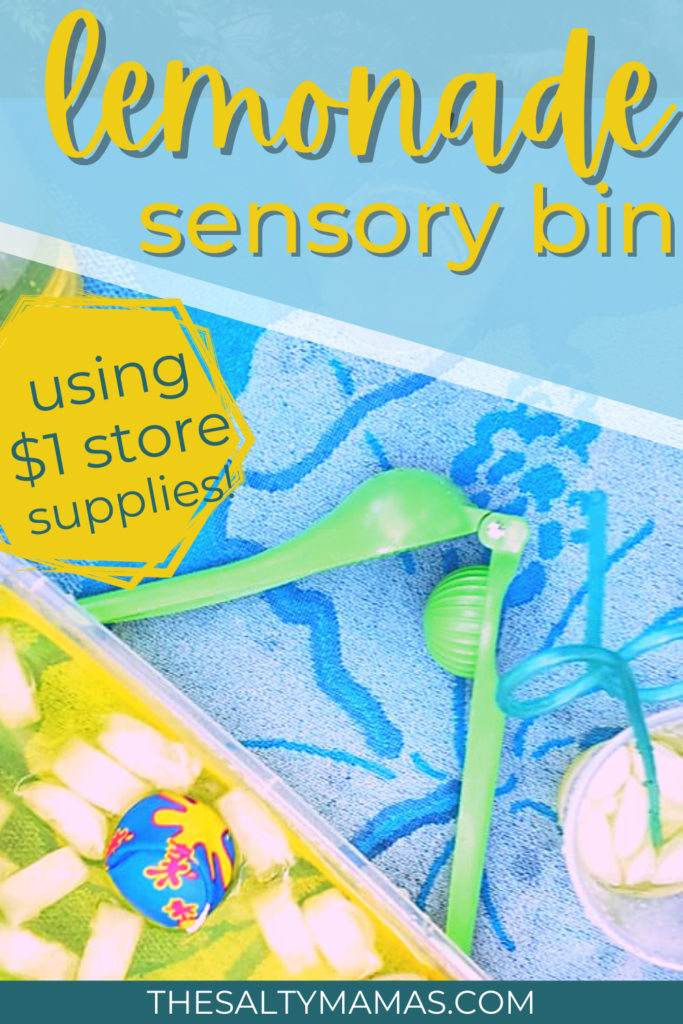
Trying to stay cool on a hot summer day? This icy fun activity for kids will keep your kids squeezing, playing, and imagining all afternoon! Check out the directions for this super cheap, easy Lemonade Sensory Bin for kids.
My kids LOVE a lemonade stand. They have been begging me to have a lemonade stand for months, but we just haven’t been able to do it.
So I decided to give the next best thing, right here at home- a pretend lemonade stand, featuring this adorable (and low prep!) lemonade sensory bin.
Suprisingly, my 8 year old even loved it as much as my preschooler did!
So if you’re looking for a sensory experience that will cool your kids down (while sneaking in practice with hand strength!), give this lemonade sensory bin a try.
This post contains affiliate links. As Amazon associates, we may earn for qualify purchases. You can read more at our disclosures page. Thanks!
Why are Sensory Bins So Good for Kids?
Sensory bins have really taken off in popularity these days. Just remember, it doesn’t have to be elaborate to be beneficial to your kids! Simple bins work just as well as fancy ones.
Sensory bins provide a lot of benefits for kids. Here are some ways that this lemonade sensory bin could benefit your kiddos:
- Exposure to different textures and temperatures
- Helps calm and soothe busy bodies and brains
- Provides sensory input to strengthen propriocetpive and vestibular senses
- Improves hand strength
- Improves fine motor skills
- Allows low-stress practice with hand eye coordination
- Allows kids to practice measurement and capacity
- Provides opportunity for language development
How to Minimize Sensory Bin Messes
The number one hesistation about sensory bins that we hear from moms? The mess! But sensory bins don’t have to create a huge mess.
You can cut down on the mess by giving your kids rules before you begin playing with your sensory bin. Here are ours:
- Sensory bins (and their contents!) stay in the area they start in.
- Keep materials in the bin as best you can.
- Keep objects out of your mouth.
- Tell mom when you’re done so we can clean up together.
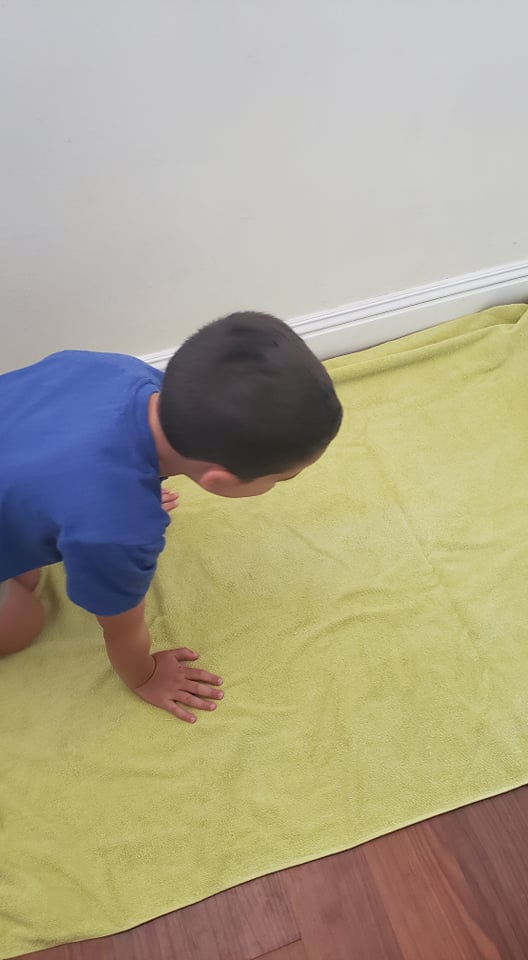
We also set up our sensory bins on a big towel on the floor of our kitchen (which is the easiest to clean floor in our house!). Doing sensory bins on the floor keeps objects from scattering if they fall from the height of, say, a table. It also helps prevent a bin tip-over.
Gather Your Lemonade Sensory Bin Supplies
My son is working to strengthen his fine motor skills in preparation for kindergarten. I visited the Dollar Tree with the intent of finding activities to improve his hand strength, and found these materials just BEGGING to become a lemonade sensory bin!
You may have many of these supplies at home already. If not, you can grab most of these materials at a dollar store, or use the links to purchase everything at once. (Note: they will be more expensive on Amazon!)
- A Sensory Bin- you can use a larger sensory bin (we typically use a 16 quart for sensory bins), but we used a smaller 5 quart sensory bin to minimize how much water would be involved in a spill. (Linking so you can see it, but DON’T buy bins on Amazon. They’re way cheaper almost anywhere else.)
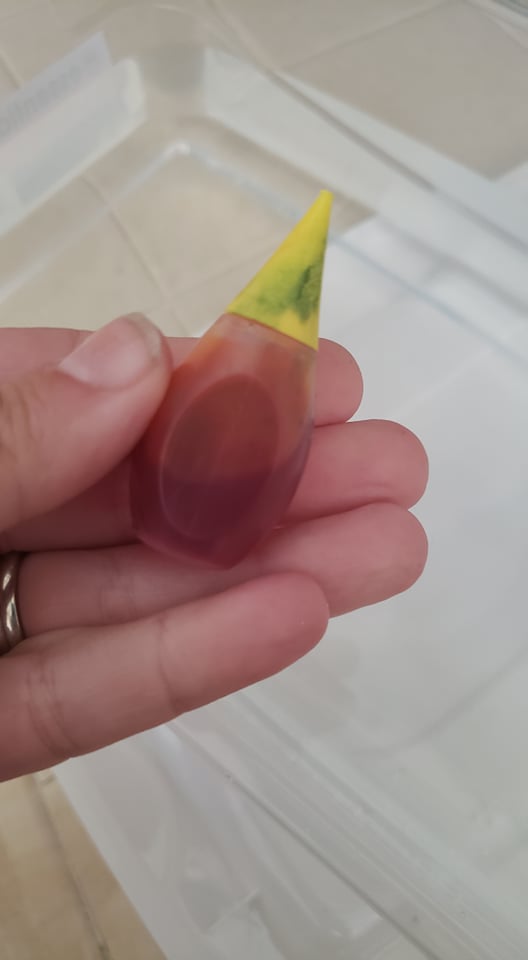
- Colored Water– you’ll need food coloring to make your water look like lemonade!
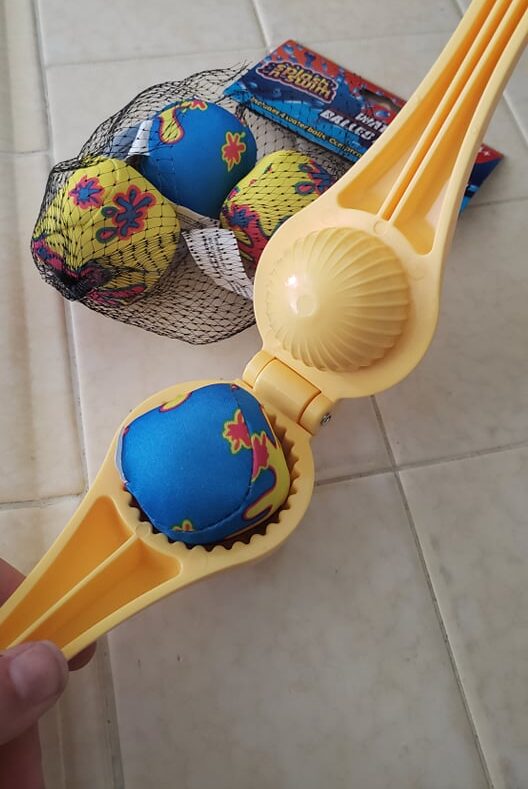
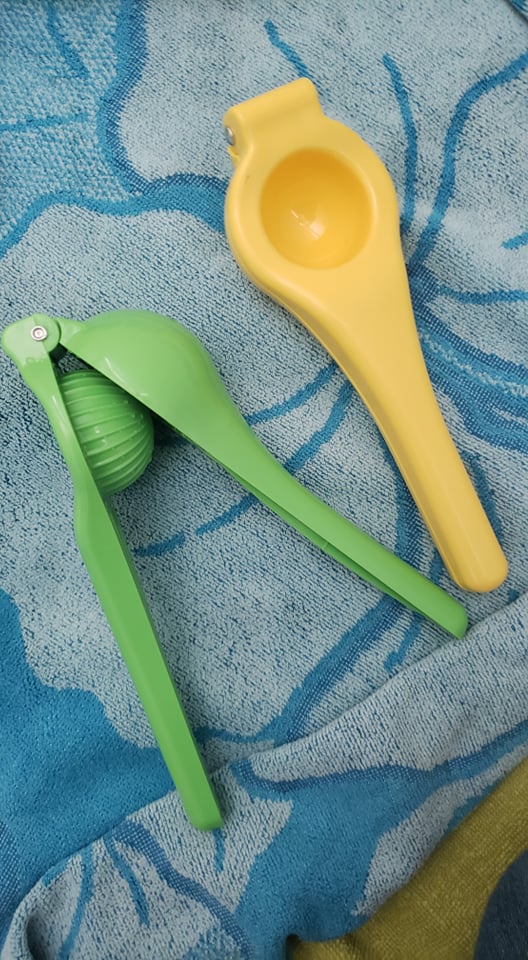
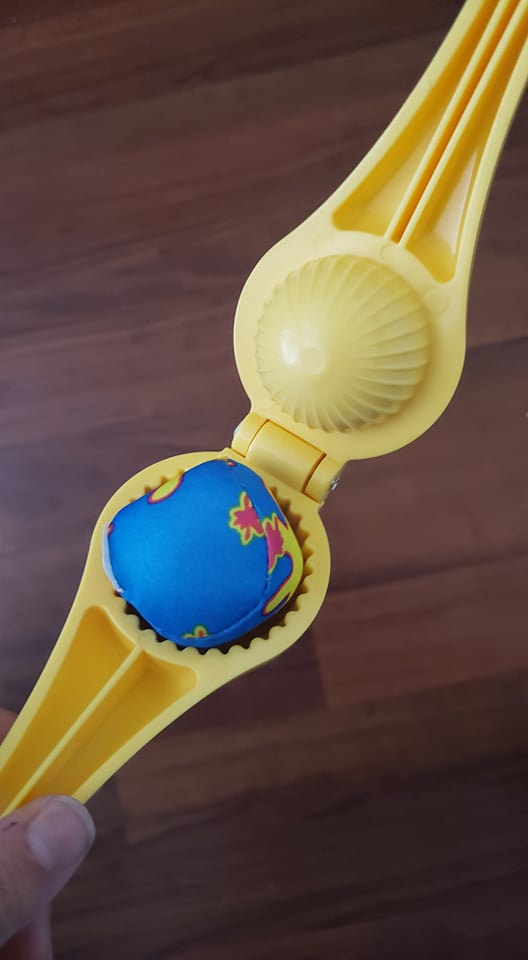
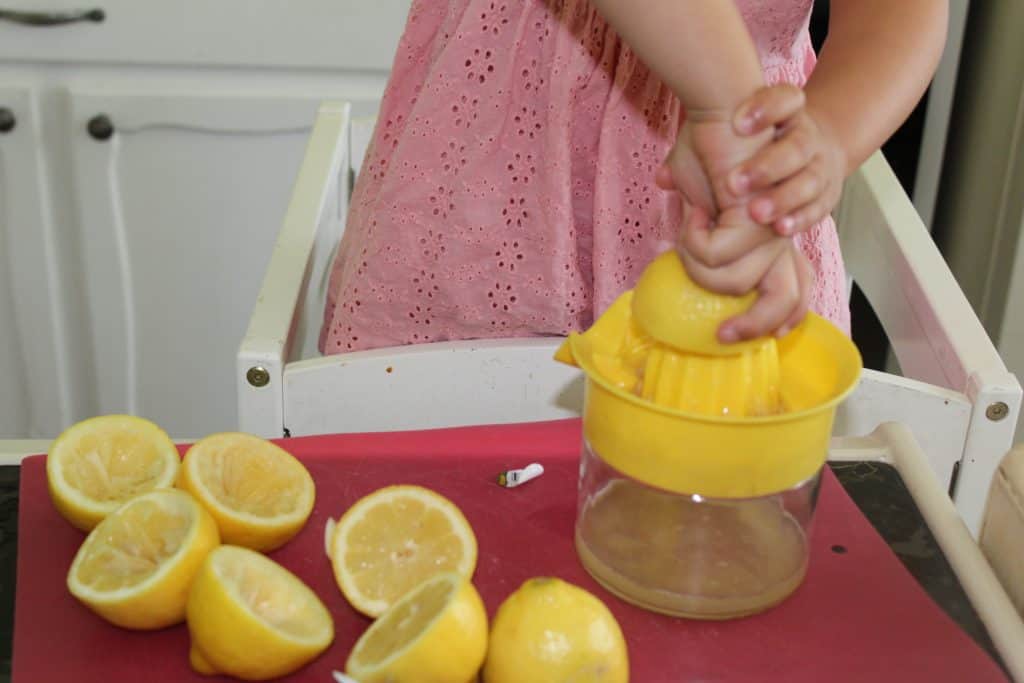
- Citrus Juicers- these handheld ones are perfect for hand strength!
- Reusable Water Balls- we got these from the Dollar Tree, but any water “squoosh” type ball will do!
- Ice- straight from our freezer!
- Plastic Cups- we have some leftover from our solo cup stacking challenge, but you can use regular cups too!
- Silly Staws- leave these out if you think your kiddo will be too tempted to drink the water!
- Tongs- for handling the ice, and adding in more fine motor practice. These small tongs are our favorite.
- Slotted Spoon- another option for scooping up ice
- Drink Umbrellas– optional, but a fun idea to fancy up the finished lemonade products
Turn Your Water Into Lemonade!
You can stick with clear water if your kiddos are on board with that, but with a few drops of food coloring, you can level up your lemonade sensory bin real fast.
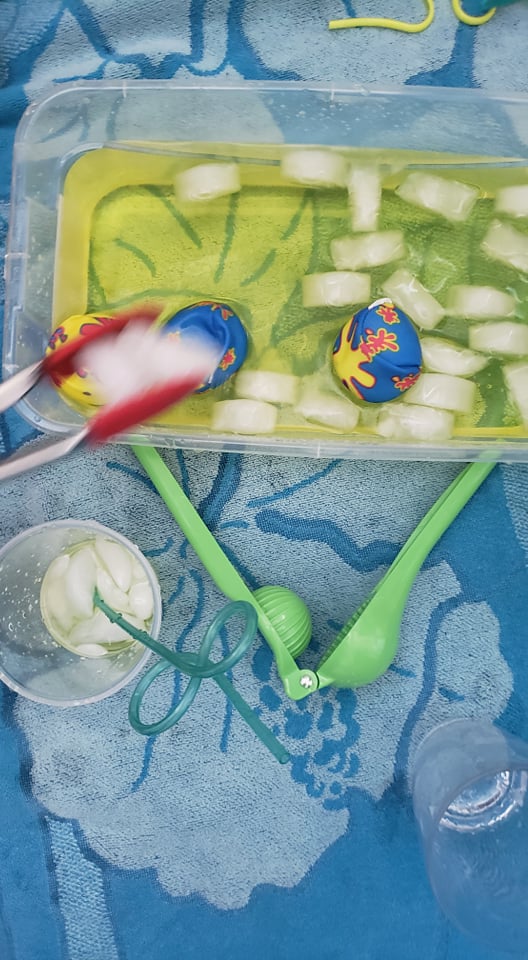
Fill up your sensory bin with water. Add two to three drops of yellow food coloring, and mix.
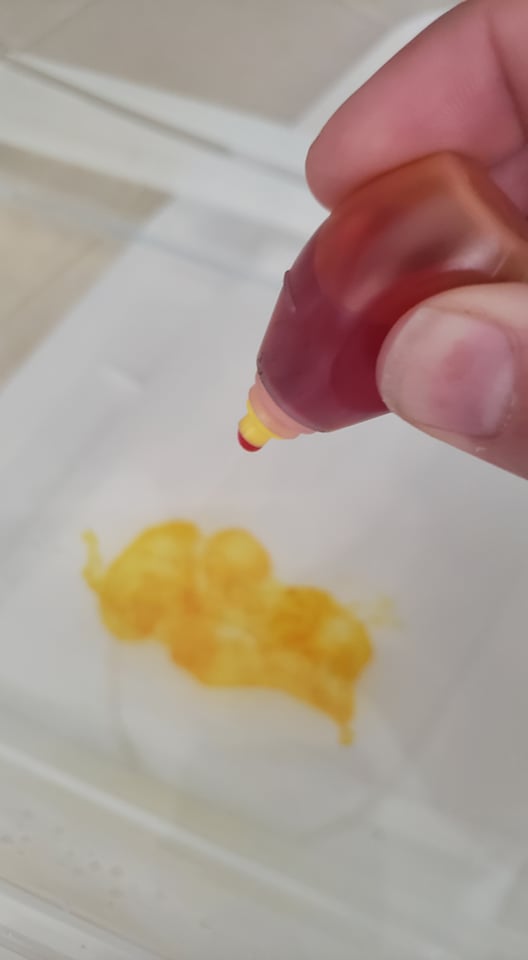
It’s just enough food coloring to make your bin more fun, but not enough to stain!
Add Items to Your Lemonade Sensory Bin
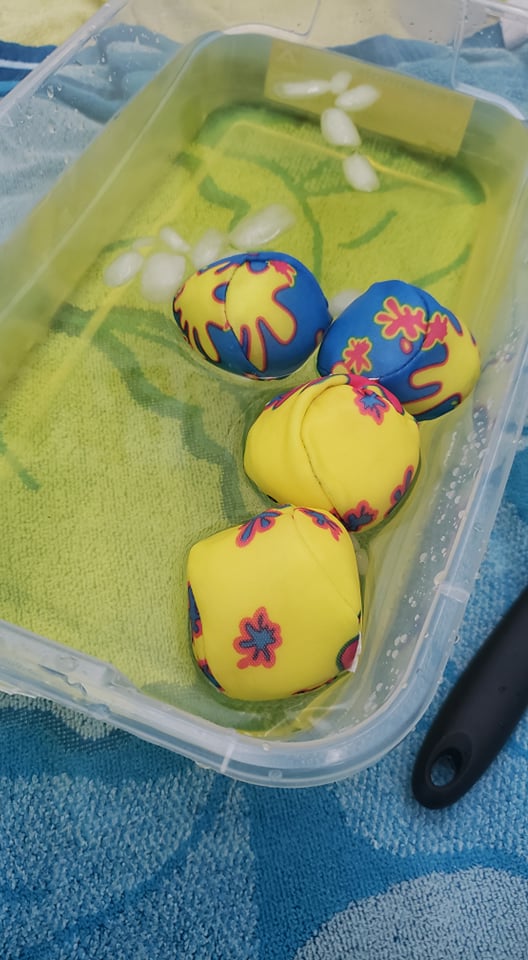
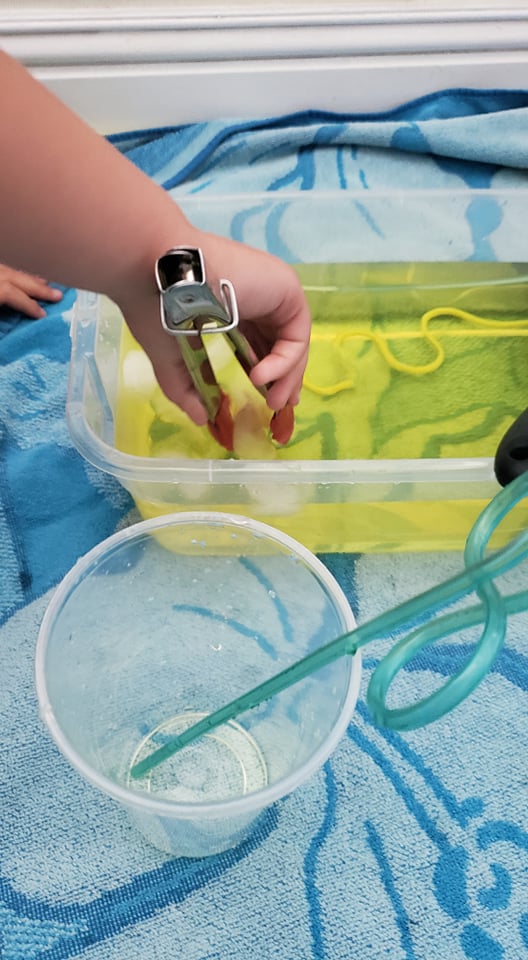
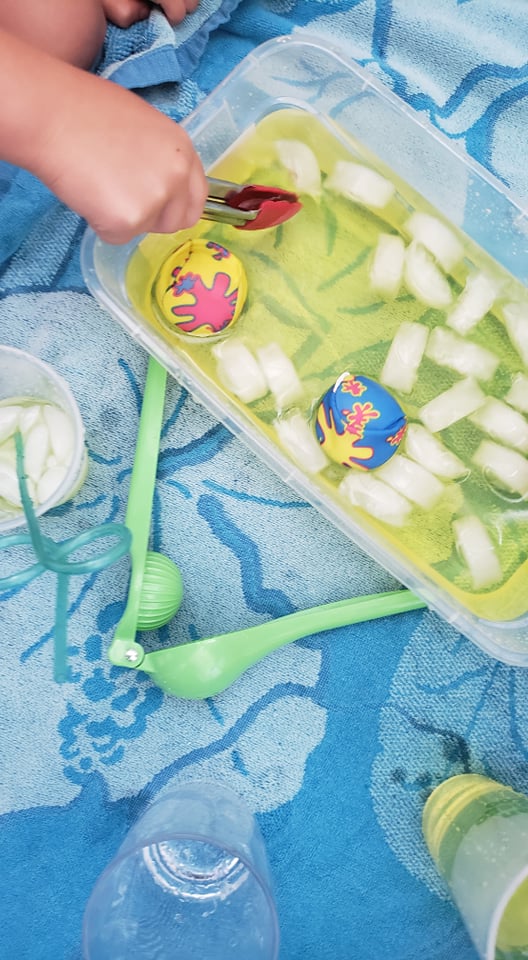
Start by adding just one or two items to your sensory bin. For us, I started by throwing in the water balls and placing the citrus juicers on the side.
You may need to show your kids how to use the juicers eventually, but it’s best to let them explore them on their own first!
They practiced squeezing the lemonade back into the sensory bin for quite a whilte!
After that, I added items as the kids started to get bored with the bin. Here’s the order I gave them the objects in:
- Citrus juicers and water balls
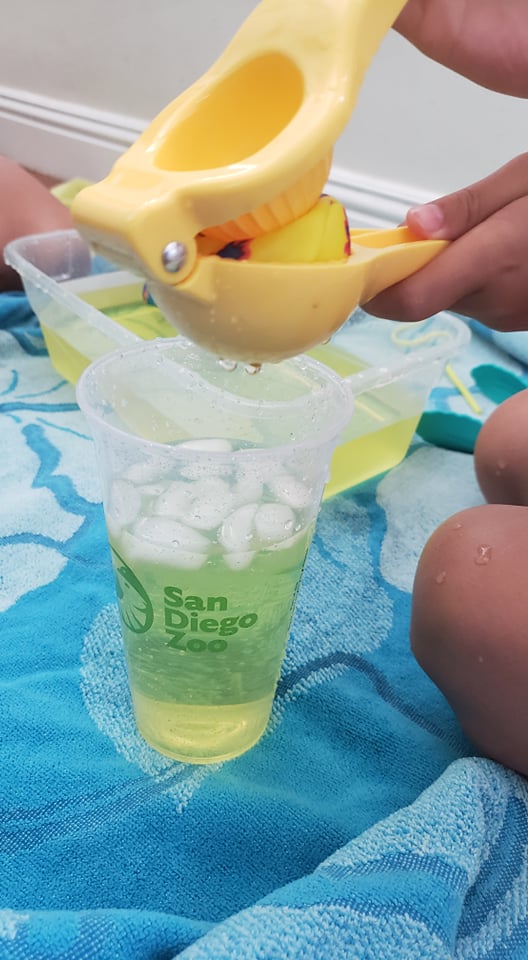
- Cups
- Ice with a slotted spoon
- Tongs
- Straws
- Paper drink umbrellas
Giving out items one at a time helps lengthen how long the kids use the lemonade sensory bin, and keeps their interest for longer!
Provide Opportunities for a Pretend Lemonade Stand!
If you’re feeling up to it, you can turn your lemonade sensory bin into a fun opportunity for pretend play!
Have the kids practice setting up a pretend lemonade stand at home (we love this printable dramatic play set for a pretend lemonade stand). Or keep it simple, and just let them “sell” lemonade to other family members.
Either way, playing pretend is a great opportunity for development (and will extend the life of your lemonade sensory bin even further!)
Cleaning Up Your Lemonade Stand Sensory Bin
This is one of the easiest sensory bins I’ve ever had the pleasure of cleaning up. Since it’s almost all ice and water, you can dump the whole thing out in the sink.
Give the sensory bin a quick rinse, and throw the kitchen tools in the dishwasher. Use the towel to wipe up any water spills, and then send it through the washer.
Voila! Your lemonade sensory bin is all cleaned up!
Want to keep the lemonade fun going?
After it’s all cleaned up, don’t be surprised if your kids are asking for the real thing. Use our kid friendly lemonade recipe (and those citrus juicers!) to make your own.
And if now they want to do a REAL lemonade stand (you’re welcome or we’re sorry, depending on if that’s your thing or not), grab our printable lemonade stand checklist to let your kids take care of the planning.
*******
With a lot of opportunities for fine motor practice, tons of splishy splashy fun, and easy clean up, this lemonade sensory bin is likely to make it into regular rotation at your house (just like it has in ours!)
Looking for more sensory fun? head here next-
- Baking Soda and Vinegar Process Art for Preschoolers
- Water Play for Toddlers Using Recycled Materials
- Painting With Water Balloons (FREE Ice Cream Template!)