
Looking for a fun, festive Easter craft that you and your kids will love? Try Easter Egg Salt Dough Ornaments! This very easy Easter craft is perfect for kids of all ages, and will create a wonderful memento of the holiday.
My kids love a craft, so we’re often drawing, cutting, gluing, and creating. But sometimes they ask for the big guns: paint. While we love process art as much as the next Mom, today we needed a BIG project with a lot of structure and limited resources. And the PERFECT project with limited resources is salt dough ornaments.
My kids love salt dough painting because it’s an all day event with lots of steps. I love it, because despite all those steps, it’s insanely easy. Like so easy my 3, 5 and 6 year olds can handle basically every step.
Since it’s spring, and Easter is around the corner, today is about Easter ornaments. But the other great thing about salt dough ornaments is your only limited by your cookie cutter collection or shapes you can make with a knife – and your imagination! Spring flowers, hearts, suns, leaves – the possibilities are endless!

This post contains affiliate links. You can read more at our disclosures page. Thank you for supporting The Salty Mamas!
Step One: Making the Dough
As a write this, we’re in quarantine right now, so popping out to the store for crafts supplies isn’t “essential.” Luckily, salt dough requires only two ingredients: salt and flour (and water).
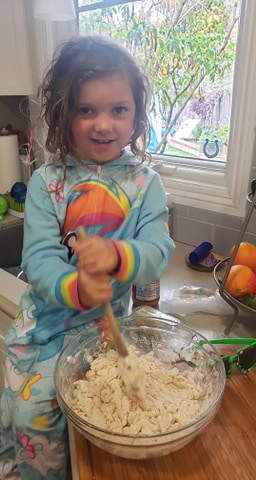
My five year old is my little baker, so she measured out the ingredients:
- 2 cups flour
- 1 cup salt
- 1 cup water
Add them all together in a large bowl and mix! Some folks prefer to use the paddle mixer in a large mixing bowl, but we opt for the full sensory experience! We started off mixing with a silicone spatula and we finished off the dough with our hands. If your dough is too watery, add a bit more flour. Too dry, add a bit more water. Play with it until it forms a smooth, doughy ball.
Loving Baking with Your Littles? Try These Ideas: Cooking with Kids of All Ages
Step 2: Make Your Shapes!
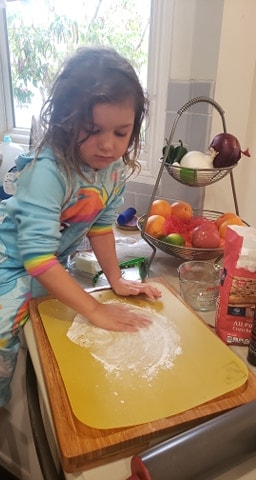
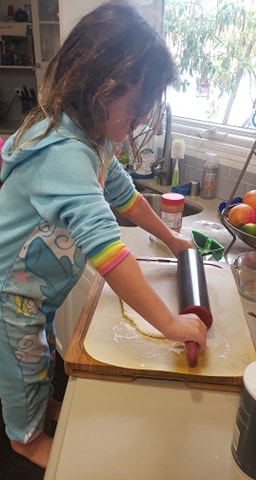
My 5 year old’s favorite step is probably rolling the dough. She loves dusting out the flour (and making a bit of a mess) and this is one of those projects where you just have to lean into that – so we did!
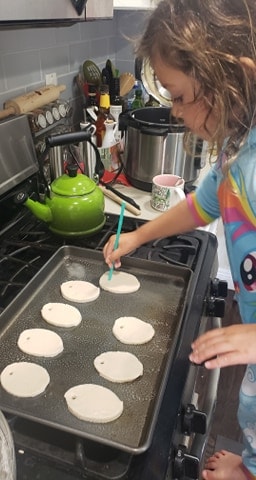
Roll out your dough and start cutting your shapes. For this particular project, I just used a knife and hand cut egg shapes. But you can do this craft with literally any shape. We’ve done gingerbread men, stars, hearts, cupcakes, trees, and my kids hand and footprints. We love having a fun collection of cookie cutters on hand – like this fun set of animals – for just such an occasion. Once shapes are cut, put them on a greased cookie sheet and they are ready for the oven!
Optional Step!
Once you’ve got your dough rolled and your shapes cut, decide if you want these to be ornaments. If you do, don’t forget to add a hole for your ribbon! Use a straw to make holes in your dough. Make sure they’re not too close to the top of your dough so they won’t break later.
Step 3: Bake
Warning: This is my kids least favorite step because there isn’t anything for them to do and it takes forever. So you may want to have a backup plan for when they inevitably melt down over this break in the action.
Heat your oven to 250 degrees and bake for about 2 hours. Check on your ornaments after about an hour and periodically after that. Depending on the thickness of your dough, it may take a little less time – or a little longer.
Looking for something to kill the time? Try one of these: Indoor Activities for Stir-Crazy Kids
Step 4: Wait. Again.
Okay, THIS might be my kid’s least favorite step. Because now the ornaments are out, but they’re hot and the salty dough ornaments need to cool before painting them. This year, sensing a mutiny, I prepped my kids by planning this to be a two day project and promising we’d stretch out the fun. But if you’ve got patient kids – and want the mess out of your house ASAP – you can definitely do it in one day once your salt dough ornaments cool.
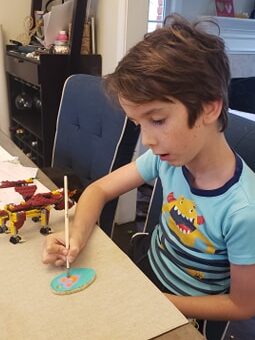
Step 5: PAINT!
The good news is, their favorite step comes next. For this step, I let my kids go wild with whatever they wanted to paint. Some followed the “egg” theme.
Others embraced process art.
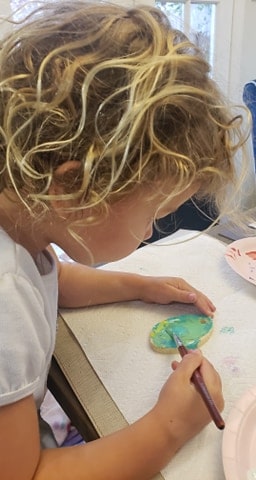
But all were perfect.
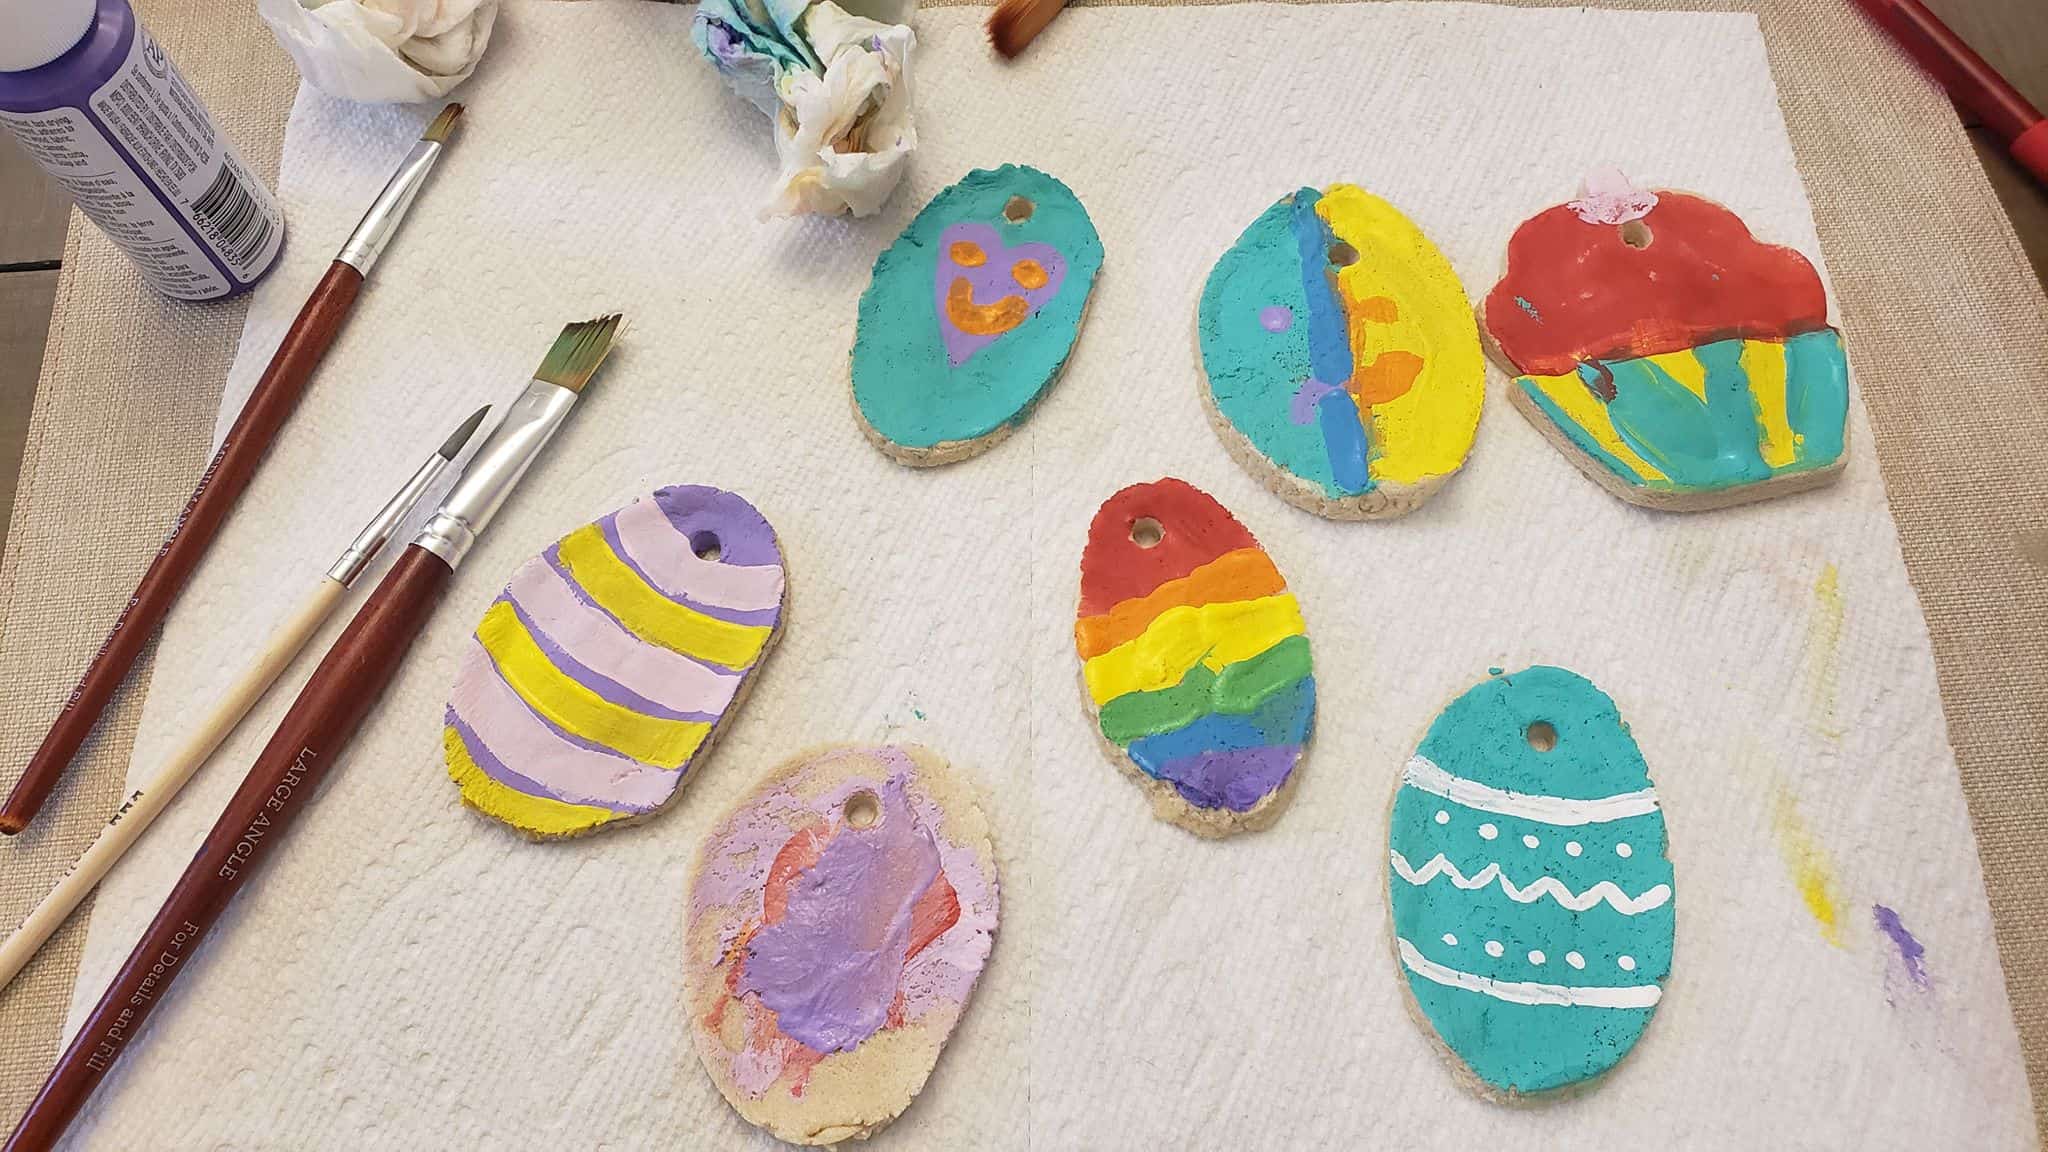
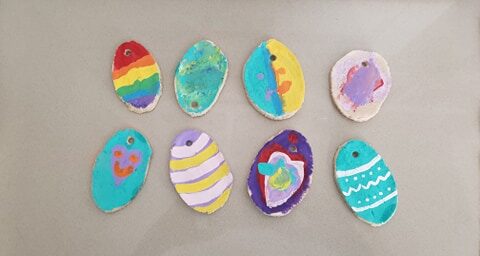
Step 6: Enjoy Your Finished Salt Dough Ornaments
We love looking at our salt dough ornaments, but also look forward to sharing them with others. So this year, as we enjoy a social distance Easter, we plan to deliver salt dough ornaments to friends and family we would normally be gathered with. Make sure you put your child’s name and the year on the back so you can remember when you made these wonderful ornaments!
Looking for more art projects to do with your kids? Head here next-